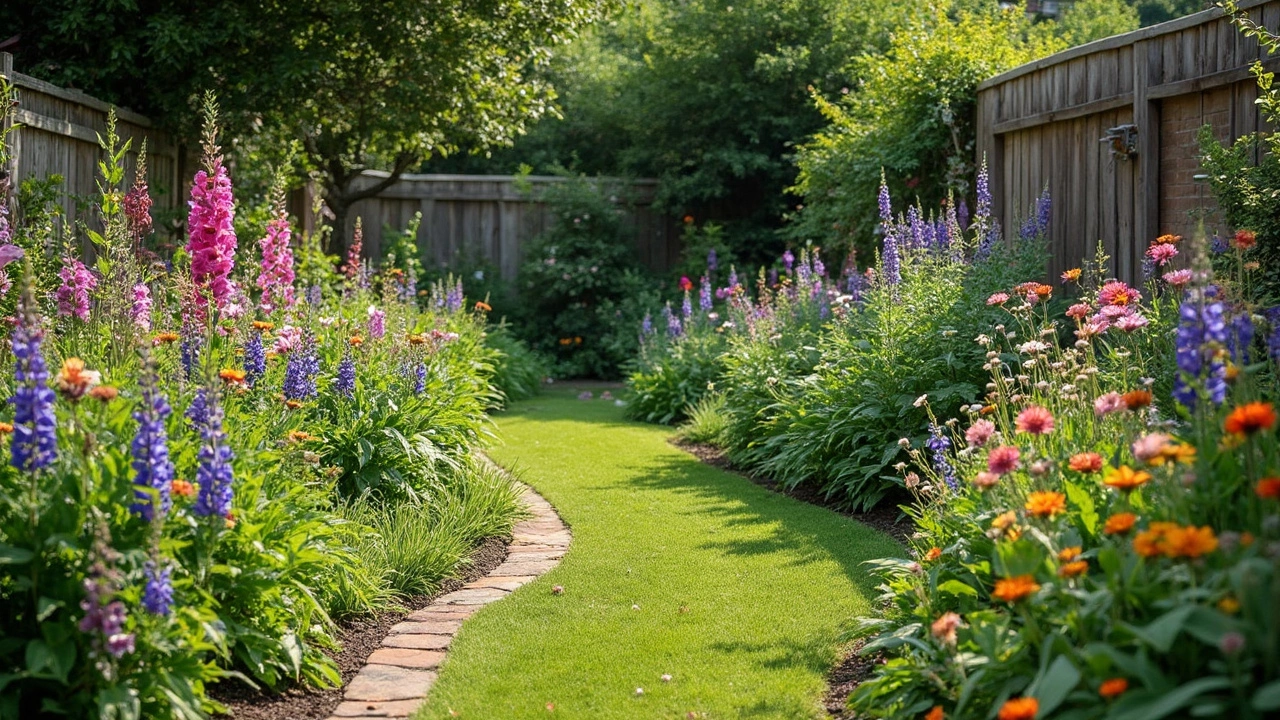
Ever stand in your yard with a trunk full of new plants and completely freeze up, not knowing where to start? Happens to the best of us. The trick is to think about your garden like a big puzzle. Before you stick a single plant in the ground, sketch a rough layout. Grab some paper, draw out your garden beds, and make quick notes about sunlight, shade, and spots that stay damp or super dry. Measuring helps too—guesswork leads to crowding, and nobody wants to rip out a root-bound mess later.
Aim to put your favorite plants where you’ll actually see them—like near windows, paths, or hangout spots. Don’t just line up everything in straight rows unless you’re going for a veggie garden vibe. Try grouping in odd numbers (threes or fives) so it looks more natural, and leave room for each plant to grow. Honestly, starting with a plan saves a ton of hassle later.
- Start With a Plan: Sketch and Measure
- Match Plants to Your Sun and Soil
- Mix Heights, Colors, and Textures
- Smart Spacing and Grouping
- Finishing Touches: Borders and Paths
Start With a Plan: Sketch and Measure
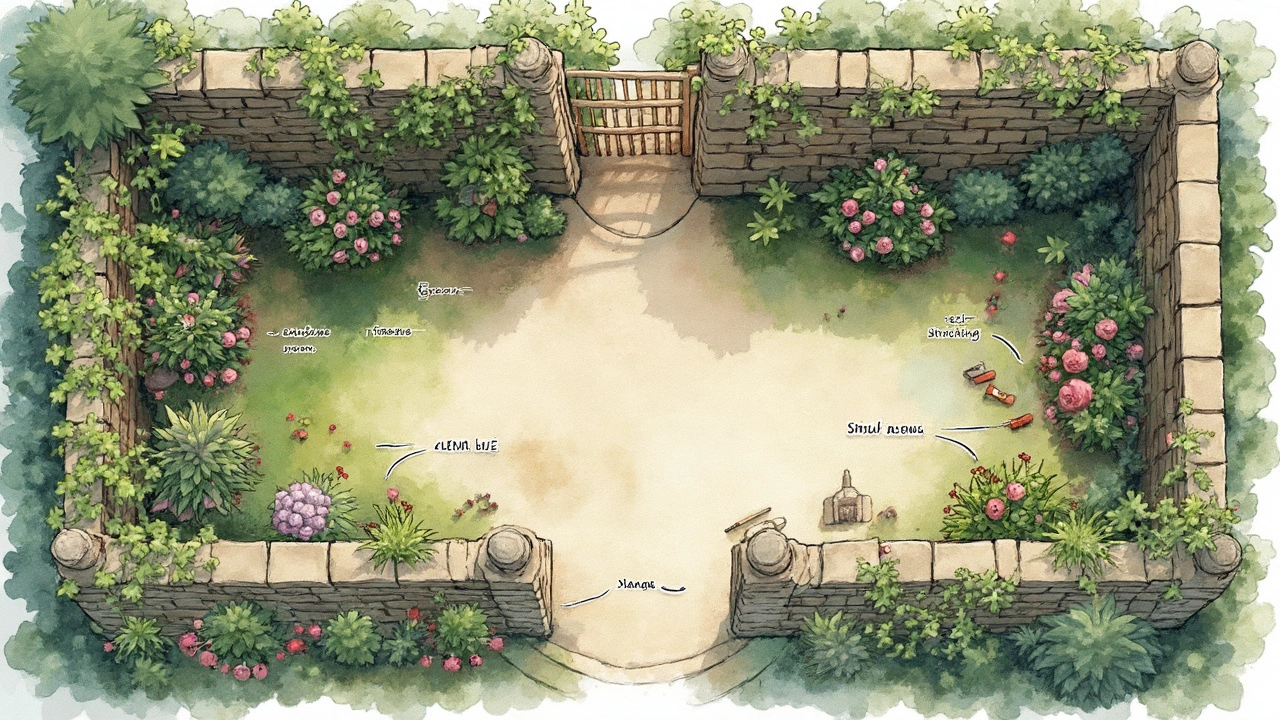
The first step to nailing your garden layout is deciding where everything goes before you plant a single thing. More than half of the problems with messy, crowded gardens come from skipping this part. Grab some graph paper, or just a regular notebook, and draw the shape of your garden bed. Even if it’s lumpy or oddly shaped, get the outline as close as you can. Use a tape measure to grab the width, length, and even the height or slope if you’re on a hill. Quick tip: gardening pros use one square on the paper to equal one foot in the yard—it helps keep things realistic.
Take 10 minutes to watch how the sun moves over your space. Plants have big feelings about sunlight, so jot down which areas get the most rays and where it stays shady. Also, note if parts of your garden get soggy after rain or dry out fast. Draw in existing stuff you want to keep—big trees, patios, sheds—to see how much room you really have for new plants.
If you’re working with a narrow or weirdly-shaped plot, break it up visually with curves or small paths. Odd shapes actually make for more interesting layouts, so embrace them instead of forcing straight rows. When you’ve got all this sketched out, start roughing in plant spots with circles. Large ones for bushes or shrubs, smaller circles for perennials and flowers. Leave enough space for each plant’s full grown size, not just how it looks in the pot.
- Draw your garden bed to scale—don’t eyeball it.
- Mark current sun patterns, wet or dry spots, and permanent fixtures.
- Think about traffic: make easy paths for walking, mowing, or watering.
- Sketch in large plants and features first, then fill with smaller ones.
- Space circles according to each plant’s mature size—not the starter size at the nursery.
Planning on paper first takes a little time, but it keeps your arrange plants project from turning into chaos down the line. Even that quick drawing can save hours of digging in the wrong spot. When the plan feels right, then it’s time to hit the dirt.
Match Plants to Your Sun and Soil
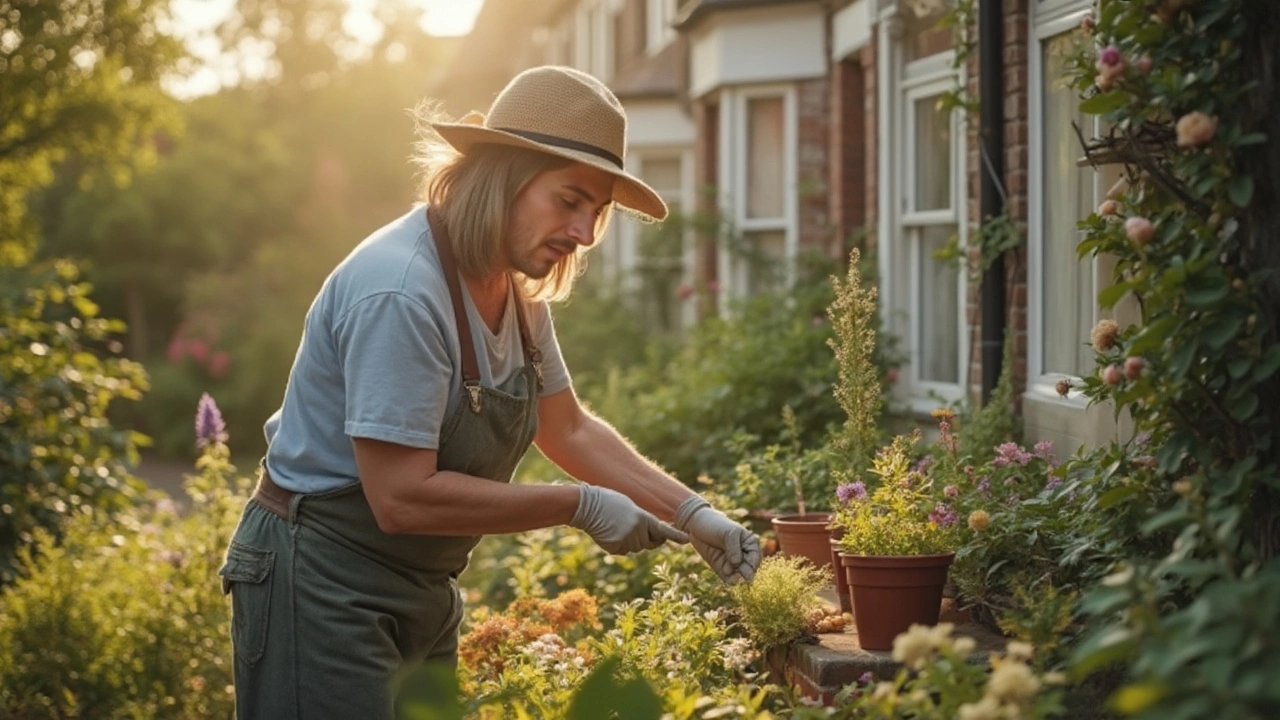
If your garden’s a shady nook or gets scorched by afternoon sun, you need to pick plants that actually like those conditions. Don’t make the rookie mistake of ignoring plant labels—they’re packed with information like sun needs, water preferences, and even if a plant loves sandy or clay soil. Straight up, you’ll save yourself a lot of trouble by making choices based on what your yard actually offers.
| Sun Category | Hours of Sun | Sample Plants |
|---|---|---|
| Full Sun | 6+ hours/day | Lavender, tomatoes, zinnias |
| Part Sun | 4-6 hours/day | Hydrangeas, peppers, cosmos |
| Shade | Less than 4 hours | Hostas, ferns, impatiens |
Soil makes a difference too. Grab a handful after it rains. If it sticks together in a ball, it’s got a lot of clay—great for daylilies but not so good for lavender, which likes it sandy and well-drained. Quick tip: Most gardens do better if you mix in some compost at planting time, no matter the soil.
Here’s a quote gardeners swear by:
“The right plant in the right place is the secret to a thriving garden.”—The Royal Horticultural Society
Check your yard throughout the day. Take notes on which spots actually get full sun and which stay shady. You’ll be surprised how much it changes, even in a small space.
- Arrange plants on your plan based on what you find—put true sun-lovers together in the brightest spots, and reserve your shadier corners for ferns and hostas.
- Don’t mix things up just for looks. If you squeeze shade plants into hot, sunny patches, they’ll just wilt and sulk.
You don’t need a fancy soil test kit for basics, but it definitely helps to know your soil type if you want to grow pickier stuff. If you’re unsure, start with tough, adaptable plants and watch what thrives.
Mix Heights, Colors, and Textures
Don’t make the rookie mistake of planting everything at the same height—it just looks flat and boring. To turn your space into something that pops, stagger plant heights. Put the tallest plants at the back if you’ve got a border against a fence or wall, or stick them in the center if your bed’s visible from all sides. Middle-height stuff goes next, and low-growers like ground covers or small flowers line the very front. This way, every plant gets its moment and won’t block anything behind it.
Colors matter, too. Mixing different shades isn’t just about what you like—it’s about keeping your garden interesting to look at all season. Pair bright flowers with deep greens, or try combining plants that bloom at different times, so there’s always something catching your eye. A blend of cool tones (like blue and purple) can make a spot feel calmer, while warm tones (red, orange, yellow) grab attention and bring energy.
Don’t underestimate texture either. Rough leaves, fine grasses, shiny foliage—all those little differences add depth even before anything blooms. If you’re not sure where to start, just check the plant tags for growth habits and mature size; those clues help you avoid crowding and awkward bare gaps.
Here’s a cheat sheet for laying things out:
- Tall plants: Sunflowers, hollyhocks, ornamental grasses.
- Mid-height: Coneflowers, hydrangeas, daylilies.
- Low or ground cover: Creeping thyme, alyssum, hostas.
Fun fact: The Royal Horticultural Society found in a recent survey that gardens with a clear blend of plant heights and colors feel 30% bigger than they really are. So if you want to make your yard look huge without buying up the whole nursery, this simple trick does wonders.
You’ll find that some color combos work better than others depending on the light in your garden. If something looks too crowded, it probably is—space things out so air flows between clumps. That helps keep plants healthier too.
| Plant Type | Recommended Distance Apart |
|---|---|
| Tall (e.g., hollyhock) | 18-24 inches |
| Mid-height (e.g., coneflower) | 12-18 inches |
| Low/Ground cover (e.g., thyme) | 6-12 inches |
Remember to step back and check your work from a few angles. A mix-up in heights here or there isn’t the end of the world, but having layers and mixing textures usually makes the best first impression for any garden design.
Smart Spacing and Grouping
Jamming too many plants too close is a classic beginner move. But plants hate fighting over space and sunlight. Give them a little elbow room, and you’ll get fewer diseases, better airflow, and healthier growth. A good rule: check the plant label or tag for “mature width” and use that for your spacing—not the tiny size the plant is right now. For example, if a shrub’s label says it’ll grow two feet wide, leave at least two feet between it and the next big plant.
Grouping is just as important. Putting plants with similar water and sun needs together makes things so much easier for you and them. No point mixing shade lovers right next to sun worshippers—they’ll both be miserable. Here’s a quick guide:
- Put thirsty plants together where you’ll remember to water them, like near a hose.
- Group full-sun plants where they get at least six hours of light a day.
- Use shade spots for ferns, hostas, or impatiens.
- Mix things up by clustering based on leaf shape or color for extra punch.
There’s some real science backing this up, too. When you group plants by their needs, you waste less water and fertilizer, and the plants get what they want, when they want it. Plus, putting taller things (like sunflowers or delphiniums) at the back and shorter ones (like marigolds or alyssum) up front stops everything from getting lost in the shuffle.
| Plant Type | Recommended Spacing | Perfect Grouping |
|---|---|---|
| Tomatoes | 24-36 inches | With other veggies that need lots of sun and water |
| Lavender | 18-24 inches | With other drought-tolerant herbs |
| Hosta | 15-24 inches | With shade-loving perennials |
| Marigold | 8-10 inches | With low-growing annuals |
Don’t forget to step back now and then and look at the big picture. Planting in drifts or waves (instead of single dots everywhere) gives you a much bigger impact in your garden design. Simple moves like these give your garden a polished, professional look—without the endless replanting next season.
Finishing Touches: Borders and Paths
Great gardens don’t just rely on plants alone. It’s the little extras like borders and paths that pull the look together and make it practical. Edging helps show off each section, keeps grass out of flower beds, and can even stop mulch from washing away. There’s no fancy rule for picking edging materials: brick, stone, metal, wood, or even recycled plastic can all work, depending on your style and budget. If you want a super clean line, dig a shallow trench and pop the edging right in.
Let’s talk about paths. Even a tiny garden gets a huge upgrade from a simple walkway. Paths guide feet away from delicate roots, keep shoes clean, and create flow. You don’t need to break the bank—pea gravel, wood chips, or simple stepping stones are all good budget picks. Just remember: spacing matters. For a path you actually want to walk down, leave each stone about a step apart (roughly 16-18 inches), and make the path at least 24 inches wide so you’re not tripping over your own feet.
- Arrange plants close to borders to make the most of your space and show off those edges.
- Mix tall and trailing plants at the borders for a layered, finished look.
- If weeds drive you nuts, lay down landscape fabric under borders and paths to slow them down.
According to a 2024 survey by the Garden Research group, 73% of homeowners said that well-defined paths made their gardens feel bigger and easier to care for. That’s not just about looks—clear paths mean less trampling and healthier plants.
| Path Material | Average Cost (per sq ft) | Level of Maintenance |
|---|---|---|
| Pea Gravel | $1.50 | Low |
| Flagstone | $7.00 | Medium |
| Mulch | $0.75 | High |
Don’t skip on lighting if you’re out in the yard after dark. Even a few solar stake lights along a path or border make your garden usable and safer at night. Just a little planning here means you’ll enjoy those finishing touches day and night.