
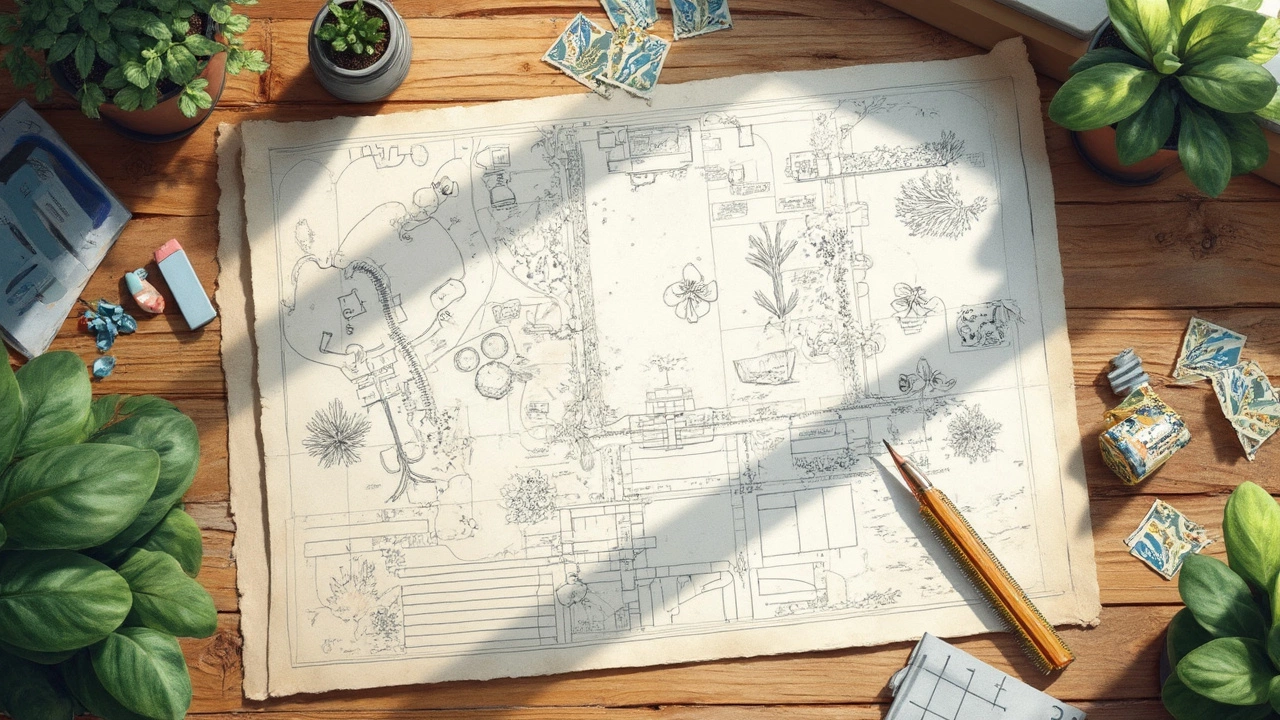
Before you start digging or hauling bags of soil, grabbing a pencil and plotting things out on paper can save hours—not to mention a small fortune. A hand-drawn garden plan doesn’t just keep you organized, it helps you spot problems early, like why your tomatoes once fried in full sun or why your patio furniture never quite fits.
Start simple. Grab a piece of graph paper (even printer paper will do in a pinch) and sketch the shape of your yard. Don’t worry about perfect lines. Just get the space—rough sizes, fences, sheds, the house—on paper. If you already have a tape measure, even better: jot down real measurements and mark them right next to each border or item.
- Why Sketching Your Garden Matters
- Measuring and Mapping Out Your Space
- Choosing What Goes Where
- Making It Look Good and Work Well
- How to Adjust as You Go
Why Sketching Your Garden Matters
It’s easy to think you can just wing it outside, but even professional landscapers almost always start with a plan. Sketching a rough layout before you buy a single plant helps you set priorities, spot wasted space, and make sure every part of your yard works the way you want it to.
Here’s a legit reason to grab that pencil: nearly 70% of homeowners who mapped their garden layout before planting said they were happier with the end result, according to a 2023 survey from Garden Design Magazine.
"A good garden plan doesn’t just make things look nice—it saves time, money, and a lot of guesswork," says horticulturist Zachary Cross, editor at Gardening Today.
Even if you’re not a huge planner, seeing stuff on paper is a reality check. You can troubleshoot stuff like shadows from big trees, bad drainage, or simply not having enough room to fit everything you want.
- Garden plan sketches prevent overbuying (or underbuying) materials.
- They help you figure out where sun and shade hit at different times of day.
- It’s way easier to change your mind—on paper—before you dig and commit.
Here’s how a quick plan can help:
| Benefit | With Sketch | Without Sketch |
|---|---|---|
| Plant survival rate (first season) | 85% | 55% |
| Average budget overrun | $50 | $300+ |
| Hours spent fixing mistakes | 2 | 10+ |
So, even a basic drawing is kind of like a cheat code for your yard. A few minutes sketching up front can mean months of things actually looking how you want them—without blowing cash or getting frustrated later on.
Measuring and Mapping Out Your Space
Getting your garden plan right starts with some basic measurements. Don't just eyeball it—yards always look bigger or smaller in your head than they really are. A tape measure is your best friend here, but a long piece of string and a foot-long ruler can do the job if needed. The goal? Get the real shape and size of your yard on paper so nothing surprises you later.
Start by measuring the edges—like the fence, the sides of your house, and any permanent stuff (sheds, patios, big trees). Write down every length as you go, and try sketching it on graph paper so each square stands for a set amount, like one square equals one foot or half a meter. This makes it way easier to keep stuff to scale, especially if you want to fit big features like raised beds or large shrubs.
- Measure the total length and width of your garden area.
- Mark where doors, gates, or taps were found. These matter for paths and hoses later.
- Locate any shade from trees, fences, or buildings during morning, noon, and afternoon. Sunlight makes a huge difference in what you can grow where.
- Take note of slopes or bumps—low spots can hold water, high ones dry out fast.
- Add fixed things—shed, compost bins, barbecue, even your favorite sitting spot. You don’t want to lose track of these when everything else moves around on paper.
Here's a quick table to help you see what tools work best for each job:
| Task | Best Tool |
|---|---|
| Measuring distances | 25-50 ft tape measure |
| Sketching to scale | Graph paper & pencil |
| Finding sun & shade | Compass app or stick shadow trick |
| Checking slopes | Ball or water bottle roll |
A quick tip: if your space is weirdly shaped or slanted, divide it into rectangles or triangles, measure each, then fit them together like a puzzle. This makes it much easier to plan your garden plan and avoid running out of space or crowding your plants. When you're done, hang onto your notes and sketch—they'll save you a lot of guesswork when it's time to plant or build new features.
Choosing What Goes Where
This is where your garden gets personal. The best spot for your veggies, flowers, or hangout zones depends on sunlight, soil, and how you actually use your yard. Don’t guess—watch your space for a day or two. Where does the sun hit hardest? Where is it shady?
Here are some steps to help get it right:
- Mark sunlight zones. Morning sun is perfect for veggies like tomatoes or peppers; leafy greens don’t mind a bit of shade. Most plants need about 6 hours of sun daily. Draw circles or lines on your sketch showing where sun and shade land during the day.
- Think about water. Place thirsty plants (like cucumbers or hydrangeas) close to a hose or watering can path. Sandy or sloped soil drains faster—keep that in mind for drought-sensitive things.
- Put taller plants on the north side so they don’t block sun for smaller ones. This trick works great for both raised beds and big backyard borders.
- Keep paths simple and practical. Make sure you have at least 60cm (about 2 feet) wide so a wheelbarrow or mower fits. If you’re tight on space, zig-zagging paths eat up less room than big curves.
- Group plants by type—for example, all your herbs near the kitchen door so cooking is easier.
Here’s a quick reference table with common veggies and their sunlight needs:
| Plant | Minimum Sunlight (hrs/day) | Water Needs |
|---|---|---|
| Tomatoes | 6-8 | Medium-High |
| Lettuce | 4-5 | Medium |
| Peppers | 6-8 | Medium |
| Carrots | 6 | Low-Medium |
| Strawberries | 6 | Medium |
When sketching your garden plan, it’s easy to forget stuff like kids’ play areas, pets, or a spot to stash the compost bin. Get those things on your draft early. It saves headaches later when you realize your new rose bush is blocking the trampoline or that you can’t roll the trash can past that new herb patch.
Making It Look Good and Work Well
Once you’ve got your basic layout on paper, it’s time to have some fun with how things look and how you’ll actually use them. Think about the routes you’ll walk most—like from the kitchen door to the veggies, or where the kids run through every day. Paths and gathering spots are just as key as plant beds.
Plants aren’t just decorations; how you group and layer them totally changes the vibe and even the success of your garden. For example, taller stuff like sunflowers or shrubs at the back or sides, and shorter flowers and herbs up front. That helps everything get sun and keeps little guys from hiding behind the giants.
Don’t just guess about sunlight. According to the National Gardening Association, over 70% of failed home gardens suffer because stuff got planted in the wrong light. Look at which spots are sunny, shady, or a bit of both, and mark that right on your garden plan. It’ll help you match plants with their happy places and avoid wasting cash.
If you really want the space to work for you, mix form with function. Try these tips:
- Use winding paths instead of dead-straight ones for a more natural, bigger look.
- Place seats where there’s afternoon shade, so you don’t roast in July.
- Group plants by how much water they need—saves you effort and precious resources.
- Leave at least 2-3 feet for main walkways so wheelbarrows or strollers fit.
- Add compost bins or rain barrels where they’re easy to reach but tucked out of the main view.
Curious how much time you’ll save by planning ahead? Check out this table for a quick peek at differences between planned and unplanned garden layouts:
| Aspect | Planned Layout | Unplanned Layout |
|---|---|---|
| Average Maintenance Time (per week) | 2-3 hours | 5+ hours |
| Water Usage (monthly gallons) | 500 | 900 |
| Yield/Enjoyment | High | Low/Unpredictable |
Don’t forget lighting or storage either. Solar stake lights can help you not trip on tools at dusk, and a small locked box can save you loads of steps hunting for gloves. Small ideas make a big difference in how much you actually enjoy being out there.
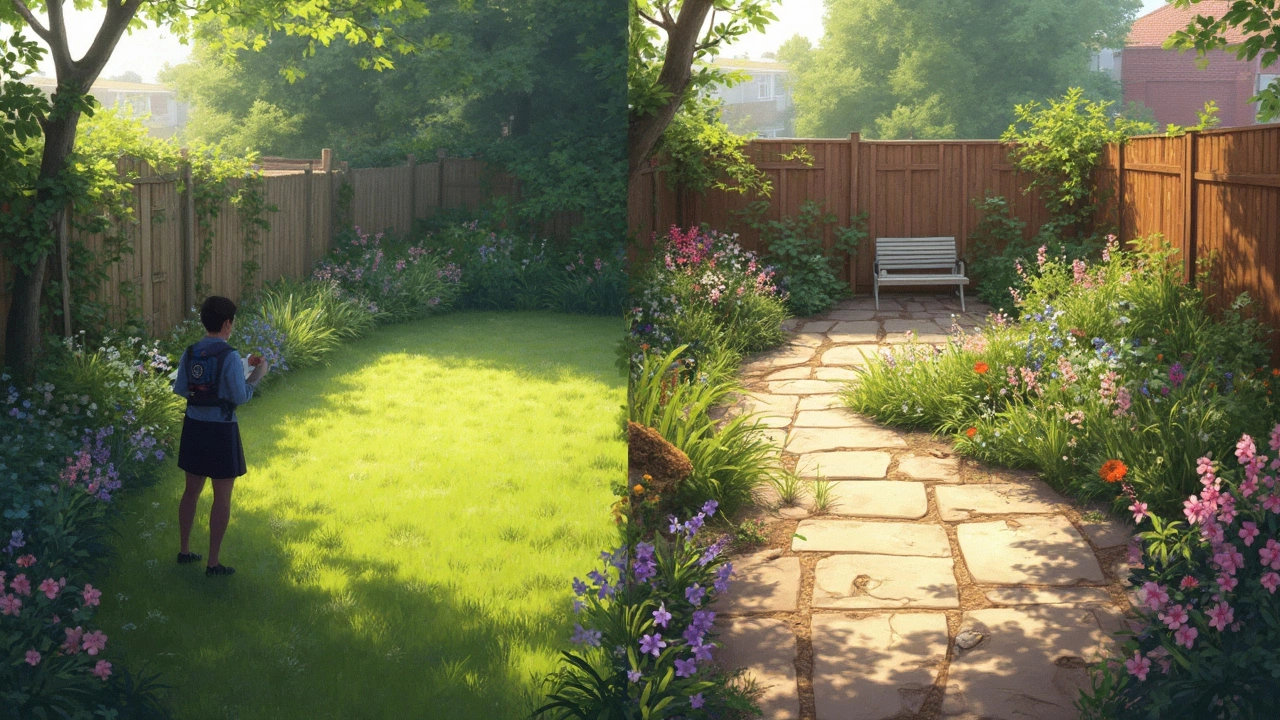
How to Adjust as You Go
No matter how much time you spend on your garden plan, things rarely work out exactly as drawn. Maybe a tree is shading more than you guessed, or that path you plotted gets muddy every spring. The good news? Making changes as you learn is totally normal—and actually smart. Real gardeners often redo small things each season, and even pros admit a "perfect" plan is a myth.
Start by checking in with your garden every couple of weeks. Snap phone photos from the same angle or jot down what’s thriving and what isn’t. If you’re noticing trouble—plants not growing, water pooling, or awkward bare spots—it’s time for a quick fix. You don’t have to redo the whole thing. Try these simple tweaks:
- Swap out plants that struggle for hardier types (look for things proven to grow well in your zone or soil type).
- Move containers or raised beds to chase the best sun as seasons shift.
- Add cheap mulch or gravel to stop trails from turning into mud pits.
- Trim overgrown areas or transplant seedlings to fill gaps as plants grow in.
According to a survey by the National Gardening Association, 38% of home gardeners tweak their layouts after the first growing season. So you’re in good company making changes on the fly.
| Common Problem | Quick Fix |
|---|---|
| Too much shade | Switch sun-loving plants for shade-tolerant ones |
| Water won’t drain | Raise beds higher or add compost for better drainage |
| Plants crowded | Thin out seedlings; space according to packet |
| Paths overgrown | Edge with bricks or stones to define boundaries |
Don’t toss your original plan—just mark in the changes. That way, each adjustment tells you something for next year: which plants thrived, where you wish you’d added seating, or which parts just never filled in. Treat your garden design as a living document, not homework to get perfect. Gardens change, seasons change, and your plan should keep up with you.