Soil Health Assessment Tool
How Healthy Is Your Soil?
Answer these quick questions to get personalized recommendations for rejuvenating your garden soil
Old soil doesn’t have to mean dead soil. If your garden beds have been growing the same plants for years, or your pots feel hard and lifeless, the problem isn’t the plants-it’s the soil. Over time, soil loses nutrients, gets compacted, and loses its structure. But the good news? You can bring it back. Rejuvenating old soil isn’t about replacing it. It’s about working with what you’ve got and giving it the right boost.
Why Soil Gets Exhausted
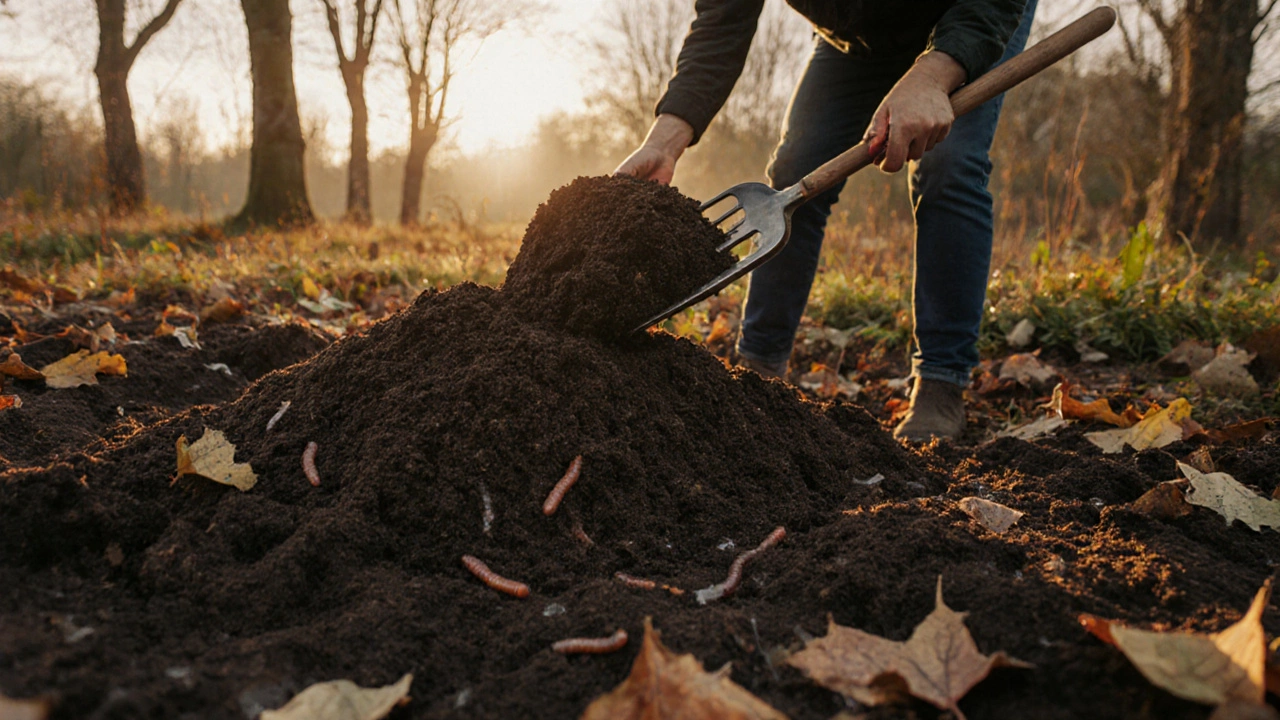
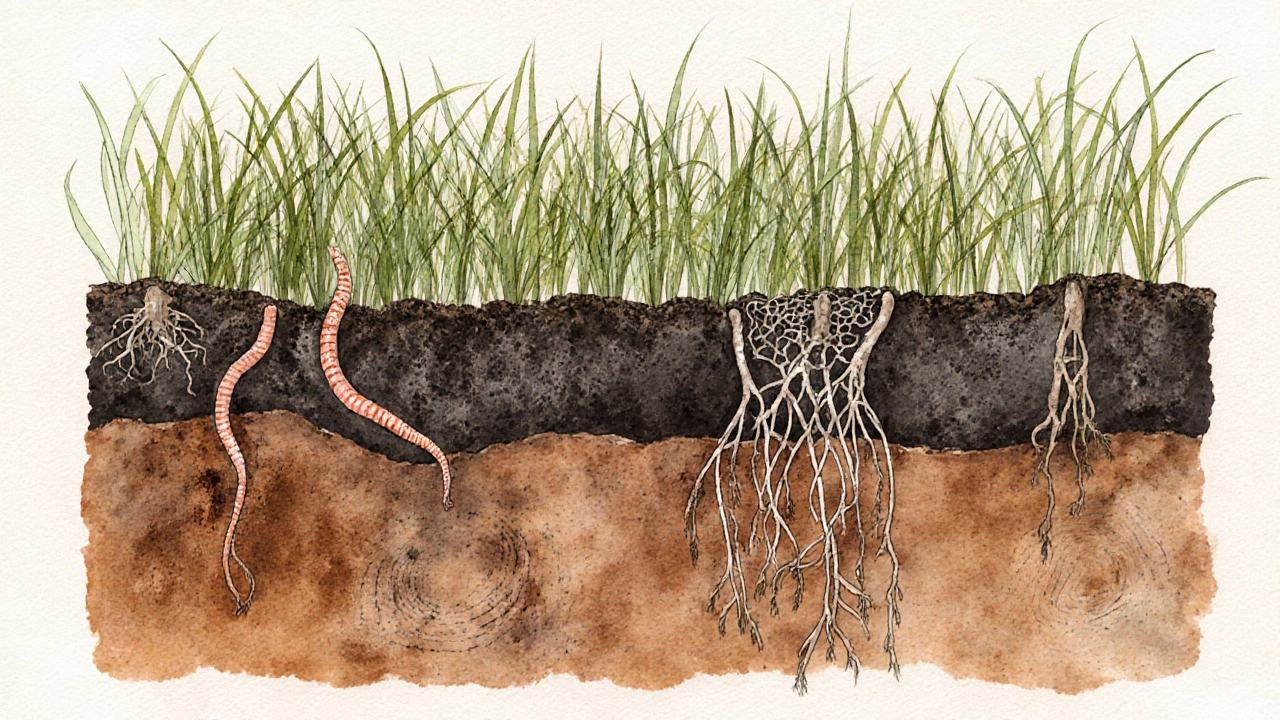
Soil isn’t just dirt. It’s a living system. Microbes, fungi, earthworms, and organic matter all work together to feed plants. But when you grow heavy feeders like tomatoes, cabbages, or zucchini year after year, they suck out nitrogen, phosphorus, and potassium faster than nature can replace them. Rain and watering wash away soluble nutrients. Foot traffic and watering compact the soil, crushing air pockets plants need for roots to breathe. Without air and food, the soil’s ecosystem collapses.
Signs your soil is tired: plants grow slowly, leaves turn yellow, water pools on the surface instead of soaking in, or you see more weeds than crops. These aren’t just plant problems-they’re soil problems.
Step 1: Test What’s Really in the Soil
Before you add anything, know what you’re working with. A simple soil test tells you pH and nutrient levels. You can buy a home kit from garden centers for under £15, or send a sample to a lab. In the UK, the Royal Horticultural Society offers affordable testing through partner labs.
Most old garden soils in Britain are slightly acidic (pH 5.5-6.5). That’s fine for potatoes and blueberries, but not for brassicas or beans, which prefer pH 6.5-7.5. If your soil’s too acidic, a light dusting of garden lime in early spring can help. Too alkaline? That’s rarer, but adding peat-free compost or pine needles slowly lowers pH over time.
Don’t guess. Test. Then act.
Step 2: Add Organic Matter-Lots of It
The single most powerful thing you can do for old soil is add organic matter. Not fertilizer. Not chemicals. Real, broken-down plant and animal material.
Compost is the gold standard. Use homemade compost from your bin, or buy peat-free compost from garden centers. Spread a 2-3 inch layer over your beds in autumn or early spring. Don’t dig it in deeply-just let earthworms and rain work it down. Over time, this improves drainage, holds moisture, and feeds microbes.
If you don’t have compost, use well-rotted manure. Horse, cow, or chicken manure that’s been aged for at least six months is safe and rich. Avoid fresh manure-it burns roots and can carry pathogens.
Leaf mold is another great option. Collect fallen leaves in autumn, pile them in a wire bin, and let them sit for a year. The result? Dark, crumbly, moisture-retaining soil conditioner. It doesn’t add many nutrients, but it fixes structure.
Step 3: Break Up Compaction
Hard, baked soil is like concrete to roots. You don’t need a rototiller. Just use a garden fork. Push it into the soil and gently lift, without turning the soil over. This opens air channels without disturbing the natural layers where beneficial fungi live.
Do this once a year, preferably in autumn after harvest. It lets rain and air penetrate deeper. In raised beds, you can also add perlite or coarse sand (not fine play sand) to improve drainage. But only if your soil is heavy clay. For most loamy soils, organic matter alone will do the job.
Step 4: Rotate Crops and Plant Cover Crops
Don’t plant the same family of plants in the same spot two years in a row. Tomatoes, peppers, and potatoes are all nightshades. Planting them back-to-back drains the same nutrients and invites pests like nematodes.
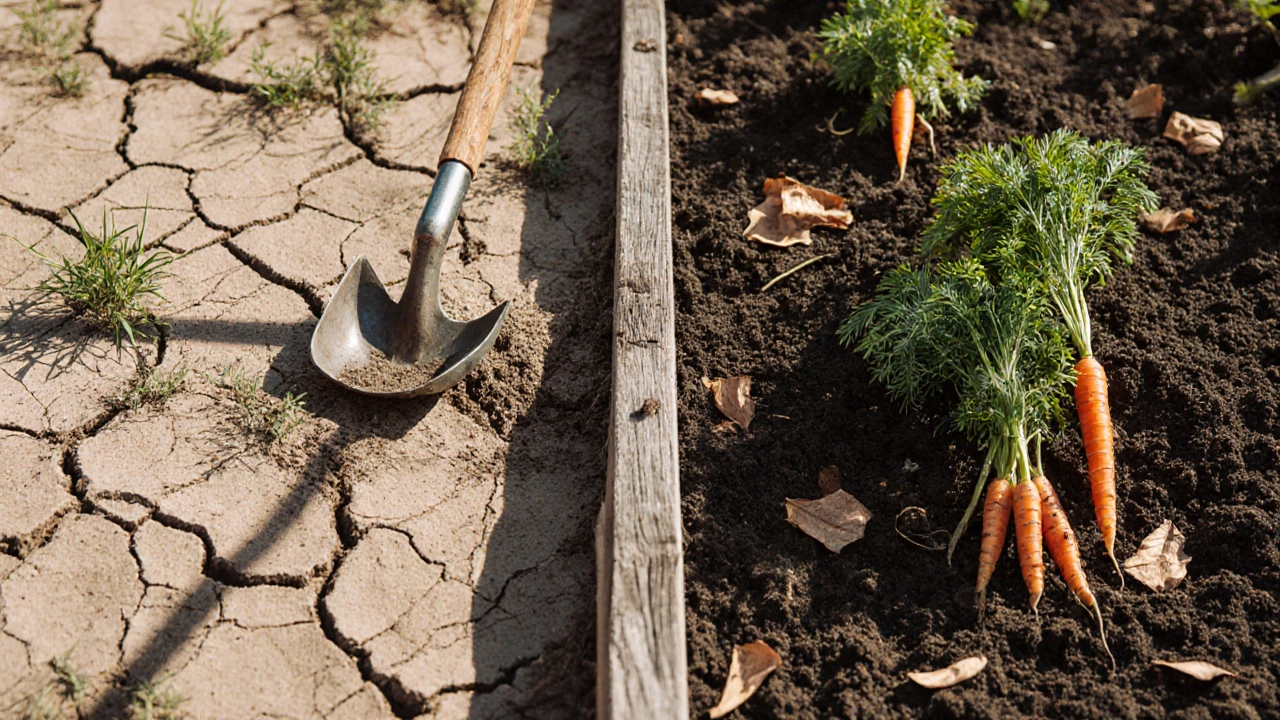
Instead, rotate: follow heavy feeders with legumes (peas, beans) that fix nitrogen, then root crops (carrots, beets) that loosen soil, then leafy greens that use less. It’s simple, natural, and effective.
In autumn, after harvest, plant a cover crop. Winter rye, crimson clover, or field beans grow fast and protect bare soil. They stop weeds, prevent erosion, and when you cut them down in spring, they add green manure. Just chop them with a hoe and leave them on the surface. They break down in weeks.
Step 5: Mulch Like a Pro
Mulch isn’t just for looks. It’s insurance for your soil. A 2-inch layer of straw, wood chips, or shredded leaves keeps moisture in, stops weeds, and slowly adds organic matter as it decays.
Apply mulch after planting, keeping it a few inches away from plant stems. In spring, refresh it. In autumn, let it break down into the soil. Over three years, mulching alone can turn compacted, nutrient-poor soil into something rich and crumbly.
What Not to Do
Don’t dump chemical fertilizers on tired soil. They give a quick green-up but starve microbes. You’re feeding the plant, not the soil. That’s like giving a sick person sugar instead of medicine.
Don’t till deeply every year. Tilling kills fungal networks and brings weed seeds to the surface. It’s a short-term fix with long-term damage.
Don’t ignore weeds. They’re not just pests-they’re indicators. Dandelions mean compacted soil. Moss means poor drainage or low pH. Nettles mean rich soil. Learn what your weeds are telling you.
Real Results in Real Time
One gardener in Brighton had a patch of soil so hard she could barely push a trowel in. She stopped planting there for a year. In autumn, she spread 4 inches of homemade compost, planted winter rye, and mulched with straw. The next spring, she dug a hole-soil was dark, soft, and smelled earthy. She planted tomatoes and got the best crop she’d ever had. No fertilizer. No magic. Just time and organic matter.
Another gardener in Sussex had clay soil that turned to cement in summer. He added 6 inches of leaf mold over two years, planted clover as a cover crop, and mulched with wood chips. Now, his carrots grow straight. His potatoes don’t rot. His soil holds water without puddling.
You don’t need expensive products. You don’t need to buy new soil. You need patience and consistency.
Quick Timeline for Rejuvenating Soil
- Autumn (October-November): Clear old plants. Spread 2-4 inches of compost or manure. Plant cover crop.
- Winter (December-February): Let snow and rain work the compost down. Cover crop grows.
- Early Spring (March-April): Cut down cover crop. Leave as mulch. Add another inch of compost if needed.
- Mid-Spring (May): Plant your crops. Mulch around them.
- Summer: Keep mulch topped up. Water deeply but less often.
- Autumn: Repeat.
Do this for two seasons, and your soil will feel different. By year three, you’ll notice plants grow faster, need less watering, and resist pests better.
When You Might Need to Replace Soil
There are exceptions. If your soil is contaminated with heavy metals (common near old buildings or roads), or if it’s been buried under construction rubble, replacement might be necessary. In those cases, bring in fresh, certified topsoil from a reputable supplier.
But for 95% of home gardens? Old soil just needs a reset-not a replacement.
Can I use coffee grounds to rejuvenate old soil?
Yes, but sparingly. Coffee grounds are rich in nitrogen and can improve soil structure, but they’re acidic. Use them as part of your compost pile, not as a direct top dressing. Too much can lower pH too fast and harm some plants. A thin layer mixed into compost is fine; a thick layer around seedlings isn’t.
How long does it take to see results when rejuvenating soil?
You’ll notice better water absorption and fewer weeds within a few months. Plants will look healthier by the next growing season. But real soil transformation-where it becomes dark, crumbly, and teeming with life-takes 12 to 24 months of consistent care. Patience is part of the process.
Is it better to add compost in spring or autumn?
Autumn is ideal. It gives microbes time to break down the organic matter before spring planting. Rain and freezing temperatures help work it into the soil. But if you miss autumn, spring works too-just apply it before planting and mulch over it.
Can I rejuvenate soil in containers?
Absolutely. Empty the pot. Scrape off the top 2 inches of old soil. Mix in equal parts fresh compost and perlite or coarse grit. Refill with the mix. You don’t need to replace all the soil-just refresh the top half. This prevents salt buildup and restores drainage.
Do I need to add fertilizer after rejuvenating soil?
Not right away. Healthy, rejuvenated soil feeds plants naturally through microbial activity. If plants show signs of deficiency-like yellowing leaves-then use a gentle organic feed like seaweed extract or fish emulsion. Avoid synthetic NPK fertilizers. They disrupt the soil’s balance.
Next Steps
Start small. Pick one bed or one pot. Test the soil. Add compost. Mulch. Plant a cover crop next autumn. Do this once, and you’ll see the difference. Do it every year, and your soil will become the strongest tool you have.
Healthy soil doesn’t just grow plants. It grows resilience. It saves water. It cuts down on pests. It reduces waste. And it turns your garden from a chore into a living system that works with you-not against you.