Soil Amendment Calculator
Step 1: Identify Your Soil Type
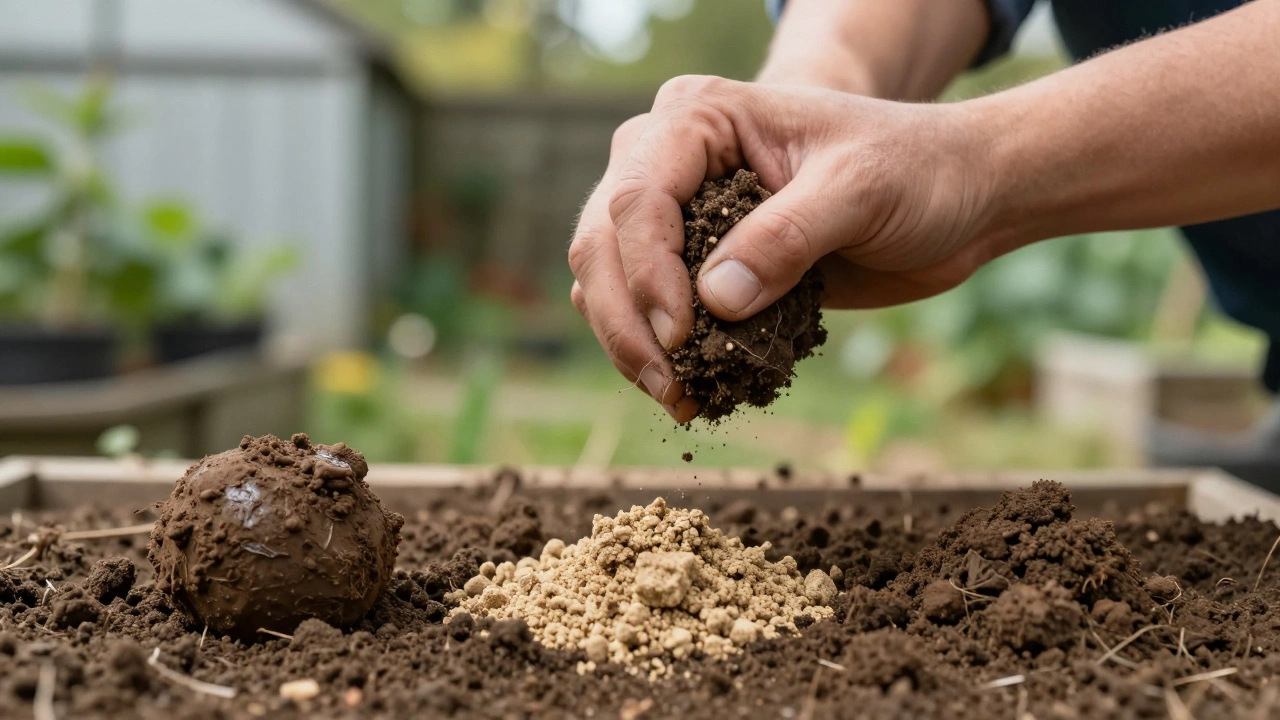
Perform the soil squeeze test:
Clay Soil
Forms tight ball that doesn't crumble when poked
Feeling: Sticky and heavy
Sandy Soil
Falls apart immediately when squeezed
Feeling: Grainy and loose
Loam Soil
Forms shape but breaks apart gently
Feeling: Crumbly and moist
Step 2: Test Drainage
Dig a 12-inch hole, fill with water, wait an hour:
Slow Drainage
Water still visible after 1 hour
This is clay soil
Fast Drainage
Water gone in less than 10 minutes
This is sandy soil
Normal Drainage
Water drained completely in 1-2 hours
This is loam soil
Step 3: Select Your Plant Goals
What are you growing?
Your Soil Improvement Plan
Important Notes
Only use certified organic products. Avoid peat moss (environmentally damaging) and fresh manure (can burn roots).
Bad soil doesn’t mean you have to give up on gardening. Most garden problems start with what’s under the plants-not the plants themselves. If your soil is hard as concrete, washes away in rain, or turns to dust in summer, it’s not the plants failing. It’s the soil. The good news? You can fix it. Not with magic, but with the right soil amendments. And not every amendment works for every garden. Choosing the best product depends on your soil’s actual condition, what you’re growing, and your goals.
Know Your Soil First
You wouldn’t buy medicine without knowing what’s wrong. Same with soil. Before you buy anything, test it. A simple home test takes five minutes. Grab a handful of damp soil. Squeeze it. If it forms a tight ball that doesn’t crumble when you poke it, you’ve got clay. If it falls apart immediately, it’s sandy. If it holds shape but breaks apart gently, you’ve got good loam. That’s your baseline.
Now, check drainage. Dig a 12-inch hole, fill it with water, and wait an hour. If it’s still full, your soil drains poorly. If it’s gone in 10 minutes, it drains too fast. Clay holds water but suffocates roots. Sand drains fast but starves plants of nutrients. Most garden plants want something in between.
Most home gardeners skip this step. They see yellow leaves and buy fertilizer. That’s like taking aspirin for a broken leg. Soil amendments fix the foundation. Fertilizer just feeds the symptoms.
Compost: The All-Around Winner
If you only buy one soil amendment, make it compost. Not bagged stuff from the big box store-real, homemade, dark, crumbly compost. It’s not a fertilizer. It’s a soil builder. It improves structure, holds water, feeds microbes, and slowly releases nutrients over months.
Studies show gardens with 2-3 inches of compost worked into the top 6 inches of soil see 30-50% better plant growth in the first year. Tomato plants in compost-rich soil produce 40% more fruit. Beans grow deeper roots. Even weeds struggle to take hold.
Commercial compost can work, but check the label. Avoid products that say “biosolids” or “sewage sludge.” These can contain heavy metals. Look for “USDA Certified Organic” or “COC” (Compost Organics Council) certified. The best kind smells like a forest after rain-not sour, not rotten.
Apply compost in early spring or fall. Spread 1-3 inches over the bed and rake it in. Don’t bury it. Let the worms do the work.
Worm Castings: The Superfood for Soil
Worm castings are the poop of earthworms. Sounds gross? It’s the most concentrated natural soil amendment you can buy. Unlike compost, which breaks down slowly, worm castings are already digested. They’re packed with beneficial bacteria, enzymes, and nutrients in forms plants can use right away.
One study from the University of Connecticut found that seedlings grown in soil with just 10% worm castings grew 50% faster than those in plain soil. They also had stronger root systems and resisted disease better.
Worm castings won’t fix compacted clay or sandy soil on their own. But they’re perfect as a booster. Mix 1-2 cups per planting hole for vegetables. Sprinkle a thin layer (1/4 inch) over potted plants or garden beds. Use it once every 6-8 weeks. It’s expensive per pound, but you need so little that a 5-pound bag lasts a whole season.
Peat Moss: For Water Retention (Use With Caution)
Peat moss is great if your soil dries out too fast. It holds up to 20 times its weight in water. That’s why it’s used in potting mixes and for starting seeds. It also lowers soil pH, which helps blueberries, azaleas, and rhododendrons.
But here’s the catch: peat moss is mined from ancient bogs. These ecosystems take thousands of years to form. Harvesting peat releases carbon and destroys habitats. Many environmental groups recommend avoiding it.
If you use peat moss, use it sparingly. Mix 1 part peat moss to 3 parts soil for container gardening. Don’t use it to amend large garden beds unless you’re desperate. Look for alternatives like coconut coir, which has similar water-holding properties and is renewable. Coconut coir is a byproduct of coconut processing. It’s not perfect-some brands are salty and need rinsing-but it’s a far better choice for the planet.

Leaf Mold: The Forgotten Gem
Most people rake leaves and throw them away. That’s a mistake. Left to rot for a year, leaves turn into leaf mold-a dark, crumbly material that’s almost like compost but even better for water retention.
Leaf mold doesn’t add many nutrients, but it’s a miracle for soil texture. It loosens clay, helps sandy soil hold together, and creates air pockets for roots. It’s also teeming with fungi, which help plants absorb nutrients.
Make your own by piling leaves in a wire bin. Keep them damp. Wait 12-18 months. You’ll end up with a material that looks like rich chocolate cake. Use it as a top dressing or mix it into planting holes. It’s free, local, and sustainable. And it works better than most bagged products.
Green Manure: Soil Repair While You Wait
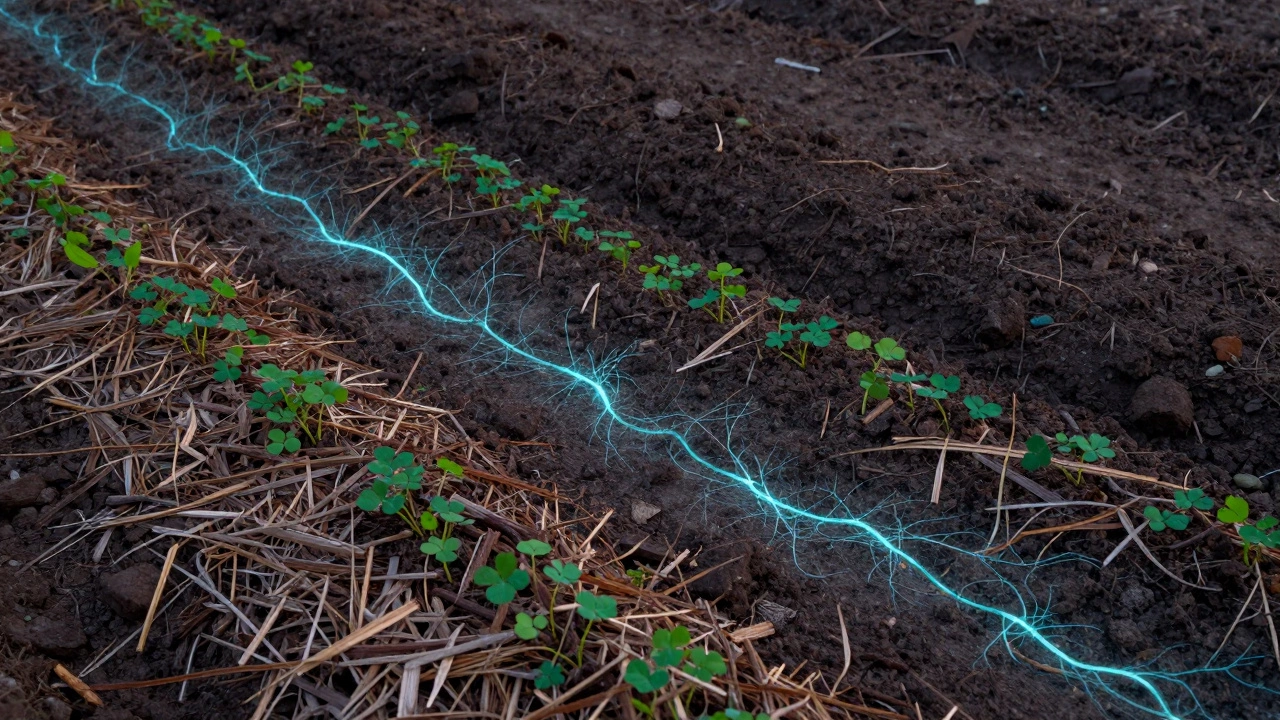
If you’re planning next year’s garden, don’t just wait. Plant cover crops. These are fast-growing plants like clover, vetch, rye, or buckwheat that you grow in empty beds. They don’t get harvested. They get tilled under.
They do three things: protect soil from erosion, add organic matter when they die, and fix nitrogen (in the case of legumes). Clover and vetch pull nitrogen from the air and lock it into the soil. Rye grows deep roots that break up hardpan.
Plant cover crops in late summer or early fall. Let them grow until spring, then cut them down and turn them into the soil. Wait two weeks before planting your vegetables. That gives them time to break down. You’ll notice your soil feels softer, smells richer, and holds moisture longer.
What Not to Use
Some products sound like soil saviors but do more harm than good.
- Manure (fresh): Fresh cow, horse, or chicken manure burns roots and can carry E. coli. Always compost it first.
- Wood ash: Raises pH too much. Only use if your soil is very acidic-and even then, use less than a handful per square yard.
- Perlite and vermiculite: These are fine for pots, but useless in garden beds. They wash away and don’t feed the soil.
- Chemical soil conditioners: Products claiming to “break up clay” with synthetic polymers are expensive and temporary. Real organic matter lasts for years.
Putting It All Together
Here’s a simple plan based on your soil type:
- Clay soil: Mix 3 inches of compost + 1 inch of leaf mold. Add a cover crop like rye in fall.
- Sandy soil: Work in 2-3 inches of compost + 1 inch of coconut coir. Plant cover crops like clover.
- Loamy soil: Top-dress with 1 inch of compost each spring. Add worm castings to new plantings.
Don’t try to fix everything at once. Pick one amendment. Try it in one bed. See how your plants respond. Next year, add another. Soil improvement isn’t a one-time fix. It’s a habit.
When to Amend
Spring is the most popular time. But fall is better. Why? Because winter weather does half the work. Freeze-thaw cycles break up clods. Rain pushes amendments deeper. Microbes stay active longer in cool, moist soil.
Apply compost or leaf mold in October or November. Plant cover crops right after harvest. By spring, your soil will be transformed-without you lifting a shovel.
Final Tip: Let Nature Lead
The best soil amendment isn’t something you buy. It’s something you encourage. Earthworms. Fungi. Bacteria. Beetles. These are the real soil engineers. Feed them with organic matter. Don’t dig too much. Don’t walk on wet soil. Keep it covered with mulch. Over time, your soil will start to heal itself.
You don’t need to buy the most expensive product. You just need to be consistent. Add a little compost every year. Let leaves stay. Plant cover crops. Your soil will remember. And your plants will thank you.
What is the fastest way to improve soil?
The fastest way is to add compost-specifically, 2-3 inches worked into the top 6 inches of soil. You’ll see results in 2-4 weeks, especially in plant growth and moisture retention. For even quicker results, mix in worm castings at planting time.
Can I use store-bought potting soil to amend garden soil?
No. Potting soil is designed for containers. It’s light, sterile, and lacks the microbial life needed for garden soil. Mixing it into garden beds can disrupt natural soil structure and doesn’t add long-term benefits. Stick to compost, leaf mold, or cover crops for outdoor beds.
How often should I amend my soil?
Once a year is enough for most gardens. Apply compost in the fall or early spring. If your plants are struggling mid-season, spot-treat with worm castings. Over-amending can lead to nutrient imbalances. Less is more.
Is lime a good soil amendment?
Only if your soil is too acidic. Most garden soils are fine without lime. Test your pH first. If it’s below 5.5, lime can help raise it for crops like broccoli or cabbage. But if your pH is 6.0 or higher, lime will hurt your plants. Don’t guess-test.
Do I need to till when adding soil amendments?
No, and it’s better if you don’t. Tilling destroys soil structure and kills beneficial fungi. Instead, spread amendments on top and let earthworms and rain work them in. This method, called no-till gardening, builds healthier soil over time.