Hugelkultur Cost & Volume Calculator
Bed Dimensions
Material Costs (UK)
Results
Visual Layer Breakdown:
Staring at an empty raised bed is exciting until you do the math on how much soil it actually holds. A standard 4x8 foot bed that’s 12 inches deep needs about 32 cubic feet of material. If you’re buying bagged topsoil or premium potting mix, that bill can easily hit £150-£200 before you’ve planted a single seed. That stings. But here’s the secret most nursery salespeople won’t shout from the rooftops: you don’t need to fill the whole thing with expensive dirt.
You can cut your costs by 50% or more using a technique called Hugelkultur, which is a method of building raised beds over large piles of wood debris and organic matter that decompose over time. It sounds complicated, but it’s basically nature’s way of recycling. By filling the bottom half of your bed with free stuff-branches, logs, cardboard-you create a sponge-like structure that holds water and feeds plants as it breaks down. You only buy high-quality soil for the top few inches where the roots actually live.
Why Filling From the Top Down Wastes Money
Most beginners make the mistake of treating a raised bed like a giant flower pot. They think every inch must be rich, dark loam. But plant roots are lazy. Most annual vegetables and flowers only need the top 6-8 inches of soil to thrive. Their feeder roots-the tiny hairs that grab nutrients-don’t dive into the subsoil unless they’re chasing water during a drought. Below that depth, you’re just storing expensive carbon in a box.
Think of it this way: if you fill a 12-inch bed entirely with £20-per-bag potting mix, you’re paying for volume you aren’t using. By replacing the bottom 6 inches with bulky, cheap, or free materials, you reduce the amount of purchased soil by half. This isn’t just about saving cash; it’s about physics. Organic matter like wood and leaves creates air pockets. These pockets improve drainage and prevent the heavy clay soils common in many UK gardens from compacting and suffocating your plants.
The Layer Cake Strategy: What Goes Where
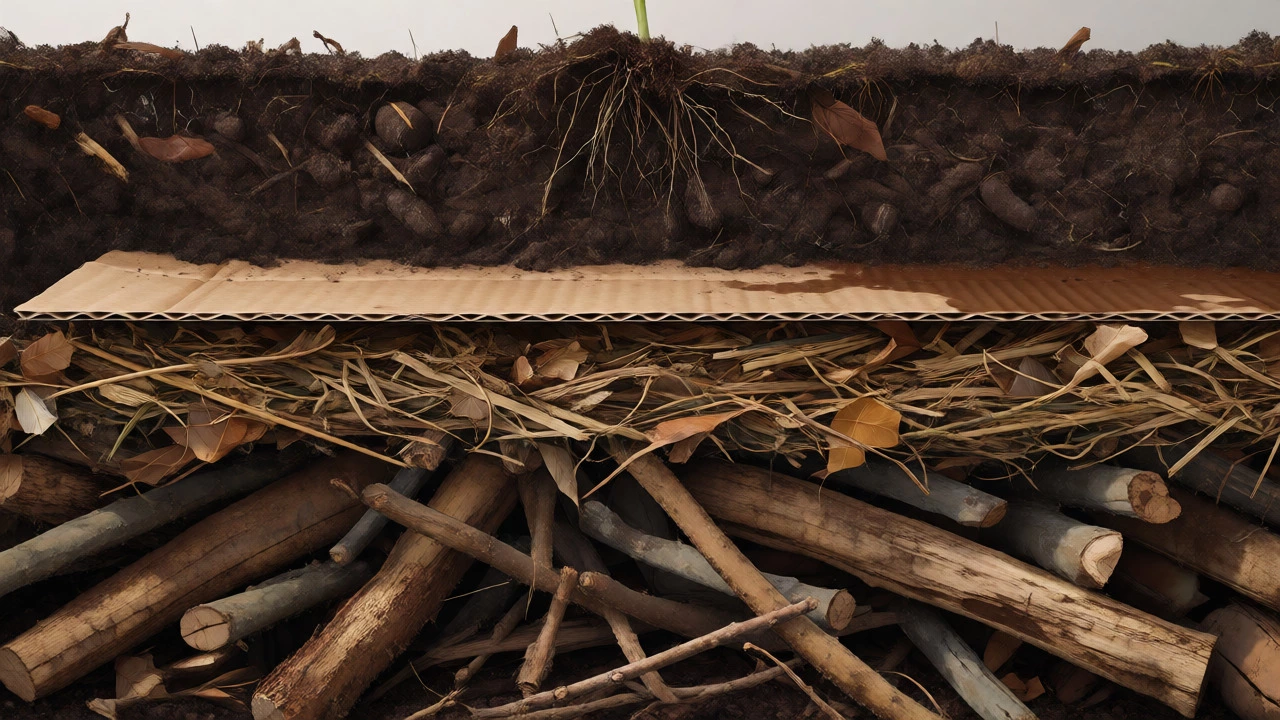
To pull this off without turning your garden into a swamp, you need a specific order of operations. We call this the "Layer Cake" method. Each layer serves a distinct purpose, moving from structural support at the bottom to nutrient-rich growing medium at the top.
| Layer | Material | Thickness | Cost & Source | Purpose |
|---|---|---|---|---|
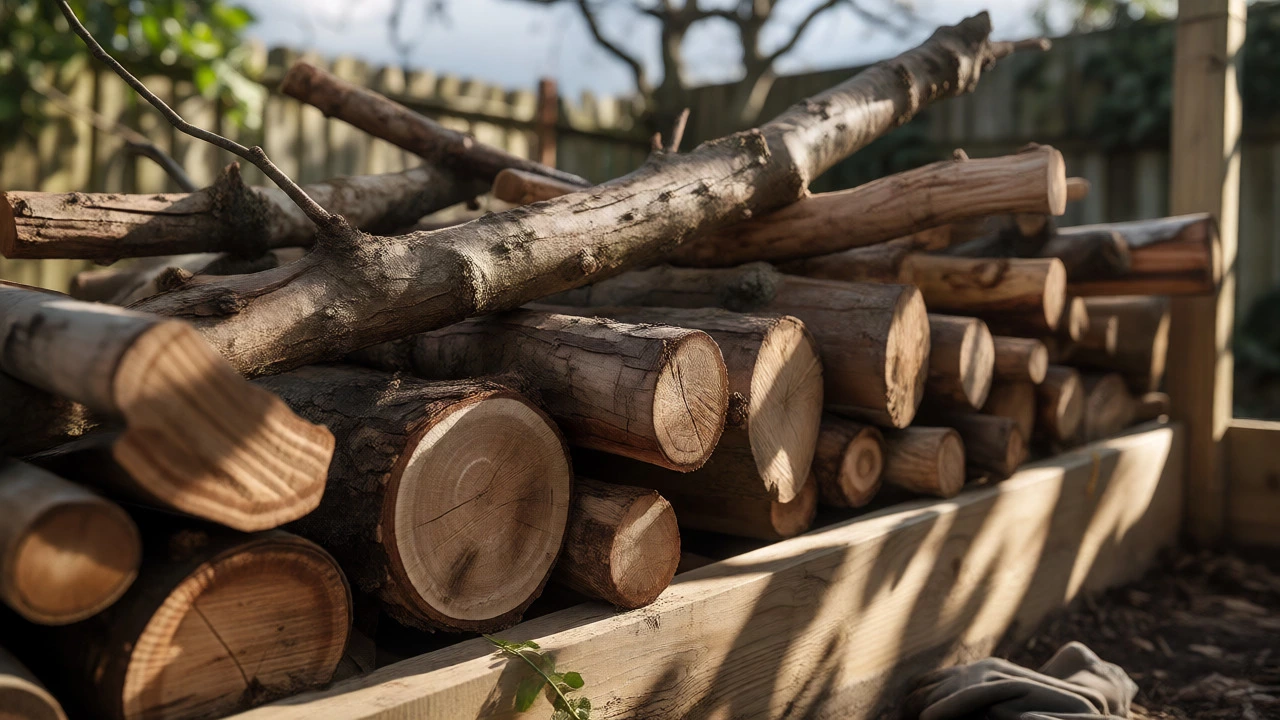
| Base | Logs, thick branches | Bottom 25% | Free (tree lopping services) | Long-term decomposition, water retention |
| Middle | Twigs, leaves, straw | Next 25% | Free (local council tips, neighbours) | Fills gaps, adds nitrogen/carbon balance |
| Barrier | Cardboard (non-glossy) | 1 sheet | Free (delivery boxes) | Blocks weeds, retains moisture |
| Top | Compost + Topsoil Mix | Top 6-8 inches | Purchased (bulk bags) | Immediate root zone for planting |
Sourcing Free Bulk Materials
The biggest hurdle isn’t knowing what to do; it’s finding the stuff. Don’t drive to the tip immediately. Start closer to home. Look at your own garden waste first. Did you prune those shrubs last month? Chop them up. Are there fallen leaves piling up on your lawn? Rake them into bags. In October, leaf litter is abundant. Shred them with a mower if you can; whole leaves mat together and block airflow, but shredded leaves break down faster and integrate better with soil.
For larger woody material, check local community groups. Nextdoor and Facebook Marketplace often have people giving away tree trimmings after storm damage or landscaping projects. Search for terms like "green waste," "branch mulch," or "free firewood." Tree surgeons sometimes drop off chips near job sites. Grab a tarp and collect them. Just avoid treated lumber (like old fence posts) because the chemicals can leach into your vegetable soil.
Cardboard is another goldmine. Ask local shops for their delivery boxes. Remove any plastic tape and glossy labels. Wet the cardboard thoroughly before laying it down. Dry cardboard repels water initially, creating a barrier that prevents rain from reaching the layers below. Soaked cardboard acts as a wick, drawing moisture up from the damp base while suppressing weeds that might poke through from the ground underneath.
The Soil Mix: Buying Smart, Not Expensive
Once your base layers are set, you need real soil for the top. Here is where you can still save money. Avoid small retail bags if you need more than 10 bags total. Go to a landscape supplier or a bulk garden centre. They sell topsoil by the tonne or in large builder’s bags (1-tonne sacks). A tonne of screened topsoil might cost £40-£60 depending on your region in the UK, whereas 50 small bags could cost £100+.
But pure topsoil is boring. It’s mineral-heavy and low in life. To make it productive, mix it 50/50 with compost. You can buy compost in bulk too, but making your own is cheaper long-term. If you haven’t started a compost heap yet, now is the time. For immediate results, look for "spent mushroom compost." Mushroom farmers discard this substrate after harvesting. It’s pasteurized, rich in calcium, and usually sold very cheaply because it’s considered a waste product. Note: Mushroom compost can be salty, so rinse it with a hose before mixing if you plan to grow sensitive crops like lettuce or strawberries.
Here is a simple recipe for the top 6 inches:
- 50% Screened Topsoil: Provides structure and minerals.
- 30% Compost or Manure: Adds nutrients and beneficial microbes.
- 20% Coarse Sand or Perlite: Improves drainage, especially if your native soil is heavy clay.
Mix this blend thoroughly on a tarpaulin before shovelling it into the bed. Do not just dump layers on top; plants hate sudden transitions between soil types. Blending ensures roots can move freely without hitting a "hardpan" of different textures.
Water Management: The Hidden Benefit
One reason experienced gardeners love the hugelkultur-style fill is water conservation. Wood acts like a sponge. As it rots, it absorbs rainfall and releases it slowly back to plant roots. In a typical summer heatwave, a bed filled with wood debris may need watering half as often as one filled purely with peat-based potting mix, which dries out rapidly.
This means you spend less on water bills and less time standing outside with a hose. However, fresh wood takes nitrogen from the soil as it decomposes. Bacteria breaking down cellulose consume nitrogen, potentially starving your young plants. Counteract this by adding a nitrogen-rich source to your top soil mix. Blood meal, feather meal, or well-rotted chicken manure are excellent choices. Sprinkle it lightly into the top 2 inches of your new soil. This gives the bacteria enough food to work on the wood without stealing nutrients from your tomatoes or beans.
Common Pitfalls to Avoid
Don’t use fresh sawdust in large quantities. It compacts tightly and blocks water penetration. If you must use sawdust, mix it with twice as much leaf litter or straw to keep it airy. Also, never use black walnut wood. It contains juglone, a natural herbicide that kills nightshades (tomatoes, peppers, potatoes). Stick to oak, maple, birch, or fruit trees.
Another trap is settling. Over the first year, your bed will sink by 2-4 inches as the organic matter compresses and rots. Don’t panic. You don’t need to refill it immediately with expensive soil. Instead, add a 2-inch layer of mulch (grass clippings, straw, or shredded leaves) on top each spring. This mimics natural forest floors, feeding the soil surface while protecting it from erosion. By year two, the bed stabilizes, and the wood core provides steady nutrients.
Quick Checklist for Success
- Clear the site of grass and weeds before building.
- Line the bottom with cardboard if you want extra weed protection.
- Stack logs tightly to minimize air gaps.
- Wet every layer heavily as you build.
- Mix topsoil and compost thoroughly before filling the top.
- Add nitrogen fertilizer to counteract wood decomposition.
- Mulch the surface after planting to retain moisture.
Filling a raised bed cheaply requires a bit of legwork and scavenging, but the payoff is huge. You get a healthier, self-sustaining ecosystem that costs a fraction of the retail price. Plus, you’re diverting waste from landfills. Give it a try this autumn, and you’ll likely see better yields next summer than your neighbours who bought all their soil in bags.
Can I use untreated pine for my raised bed fill?
Yes, untreated pine is safe and commonly used. It decomposes faster than hardwoods like oak, which is actually good for short-term fertility. Just ensure it hasn't been pressure-treated with chemicals like arsenic or copper, which can harm edible plants. Fresh pine needles are acidic, but once the wood starts rotting inside the bed, the pH neutralizes quickly.
How long does it take for the wood to decompose?
It depends on the wood type and moisture levels. Softwoods like pine might fully decompose in 3-5 years, while hardwoods like oak can last 10-20 years. You don't need it to vanish completely. As long as it's breaking down, it's releasing nutrients and holding water. The bed remains functional throughout the entire process.
Will slugs and snails ruin my bed if I use wood?
Wood debris does attract slugs, but they rarely cause significant damage to established plants. You can mitigate this by keeping the top soil layer clean and using copper tape around the bed edges. In practice, the improved plant health from richer soil usually outweighs minor slug nibbling. Many gardeners find that birds eat the slugs once the bed becomes a habitat hub.
Is peat moss a good alternative to topsoil?
Peat moss is light and holds water well, but it lacks nutrients and has environmental downsides due to slow regeneration rates. In the UK, many councils now discourage peat use. A mix of coir (coconut fibre) and compost is a more sustainable and equally effective alternative for the top layer. It retains moisture similarly but supports better microbial life.
Do I need geotextile fabric under the bed?
Not necessarily. Geotextile fabric stops weeds but also blocks earthworms and drainage. If you're placing the bed on concrete or paving, yes, use fabric to allow drainage while stopping mud washout. On soil, skip the fabric. Let worms migrate up from the ground. Use wet cardboard instead; it suppresses initial weeds and then decomposes, improving soil structure.