Thinking about sketching a garden design but don't know where to start? It's a lot less complicated than it seems, and I’m here to walk you through it. Drawing your dream garden can be an exciting adventure, letting you visualize how your ideas translate into reality.
First things first, grab your tools: a sketchpad, some pencils, and an eraser. You don’t need fancy art supplies – just the basics will do. Trust me, it’s all about letting your ideas flow naturally. Once you've got your tools, it’s time to map out the garden layout. If you’ve got a rough idea of the space – whether it’s a small balcony or a sprawling backyard – this is where you start playing around with shapes and sizes.
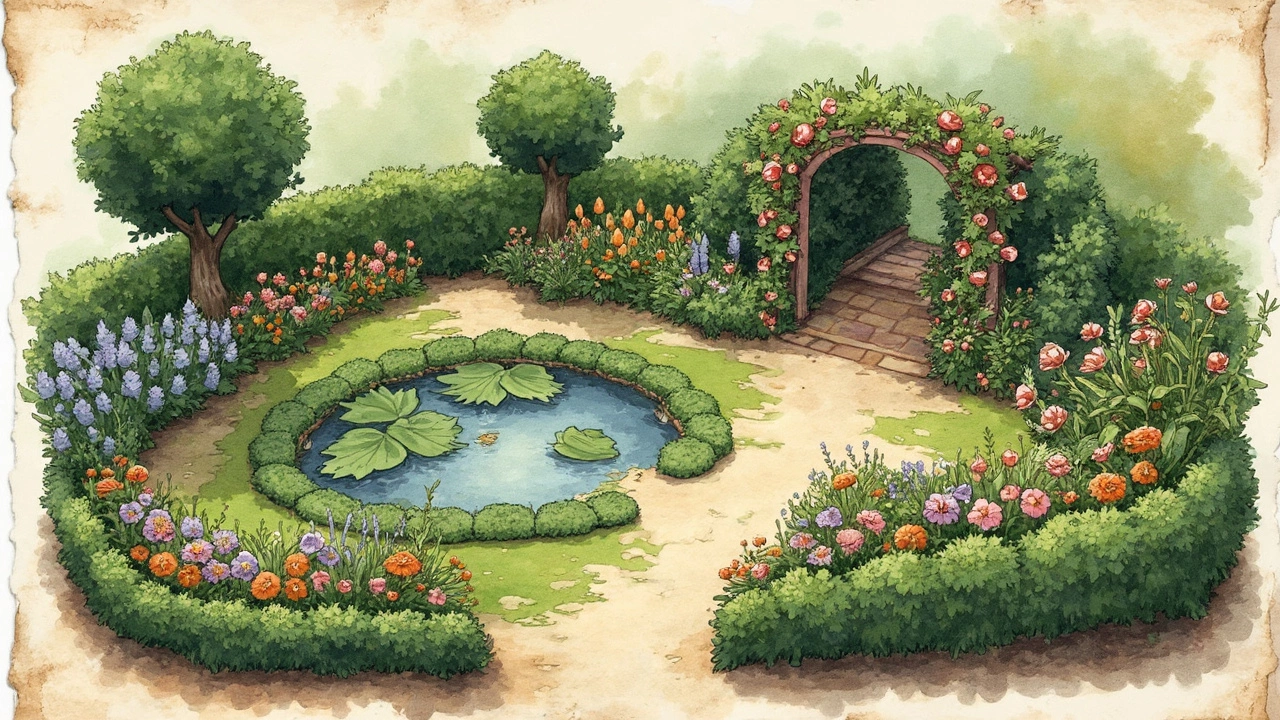
Now, let's think about the plants and features you want to include. This part is where your personality shines through, so get creative. Maybe you fancy a little pond or a winding path with colorful flower beds. Whatever it is, sketch it out! It’s your canvas, after all.
Gathering Your Tools
Before you can dive into drawing your dream garden, you’ve got to get your tools sorted. Don’t worry, you won’t need a professional artist kit. Here’s what to grab:
- Sketchpad: Get yourself a decent-sized one. A4 is usually sufficient, but if you like a bigger canvas, go for A3. Whatever feels comfortable.
- Pencils: A range of pencils from HB to 6B will cover the bases. The HB pencil is good for lighter sketches while the softer 6B is perfect for shading.
- Eraser: Mistakes happen, and that’s all part of the process. A good quality eraser will allow you to make changes without making a mess.
- Ruler: Not crucial, but handy if you’re into neat, straight lines and need some precision in your garden structure.
- Color Pencils or Markers: Once you’ve got the sketch down, adding color brings your vision to life. It’s completely optional, though—stick to the essentials if you prefer.
There’s an interesting bit about how people perceive sketches with diffused lines versus sharp, clear lines. According to urban sketching enthusiasts, using a mix of sharp and soft lines can add depth to your designs. So, feel free to experiment with your pencil strokes.
With these tools handy, you’re all set to start sketching. Remember, the goal is to express your creative ideas without fuss. So, let’s keep things light, play with some shapes, and just enjoy the process!
Planning the Layout
When you're diving into garden design, starting with the layout is key. Think of this as the backbone of your drawing because every plant and feature needs a place to thrive. Start by measuring your space. Grab a tape measure or use a digital tool if that's more your vibe. Knowing the dimensions will save you from squeezing in too much or leaving vast empty stretches.
Once you've got that sorted, it's time to sketch a rough outline. Draw the borders of your garden and mark spaces for large elements like patios, sheds, or a cozy seating area. Don’t forget to consider the path of the sun. It sounds simple, but sunlight can make or break your plant happiness. Areas facing south are usually the sunniest spots in the UK, perfect for flower beds or vegetable patches.
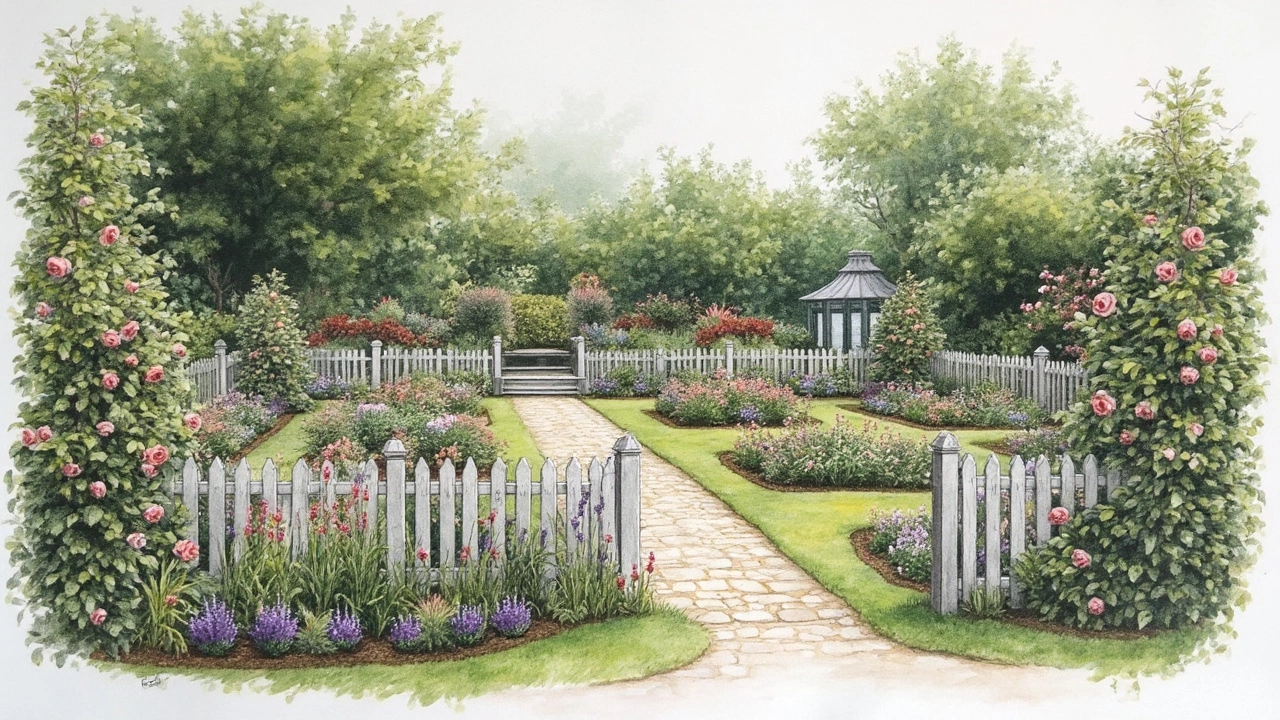
For those into spicing it up with patterns or unique layouts, consider dividing your garden into sections with paths or hedges. These divisions don't just look cool; they make managing space easier too! Here's a quick breakdown:
- Label zones in your sketch for specific functions, like lounging, planting, or entertaining.
- Draw pathways using smooth lines to connect these zones; a winding path adds a rustic charm!
- Allocate space for decorative elements – think ponds, statues, or birdbaths.
If you love numbers, check out this basic layout plan:
| Element | Space Allocation |
|---|---|
| Lawn for play | 40% |
| Flower beds | 30% |
| Patio/seating | 20% |
| Paths and decor | 10% |
These percentages aren't set in stone; they're just helpful guides to start. Feel free to tweak based on your vision. Before you know it, your garden layout will start to take shape, setting the stage for a beautiful, inviting outdoor space.

Adding Plants and Features
Now comes the fun part – bringing life and personality into your garden drawing. We’re talking about plants, pathways, and other cool features that make a space truly yours. But before you start sketching away, think about your garden’s vibe. Do you want something lush and tropical or a quaint English garden look?
Let’s start with plants. If you’re aiming for a low-maintenance garden, think about adding evergreen shrubs or hardy perennials that don’t need a lot of pampering. Consider native plants that naturally thrive in your area, which is good for both the environment and your water bill. Got a soft spot for flowers? Sketch in some areas for colorful blooms like lavender or marigolds to create focal points.
Next up, the garden features. Perhaps a pathway that snakes through your garden could add charm and a bit of mystery. Use materials like gravel or stepping stones for an easy-to-maintain path that doesn’t break the bank. How about adding a small pond or a birdbath to attract wildlife? Not only does this bring a bit of nature closer to home, but it also adds a calming effect to your design.
When sketching these elements, remember to leave enough space for paths and borders, so things don’t end up looking crowded. A good rule of thumb is to mix plant heights. Tall plants at the back, medium ones in the middle, and shorter ones upfront to create depth.
| Feature | Recommended Material | Maintenance Level |
|---|---|---|
| Pathway | Gravel | Low |
| Pond | Preformed Shell | Medium |
| Flower Bed | Mulch Base | Medium |
All these bits and bobs work together to craft a space that not only looks amazing on paper but could easily be your happy place once it’s brought to life. Don’t forget to play around with the scale and try different combinations until you find what feels right.
Final Touches and Tips
So, you’ve drawn your garden layout, added some features, and even visualized how easy drawing can transform into a real garden. But before you put down your pencil, let's talk about polishing your sketch and a few extra tips for elevating your garden drawing skills.
Attention to detail can truly make your sketch pop. Think about adding textures to different plants and surfaces. For example, sketching a light pattern on leaves or gentle lines on tree trunks can bring them to life. And don't forget to play with shading; it gives your drawing depth and dimension. You might even want to add shadows to suggest where the sun hits certain areas of your garden. As the famous artist Vincent Van Gogh once mused,
"If you truly love nature, you will find beauty everywhere."
Consider the scale of your drawings too. A handy rule of thumb is to make pathways wider than you initially think – they shouldn't just be for looks; they need to be practical. Remember, paths usually should be about 3 feet wide so two people can walk side by side.
- Symmetrically balanced gardens give off a formal vibe but don't be afraid to play with asymmetry for a more relaxed and natural look.
- Color coding in your drawing can help distinguish between different types of plants and features. Use light greens and browns for grass and soil, and richer colors for flowers and trees.
- Adding labels to your sketch helps keep track of specific plant names and features. This is super useful for when you turn your drawing into a reality.
When you're pretty much done, take a moment to review your work from a distance. Fresh eyes can often spot areas that might need redefining or rearranging. Don’t be afraid to ask someone else’s opinion either. A second opinion can offer insights you might have missed.
Finally, if you’re still uncertain, remember that gardens evolve with time. The drawing is a plan, a starting point, and it doesn’t need to be perfect. With your creative vision sketched out, you’re well on your way to crafting a beautiful outdoor space. Happy designing!
