Soil Nutrient Replenishment Calculator
Soil Replenishment Planner
This tool helps you determine the best natural methods to replenish lost nutrients in your soil based on your garden type, plants, and symptoms observed. Calculate your specific needs and get a personalized seasonal plan.
Every gardener knows the feeling: you plant your seeds, water them faithfully, and wait-only to see weak stems, yellowing leaves, or nothing at all. The problem isn’t always the seeds or the weather. More often, it’s the soil. Over time, even the best-looking dirt loses its punch. Nutrients get washed away, used up, or locked away. But here’s the good news: you don’t need fancy chemicals or expensive bags to fix it. Replenishing lost nutrients in soil is simpler than you think-and it’s been done the same way for thousands of years.
Why Soil Loses Nutrients
Soil isn’t just dirt. It’s a living system. Plants take out nitrogen, phosphorus, potassium, calcium, magnesium, and dozens of trace minerals every growing season. Rain and irrigation wash some of them deeper down, past the root zone. Heavy crops like tomatoes or corn are nutrient hogs-they strip the soil faster than most plants replace it. And if you’re not adding anything back, the soil gets thinner, flatter, and less able to hold water or support life.
In the UK, where rain is frequent and growing seasons are long, nutrient leaching is a real issue. Clay soils hold nutrients better than sandy ones, but even clay can run dry over time. Without intervention, your garden will slowly lose its ability to feed itself.
Compost: The Foundation of Healthy Soil
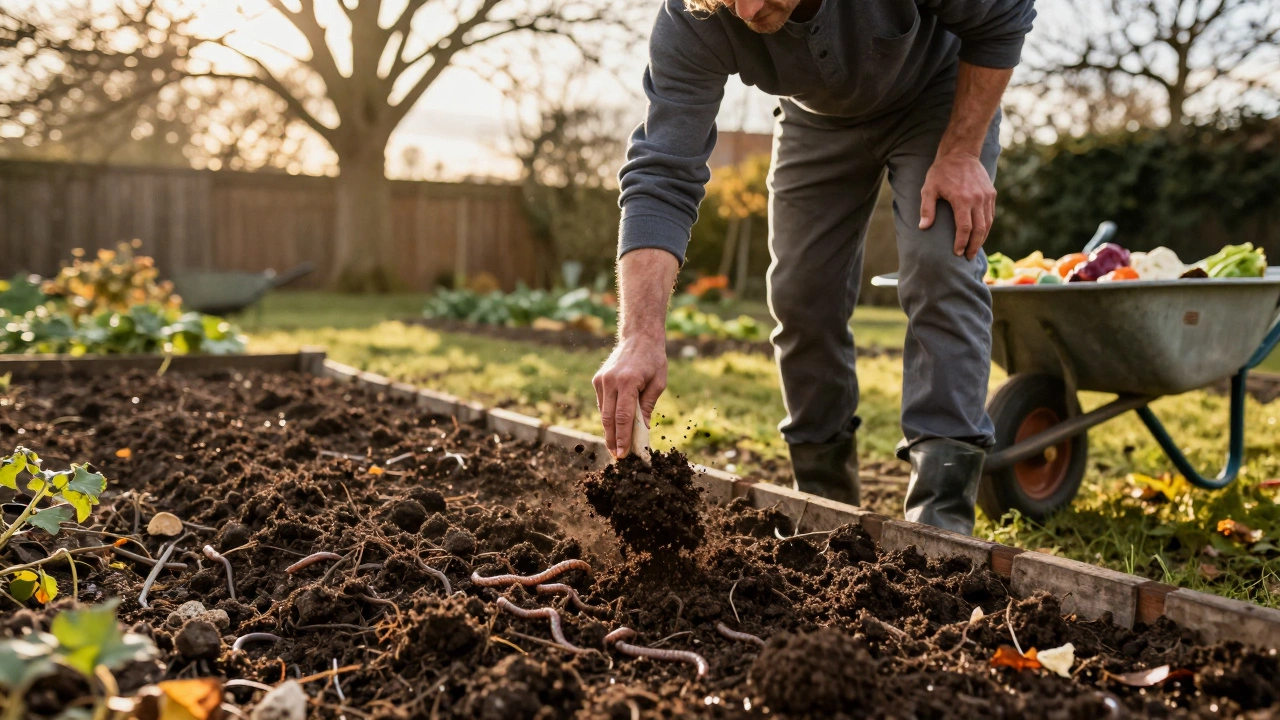
If you do one thing to bring nutrients back into your soil, make it compost. Homemade compost isn’t just organic waste-it’s a slow-release fertilizer packed with nitrogen, humus, beneficial microbes, and trace minerals. A single inch of well-made compost worked into the top 6 inches of soil can boost nutrient levels for an entire growing season.
What goes in? Kitchen scraps like veggie peels, coffee grounds, eggshells, tea bags, and even shredded newspaper. Yard waste like leaves, grass clippings, and small prunings. Avoid meat, dairy, and oily foods-they attract pests and don’t break down cleanly. Mix greens (nitrogen-rich) with browns (carbon-rich) in roughly a 1:3 ratio. Turn it every few weeks. In 3 to 6 months, you’ll have dark, crumbly, earthy-smelling compost ready to use.
Apply it in early spring or late autumn. Spread it over the surface and lightly fork it in. Don’t dig deeply-you’ll disturb soil structure. Worms and microbes will do the rest.
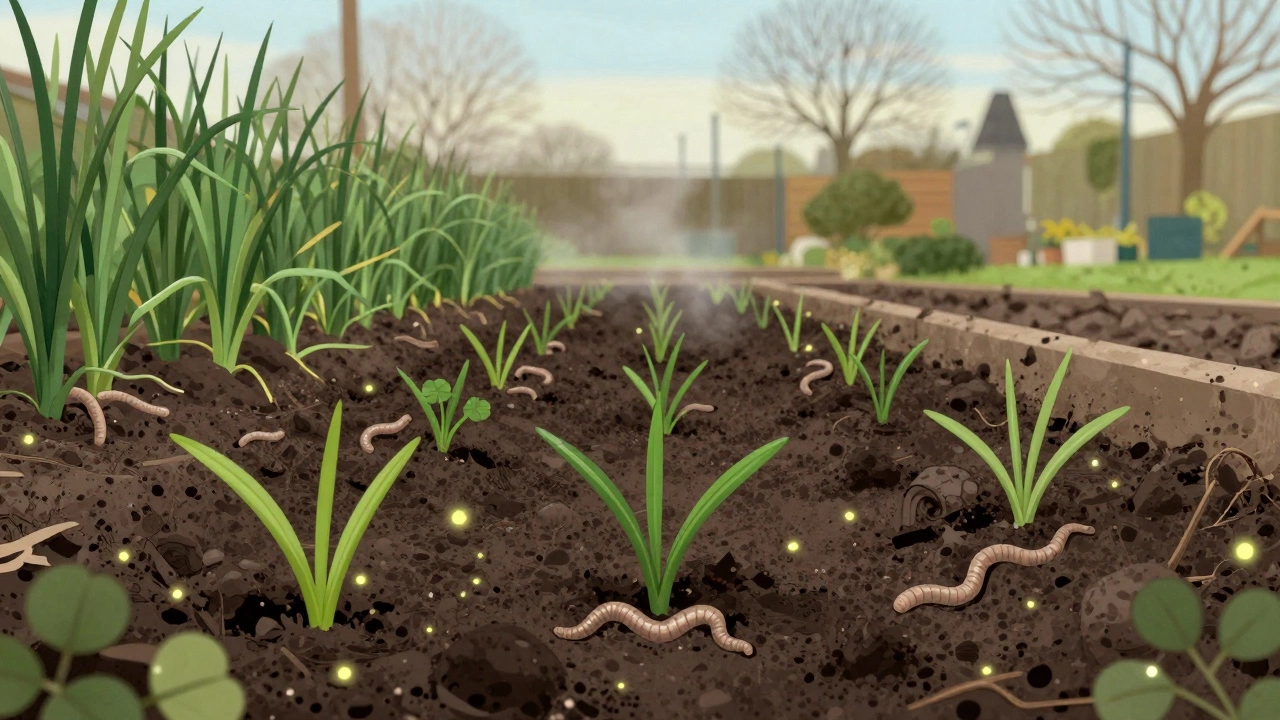
Cover Crops: Nature’s Soil Repair Crew
Think of cover crops as your soil’s winter blanket and nutrient refresher rolled into one. After harvesting your main crops, plant something fast-growing that doesn’t need feeding-like clover, vetch, rye, or mustard. These plants grow quickly, protect bare soil from erosion, and pull nutrients from deep down where your vegetables can’t reach.
Legumes like clover and vetch have a special trick: they team up with bacteria in their roots to pull nitrogen from the air and lock it into the soil. When you turn them under in spring, they decompose and release that nitrogen right where your next crop needs it. Rye and oats build organic matter and improve soil texture. Mustard acts as a natural biofumigant, suppressing soil-borne pests.
Plant cover crops in September or early October in the UK. Let them grow until late March. Then cut them down and let them sit for a week before lightly tilling them in. You’ll be amazed at how much richer your soil feels the next season.
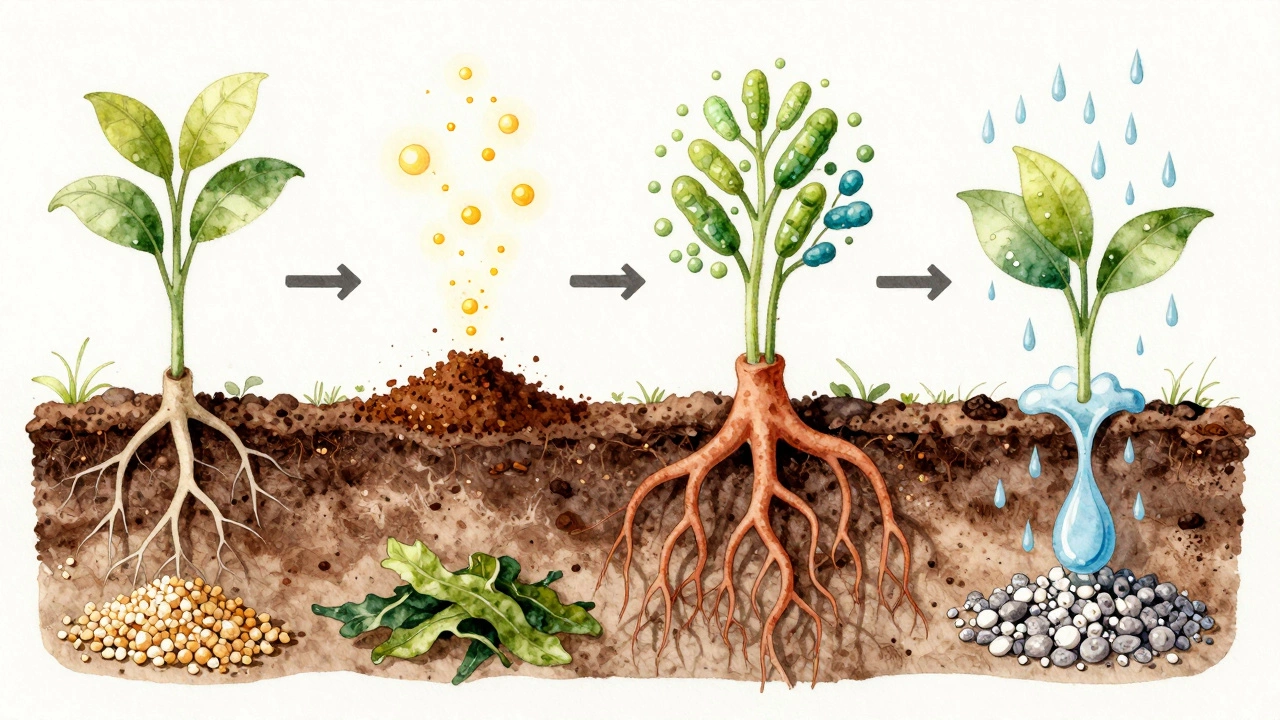
Organic Amendments: Targeted Nutrient Boosts
Compost is your base. But sometimes, your soil needs a specific boost. Here’s what works:
- Bone meal for phosphorus-great for root crops like carrots and potatoes. Use 100g per square meter in spring.
- Blood meal for nitrogen-ideal for leafy greens and corn. Apply sparingly; it’s strong. 50g per square meter is enough.
- Wood ash for potassium and calcium-use only if your soil is acidic. Sprinkle lightly (no more than 1kg per 10 square meters) and mix in. Avoid using it on blueberries or potatoes-they hate alkaline soil.
- Seaweed meal for trace minerals-excellent for overall plant health. Works well for tomatoes, brassicas, and fruit bushes. Apply 50-100g per square meter.
- Rock phosphate for long-term phosphorus-slow to release, but lasts for years. Best added during bed prep, not mid-season.
These aren’t quick fixes. They’re long-term investments. Use them based on soil test results or visible plant symptoms. Yellow leaves? Could be nitrogen. Purple stems? Phosphorus might be low. Always err on the side of less-you can always add more next year.
Manure: Use It Right, or Don’t Use It at All
Animal manure sounds like a no-brainer. But fresh manure burns plants, smells awful, and can carry harmful bacteria. Only use well-aged or composted manure-meaning it’s been sitting for at least 6 months, preferably a year. Cow, horse, and chicken manure are common. Chicken manure is high in nitrogen, so use less. Cow manure is milder and safer for beginners.
Apply aged manure in autumn. Let winter rains and frost break it down before spring planting. Never put fresh manure near edible crops less than 120 days before harvest. The USDA recommends this to avoid E. coli risk. In a home garden, it’s just common sense: if it’s not composted, it’s not ready.
Soil Testing: Know What You’re Working With
You wouldn’t take medicine without knowing what’s wrong. Don’t guess with your soil. A simple home test kit from a garden center can tell you pH and basic nutrient levels. For deeper insight, send a sample to a lab-many UK universities and agricultural extension services offer low-cost soil testing.
Aim for a pH between 6.0 and 7.0 for most vegetables. Below 5.5? Your soil’s too acidic. Add lime. Above 7.5? Too alkaline. Add sulfur or more compost. Nutrient levels matter too. If your soil tests low in potassium but high in nitrogen, you know exactly what to add-and what to leave out.
Test every 2-3 years. It’s cheap, easy, and stops you from over-fertilizing. Too much of one nutrient can block others. For example, excess phosphorus can make iron and zinc unavailable to plants.
What Not to Do
Don’t rely on synthetic fertilizers as your main fix. They give a quick green-up but don’t rebuild soil structure or feed microbes. Over time, they make soil lifeless and dependent on you. They also wash into waterways and harm ecosystems.
Don’t till deeply every year. Tilling breaks up fungal networks, kills earthworms, and exposes organic matter to air, causing it to decompose too fast. No-till or minimal-till methods preserve soil health.
Don’t leave soil bare. Even in winter, cover it with mulch or a cover crop. Bare soil loses nutrients to wind and rain. It also compacts, making it harder for roots to grow next season.
Seasonal Nutrient Replenishment Plan
Here’s how to stay on top of it, step by step:
- Autumn (October-November): Plant cover crops. Spread 2-3 inches of compost over beds. Apply bone meal or rock phosphate if needed.
- Winter (December-February): Let cover crops grow. Snow and rain help break down last season’s compost.
- Early Spring (March-April): Cut down cover crops. Lightly till them in. Add blood meal or seaweed meal if planting heavy feeders like tomatoes or squash.
- Mid-Summer (July): Side-dress with compost tea or diluted seaweed extract for ongoing crops. Avoid heavy amendments now-let plants rest.
- Post-Harvest (September): Remove spent plants. Add another layer of compost. Prep for cover crops.
This rhythm works because it follows nature’s cycle. You’re not forcing growth-you’re supporting it.
Real Results, Real Gardens
A friend in Brighton started composting after her tomato plants kept getting blossom end rot. She’d been adding chemical fertilizer every two weeks. Nothing changed. Then she switched to compost, cover crops, and a bit of bone meal. The next year, her tomatoes were the sweetest in the neighborhood. She didn’t change the variety. She didn’t change the watering. She just fed the soil.
Another gardener in East Sussex had compacted, chalky soil. She spent years struggling with poor yields. After two seasons of cover crops and compost, her soil turned dark and crumbly. Earthworms returned. Her carrots grew straight. Her peas climbed higher. She says it felt like the land remembered how to thrive.
Replenishing nutrients isn’t about magic. It’s about patience, observation, and working with nature-not against it.
How long does it take to rebuild nutrients in soil?
You’ll start seeing improvements in 3 to 6 months with consistent compost and cover crops. Full soil recovery-where the structure, microbial life, and nutrient levels are truly restored-can take 1 to 3 growing seasons, depending on how degraded the soil was. The key is consistency, not speed.
Can I use store-bought compost instead of making my own?
Yes, but choose carefully. Look for compost certified by the Soil Association or BSI PAS 100. Avoid products labeled "multipurpose compost"-they’re often peat-based and low in nutrients. Top-quality compost should smell earthy, feel moist but not soggy, and look dark with visible bits of organic matter. A 50-litre bag costs around £15-£25, but you’ll need more than you think for large beds.
Do I need to add nutrients every year?
Not necessarily. If you use compost and cover crops every season, your soil will rebuild itself. Heavy feeders like brassicas or potatoes may need a little extra each year, but light feeders like beans or herbs often don’t. The goal is to maintain, not constantly add. Test your soil every few years to know what’s really needed.
Is lime good for replenishing nutrients?
Lime doesn’t add nutrients directly-it adjusts pH. If your soil is too acidic (below 6.0), lime makes nutrients like phosphorus and calcium available again. But if your pH is already neutral or high, lime can make things worse by locking up iron and manganese. Always test before adding lime.
Can I use coffee grounds directly in the soil?
You can, but not in large amounts. Coffee grounds are acidic and high in nitrogen, but they can form a dense mat that blocks water and air. Mix them into compost instead, or sprinkle a thin layer (no more than half an inch) around acid-loving plants like blueberries or rhododendrons. Don’t use them as a primary nutrient source.
Next Steps for Your Garden
Start small. Pick one method: make a compost bin, plant a patch of winter rye, or get a soil test. Do it this season. Don’t wait for spring. The sooner you begin, the sooner your soil will respond. Keep notes. What did you add? What did your plants do? Over time, you’ll learn what your soil needs-and you’ll stop guessing.
Healthy soil doesn’t just grow better plants. It holds water, resists pests, and reduces your work. It’s the quiet foundation of every great garden. And it’s waiting for you to help it heal.