Plant Spacing Calculator
Calculate Your Garden Spacing
Determine proper spacing between plants based on their mature spread and your garden dimensions to avoid overcrowding.
Plant Information
Garden Dimensions
Recommended Spacing
Key Takeaways
- Map sun, soil, and water zones before picking any plants.
- Group plants by height, color, and water needs for visual impact and easy care.
- Sketch a rough grid, place taller specimens first, then fill in with perennials, shrubs, and groundcovers.
- Use a simple checklist to review spacing, mature size, and maintenance requirements.
- Adjust the plan after the first growing season; plants will tell you what works.
Designing a garden can feel overwhelming, especially when you stare at a blank plot and wonder where each plant should go. The secret isn’t magic-it’s a clear layout plan that matches the site’s conditions with the right plant choices. Below you’ll find a step‑by‑step process that turns a chaotic space into a coherent, beautiful landscape.
Know Your Garden Zones First
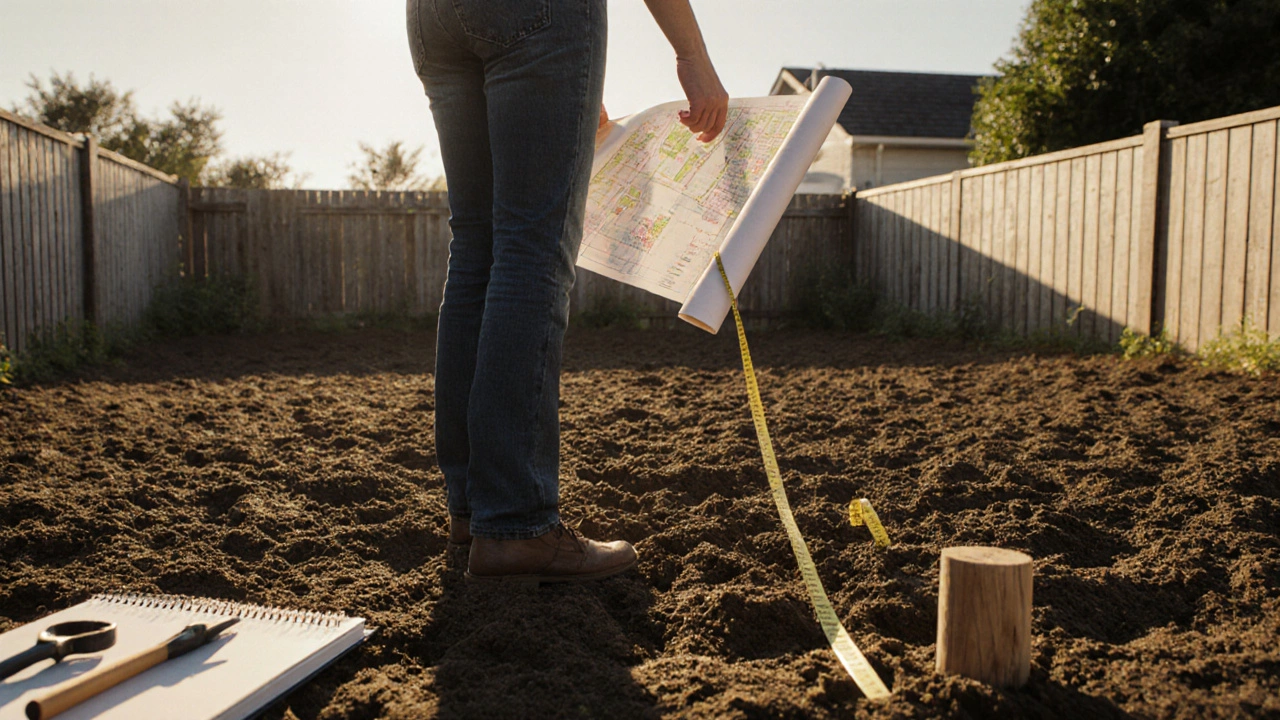
Every garden has micro‑climates. Before you name a rose or a hosta, figure out three key factors: sun exposure, soil type, and water availability. This creates the foundation for a layout that thrives, not just looks good.
Sun exposure is a measure of how many hours direct sunlight a spot receives each day, ranging from full sun (6‑8hrs) to deep shade (0‑2hrs). Mark the garden in three zones-full sun, partial shade, and full shade-using a garden stake and a notebook.
Soil type is a classification based on texture (sand, loam, clay) and organic matter content, which influences drainage and nutrient holding capacity. Perform a simple squeeze test: a handful that forms a ribbon indicates clay, while sand feels gritty and falls apart quickly.
Water requirement is a metric that describes how much moisture a plant needs over a growing season, often expressed as low, moderate, or high. Note any low‑lying areas that collect runoff-these will stay wetter longer.
When you plot these three layers on graph paper or a digital app, you instantly see which parts of the garden suit drought‑tolerant succulents, shade‑loving ferns, or sun‑thirsty tomatoes.
Pick the Right Plant Types
Now that you know the conditions, choose plants that fit each zone. Below are the four major plant categories you’ll arrange, each introduced with its own microdata block.
Perennial plants are species that live for three or more years, returning each spring from the same root system. They form the backbone of a long‑term layout because you plant them once and enjoy them year after year.
Shrubs are woody plants that typically reach 2‑6ft tall, providing structure and seasonal interest. Use them to define edges, create privacy screens, or add focal points.
Trees are large, long‑lived woody plants that exceed 6ft in height, offering canopy, shade, and vertical drama. Plant them on the garden’s perimeter to frame the space and anchor the design.
Groundcovers are low‑growing, spreading plants that blanket the soil, suppress weeds, and retain moisture. Ideal for filling gaps between taller specimens.
Each group has distinct height ranges, water needs, and preferred sunlight. The table below helps you match them to the zones you mapped earlier.
| Plant Type | Mature Height | Preferred Sun | Water Need | Maintenance Level |
|---|---|---|---|---|
| Perennial | 1‑3ft | Full sun to part shade | Moderate | Low‑Medium |
| Shrub | 2‑6ft | Full sun | Low‑Moderate | Medium |
| Tree | 8‑30ft+ | Full sun | Moderate | Low |
| Groundcover | 0‑1ft | Shade to full sun (varies) | Low‑High | Low |
Create Plant Groups That Wow
Human eyes love patterns. When you group plants by similar traits-height, color, texture-you create visual rhythm that feels intentional. Here are three easy groupings:
- Vertical layers: place tall trees or shrubs at the back, medium‑height perennials in the middle, and low groundcovers at the front.
- Color blocks: arrange a series of purple coneflowers, then a band of lime‑green hostas, followed by orange daylilies. The color continuity draws the eye across the garden.
- Texture contrast: pair glossy‑leafed boxwoods with feathery lamb’s ear or spiky yucca. Contrasting textures add depth without extra plants.
When you finalize groups, note each plant’s mature spread. Overcrowding leads to competition for light and water, which defeats the purpose of a well‑planned layout.
Sketch Your Layout on Paper or an App
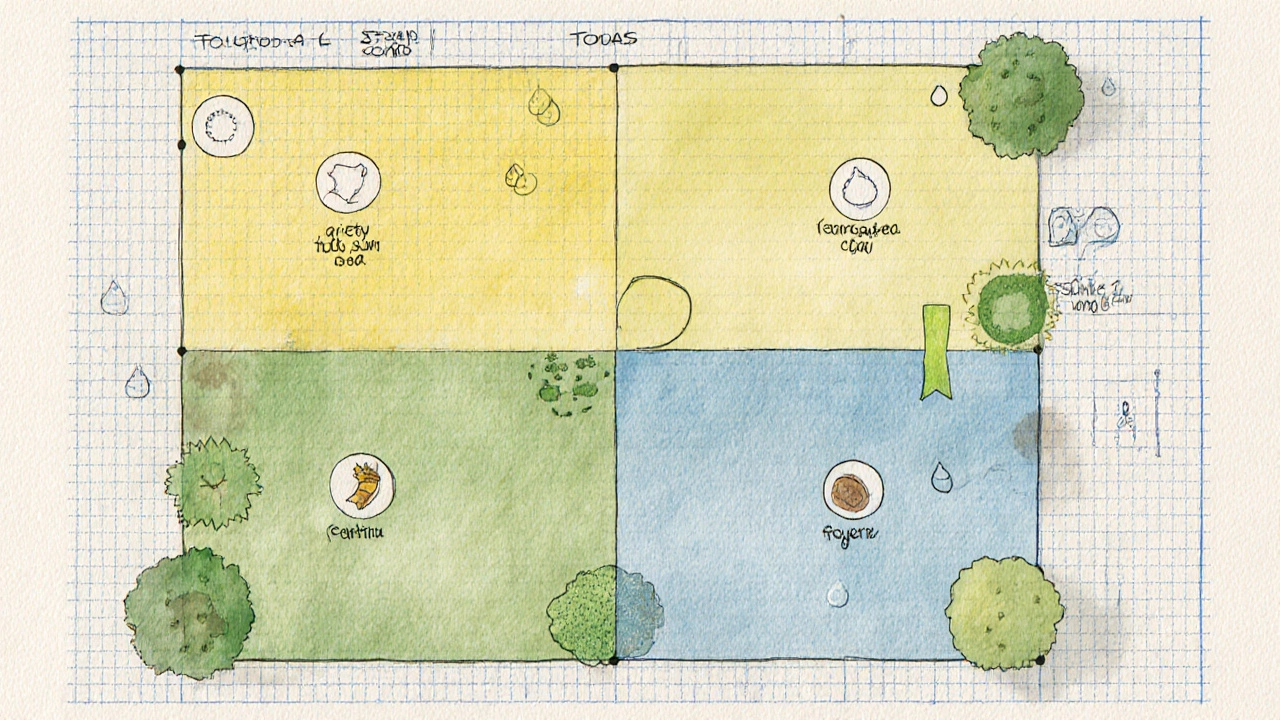
Now it’s time to turn ideas into a visual plan. You don’t need fancy software; a simple grid on graph paper works fine. Follow these steps:
- Draw the garden’s perimeter to scale. One square = one square foot.
- Mark the sun/soil/water zones you identified earlier using different colors.
- Place tree symbols first, giving each enough room for its mature canopy (usually 10‑15ft radius).
- Add shrubs around the trees, respecting their spread.
- Fill the remaining spaces with perennials and groundcovers, following the vertical layer and color‑block ideas.
- Label each symbol with the plant’s common name and a short care note (e.g., “Low water”).
Digital tools like SketchUp, Garden Planner, or even a free spreadsheet can make editing easier. The key is to see the whole picture before you dig.
Step‑by‑Step Example Layout
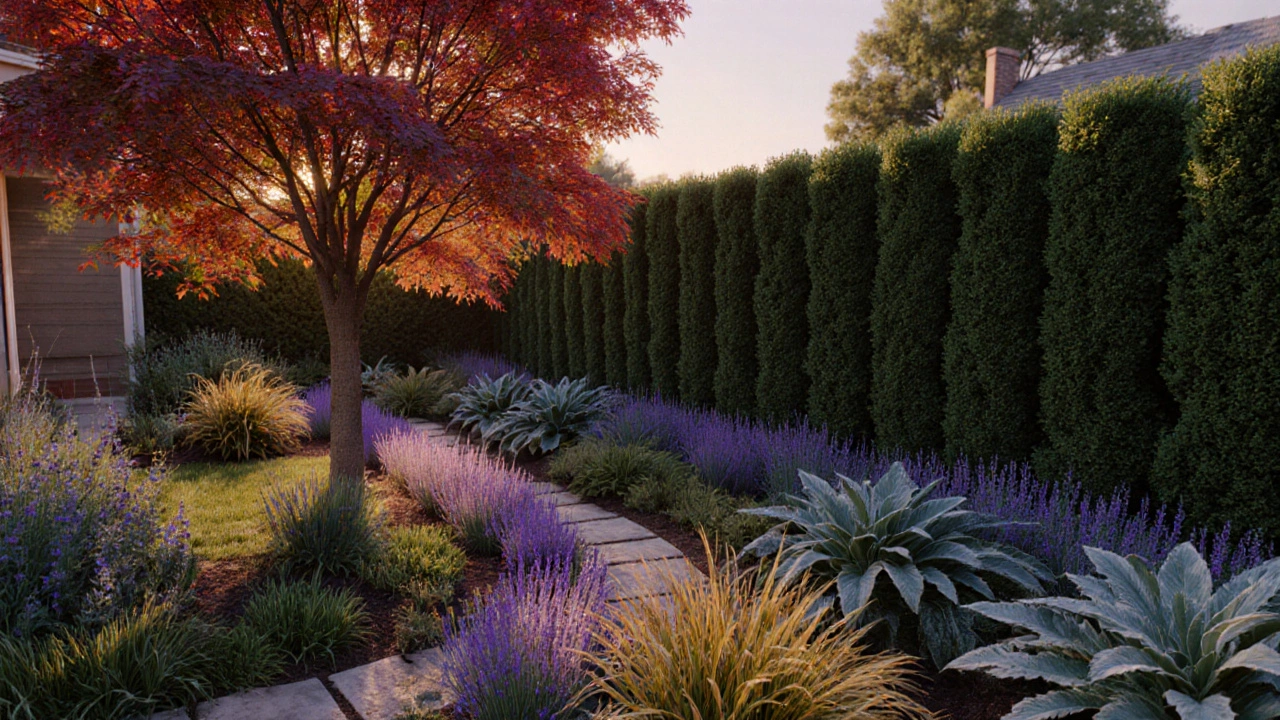
Let’s walk through a 30×20ft backyard that has a sunny western side, a shady eastern corner, and a low‑lying area that stays damp.
- Zone the space. The western 12ft gets full sun, the middle 8ft receives part shade, and the eastern 10ft stays mostly shade. The north‑central strip holds the damp soil.
- Choose anchors. Plant a 15‑ft Japanese Maple (tree) on the sunny western edge for a focal point. Add a 6‑ft Boxwood (shrub) on the damp strip to provide structure.
- Fill the sunny zone. Use Lavender (perennial, low water) in 2‑ft clusters, interspersed with Salvia (medium height, pollinator‑friendly). Space each clump about 3ft apart.
- Shade zone planting. Place Hosta ‘Blue Angel’ (perennial) and Ferns (groundcover) in alternating rows. Their moisture‑loving nature suits the damp soil.
- Connect with groundcovers. Run a ribbon of Creeping Thyme along the garden’s front edge. It releases fragrance when stepped on and tolerates light foot traffic.
- Check spacing. Use the mature spread data: Lavender 2ft, Salvia 3ft, Hostas 2ft, Thyme 1ft. Adjust the sketch to avoid overlap.
- Finalize irrigation. Install a drip line that follows the tree and shrub drip zones, then adds a separate loop for the sunny perennials. The shade zone can rely on a shallow soaker hose.
When you translate this sketch into the real world, follow the plan row by row. Mark planting spots with stakes, dig holes two‑times the root ball width, and backfill with amended soil.
Plan for Ongoing Maintenance
Even the best layout fails if maintenance is overlooked. Incorporate these habits early:
- Mulch early. Apply 2‑3inches of organic mulch after planting to retain moisture and suppress weeds.
- Prune on schedule. Remove dead wood from trees in late winter, thin shrubs after flowering, and divide perennials every 3‑4years.
- Monitor water use. Check soil moisture weekly; adjust drip timers during hot spells.
- Record growth. Keep a simple garden journal noting when plants flower, any pest issues, and how well each zone performed.
These small steps keep the design looking sharp and prevent any one plant from taking over.
Quick Layout Checklist
- Sun, soil, and water zones mapped?
- Tree locations spaced for mature canopy?
- All perennials, shrubs, and groundcovers matched to zone conditions?
- Plant groups follow height, color, and texture rules?
- Spacing respects each plant’s mature spread?
- Irrigation zones aligned with plant water needs?
- Mulch, staking, and soil amendment notes ready?
Frequently Asked Questions
How far apart should I plant shrubs in a mixed border?
Space shrubs at least half of their expected mature width. For a shrub that spreads 6ft, aim for 3ft between crowns. This gives room for airflow and reduces disease pressure.
Can I reuse the same layout plan for a new garden site?
Only if the new site shares similar sun, soil, and moisture characteristics. Otherwise tweak the zones and plant choices to fit the new conditions.
What’s the best time of year to lay out and plant?
Early spring or early fall are ideal. Soil is workable, and plants have time to establish before extreme heat or freeze.
How do I handle a slope in my garden layout?
Terrace the slope with retaining walls or large stones, then plant shallow‑rooted groundcovers on the risers and deeper‑rooted shrubs on the level benches.
Should I prioritize native plants in my layout?
Yes. Native species match local soil, climate, and pollinator needs, which cuts maintenance and boosts ecosystem health.
With a clear landscape plant layout plan, you’ll spend less time guessing and more time enjoying a garden that looks good year after year. Start sketching today, plant wisely, and let nature fill in the details.