Raised Bed Soil Mix Calculator
1. Enter Bed Dimensions
2. Choose Method & Adjustments
Enter your dimensions above to calculate how much soil you need.
You’ve bought the timber, you’ve built the frame, and you’re staring at that empty box of wood wondering what on earth to fill it with. It’s a common panic moment for new gardeners in the UK. Do you buy bags of potting compost? Dig up your lawn? Hire a skip full of topsoil? The wrong choice here can cost you hundreds of pounds or leave you with crops that struggle all summer.
Here is the blunt truth: there is no single "magic" mix that works for every plant in every climate. But after filling dozens of beds in Sussex clay and sandy coastal soils, I’ve found a reliable formula that balances drainage, moisture retention, and nutrients without breaking the bank. If you want vegetables that thrive rather than just survive, you need to understand why standard garden soil fails in containers and how to build a living growing medium from scratch.
Why Regular Garden Soil Fails in Raised Beds
Before we talk about ratios, let’s address the biggest mistake people make: scooping native soil straight into the bed. In many parts of the UK, especially in clay-heavy areas like London or the Midlands, native soil is too dense. When confined within wooden frames, this soil compacts rapidly under rain and foot traffic. Compaction suffocates roots. Roots need air pockets to breathe; if they are squeezed tight by heavy clay particles, waterlogging occurs, and root rot sets in.
Furthermore, native soil often lacks the specific nutrient profile needed for intensive vegetable cropping. Vegetables are hungry plants. They deplete nutrients quickly. If you start with poor-quality subsoil, you will spend the entire season trying to play catch-up with fertilisers. You want a structure that stays loose, drains freely during our wet winters, but holds enough moisture during those unpredictable dry spells in July.
The Golden Ratio: The 60/30/10 Rule
For most UK home gardeners, the best mix for raised beds isn't complicated science-it's a simple volume-based recipe. Forget weight; think in buckets or wheelbarrow loads. The consensus among experienced growers, including those at the Royal Horticultural Society (RHS), leans towards a blend that prioritises structure over pure fertility.
Here is the go-to starting point for a healthy bed:
- 60% Topsoil: This provides the bulk and mineral content. Ensure it is screened (sieved) to remove large stones and roots.
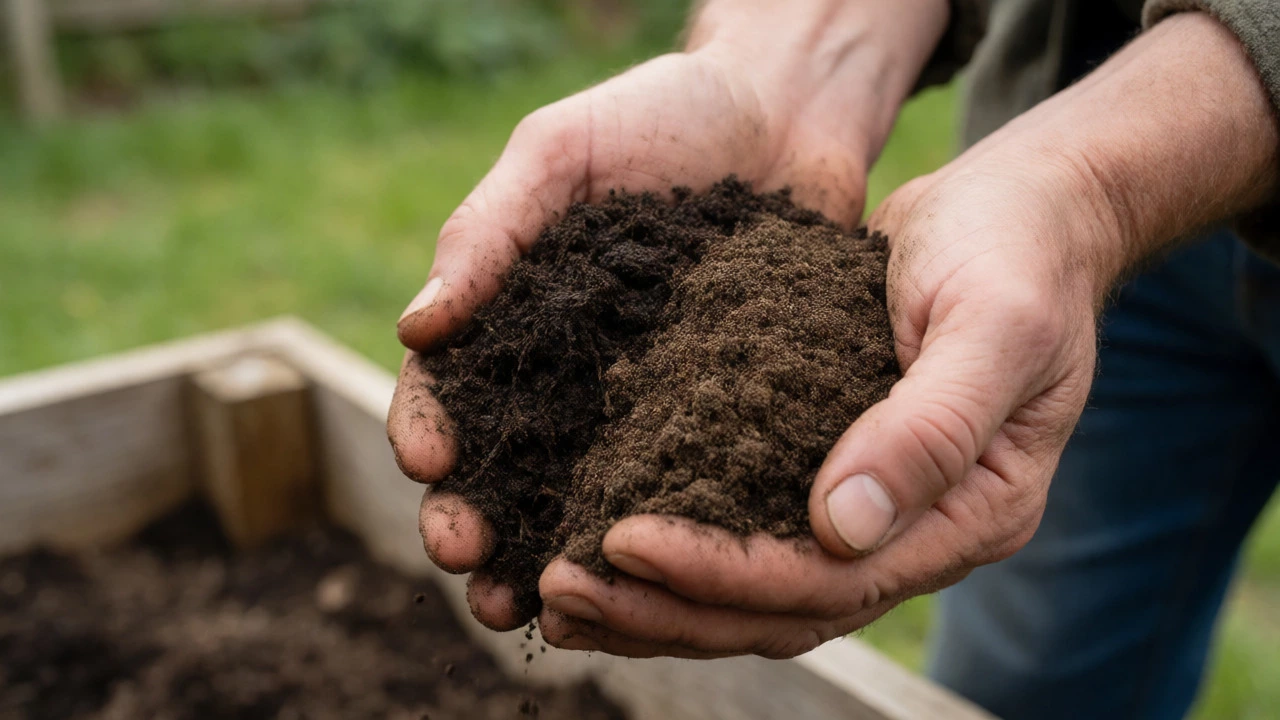
- 30% Compost: This is your engine room. Use well-rotted garden compost or high-quality commercial potting compost. This adds humus, which acts like a sponge for water and feeds soil microbes.
- 10% Coarse Sand or Grit: This improves drainage. Crucial if you live in a high-rainfall area like Scotland or Wales, or if your topsoil is naturally heavy.
Why this ratio? The topsoil gives the plants something to grip. The compost feeds them and keeps the soil crumbly. The sand prevents the mix from turning into concrete when it gets wet. If you find the mix dries out too fast in summer, reduce the sand to 5% and increase the compost to 35%. If it stays soggy, add more grit.
Topsoil vs. Multi-Purpose Compost: What to Buy?
Many beginners ask, "Can’t I just use multi-purpose compost?" You can, but it’s expensive and often too light for deep-rooted crops like parsnips or carrots. Multi-purpose compost is designed for pots where watering is daily. In a raised bed, you want a substrate that holds its structure longer.
| Material | Best For | Cost Efficiency | Drainage Quality |
|---|---|---|---|
| Screened Topsoil | Bulk filler, structural base | High (if bought in bulk) | Moderate (depends on texture) |
| Multi-Purpose Compost | Seedlings, pots, surface dressing | Low (expensive per litre) | High (can dry out fast) |
| Garden Compost | Nutrient boost, microbial life | Very High (free/home-made) | Variable (needs sieving) |
| Certified Organic Potting Mix | Premium vegetables, herbs | Moderate | Excellent |
If you have access to a local landscaping supplier, buying topsoil by the tonne is significantly cheaper than buying bagged compost. However, quality varies wildly. Inspect the load before accepting it. It should smell earthy, not chemical or sour. Avoid any topsoil described as "subsoil"-it’s usually grey, sticky clay with little organic matter.
Layering Method: The Hugelkultur Approach
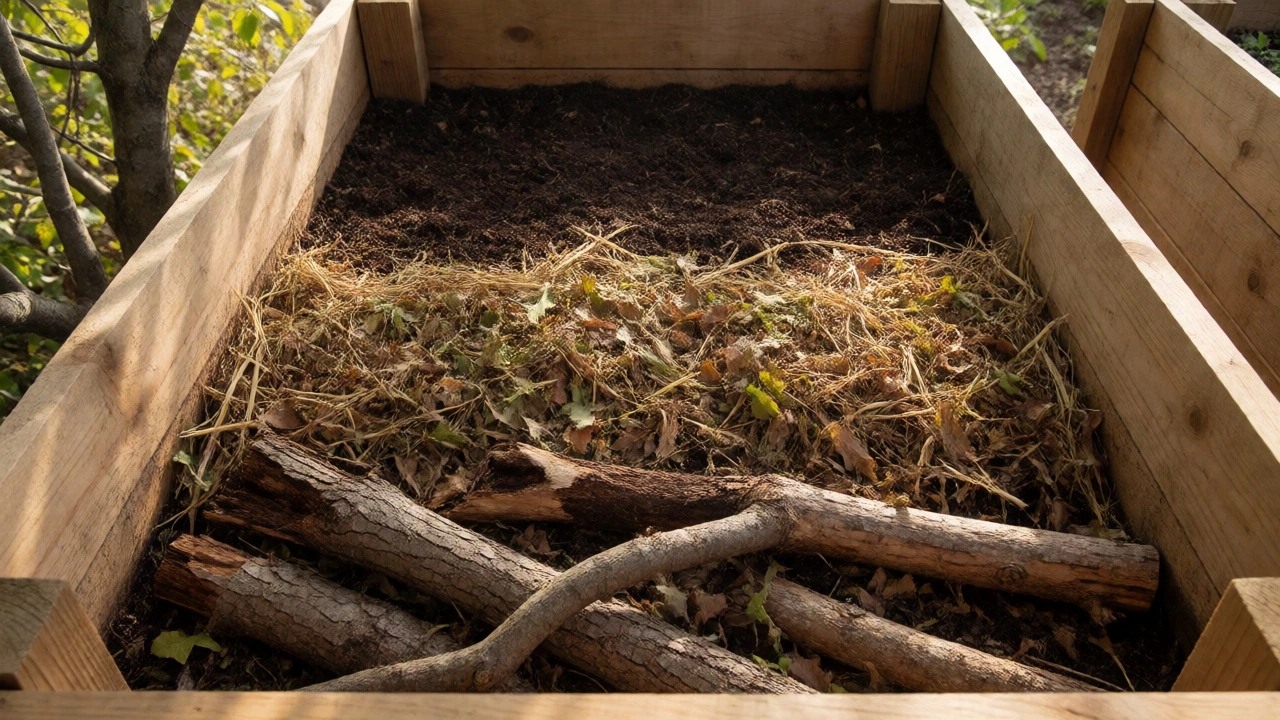
If your raised bed is deep (over 40cm/16 inches), filling it entirely with premium mix is wasteful. The bottom half doesn’t need rich nutrients because shallow-rooted greens won’t reach down there. Instead, use the layering method to save money and improve long-term soil health.
- Bottom Layer (Logs/Branches): Place untreated logs or thick branches at the very bottom. Over time, these decompose, releasing heat and creating air pockets. This is known as Hugelkultur.
- Middle Layer (Leaves/Greens): Add shredded leaves, grass clippings, or straw. This breaks down slowly, feeding the soil from below.
- Top Layer (The Growing Medium): Fill the top 30-40 cm with your 60/30/10 mix. This is where your lettuce, tomatoes, and beans will actually grow.
This method mimics natural forest floors. As the lower layers rot, they act as a slow-release fertiliser reservoir. Just ensure you don’t use treated wood or diseased plant material (like blight-infected potato tops) in the middle layer, or you’ll introduce pathogens right under your veggie roots.
Adjusting for Your Specific Soil Type
One size does not fit all. Your location matters. Living in Brighton, I deal with slightly alkaline chalky soil. Here’s how to tweak the mix based on what’s under your feet:
- Clay Soil Areas: Increase the coarse grit or sharp sand to 15-20%. Clay holds water aggressively. Without extra drainage material, your raised bed will stay wet for weeks after rain, delaying spring planting.
- Sandy Soil Areas: Reduce the sand component entirely. Sandy soil drains too fast. Focus on increasing the compost content to 40% to help retain moisture and nutrients. Consider adding water-retaining crystals or vermiculite if you experience frequent droughts.
- Peaty/Boggy Areas: These soils are acidic. Add garden lime to the mix to raise the pH level, making nutrients more available to brassicas like cabbage and broccoli.
A quick test: Take a handful of your mixed soil, squeeze it hard, then poke it with your finger. If it crumbles apart easily, the texture is perfect. If it sticks together like a mud pie, add more compost or grit. If it falls apart immediately and feels gritty, add more compost.
Feeding and Maintenance: Don’t Stop at Day One
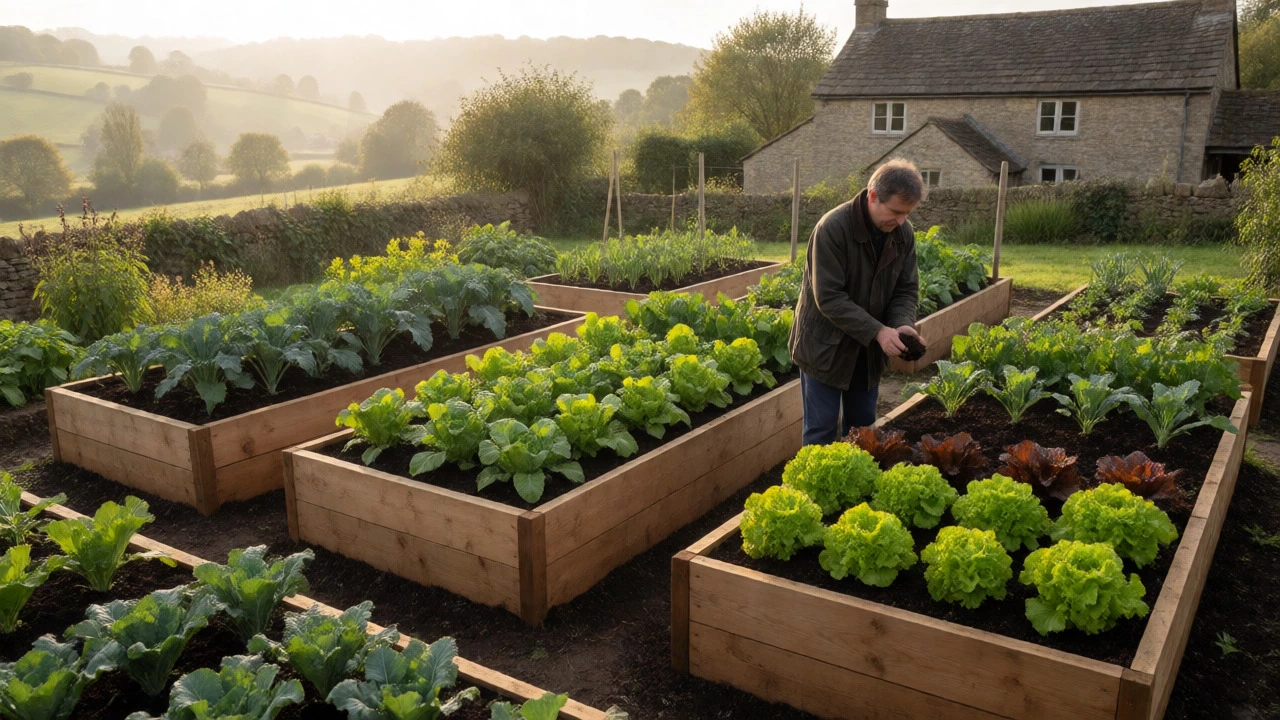
Filling the bed is just the start. Raised beds lose nutrients faster than open ground because you harvest crops intensively. Every year, you must replenish the organic matter.
At the end of each growing season, spread a 2-3 cm layer of fresh compost or well-rotted manure over the surface. No digging required. Let the worms do the work-they’ll pull the organic matter down through the soil. This practice, called "no-dig gardening," preserves the soil structure and fungal networks that help plants fight off disease.
In early spring, before planting, check the nitrogen levels. Leafy greens love nitrogen. If your plants look pale yellow, a liquid feed of comfrey tea or a balanced organic fertiliser will perk them up within days. Remember, synthetic fertilisers give a quick fix but don’t build soil health. Aim for organic inputs to keep your soil alive.
Common Pitfalls to Avoid
I’ve seen good gardens ruined by simple errors. Here are three traps to sidestep:
- Using Fresh Manure: Never put fresh chicken or cow manure directly into the bed before planting. It burns roots due to high ammonia levels. Only use composted manure that has aged for at least six months.
- Ignoring Drainage: If your raised bed sits on solid concrete or compacted patio slabs, drill holes in the base or lay a layer of gravel underneath. Otherwise, you’re essentially building a bathtub, and your roots will drown.
- Over-filling with Peat: Many cheap composts are peat-heavy. Peat is environmentally damaging to extract and tends to become hydrophobic (repel water) when dry. Look for peat-free alternatives using coir (coconut fibre) or wood fibre.
How deep should my raised bed be?
For most vegetables, 30cm (12 inches) is sufficient. Root vegetables like carrots and parsnips prefer 45cm (18 inches). If you are growing potatoes or sweetcorn, deeper is better, but you can get away with shallower beds if you use the layering method described above.
Can I use builder's sand instead of horticultural grit?
Yes, but ensure it is washed sharp sand, not soft building sand. Soft sand is too fine and can clog the soil pores, reducing drainage. Sharp sand has angular grains that create air gaps, which is exactly what you want for root respiration.
Do I need to line the bottom of my raised bed?
If your bed is on soil, you generally don't need a liner, as it restricts drainage and worm movement. If you are worried about weeds coming up from below, use a permeable landscape fabric. If the bed is on concrete, you must ensure adequate drainage holes exist beneath the soil layer.
Is it safe to use old railway sleepers for raised beds?
Old railway sleepers are often treated with creosote, which contains carcinogenic chemicals that can leach into the soil. While studies suggest uptake by plants is low, many organic gardeners avoid them for edible crops. New pressure-treated timber is safer, but always check the treatment type (look for ACQ or Tanalith E).
How much soil do I need for a 1.2m x 2.4m bed?
A standard bed of this size with a height of 30cm requires approximately 0.86 cubic metres of soil. Since most bulk suppliers sell in tonnes, remember that 1 cubic metre of moist topsoil weighs roughly 1.5 to 1.8 tonnes. Plan for about 1.5 tonnes of material, accounting for settling.