Raised Bed Base Calculator
Configure Your Site
Analyzing soil conditions...
Select your site conditions and click "Generate Strategy" to see the perfect base for your raised bed.
Layering Guide (Bottom to Top)
You’ve just finished building that sturdy wooden frame. It looks great sitting on your patio or lawn. But before you dump bags of expensive potting mix into it, there is one critical decision left to make. What goes in the bottom? Getting this wrong can lead to waterlogged roots, stubborn weeds pushing through from below, or a bed that drains so fast your plants dry out every afternoon. Getting it right means better yields, less weeding, and healthier plants.
There is no single "magic" material that works for everyone. The best choice depends entirely on what lies beneath your new bed and how deep you are digging. Are you placing it on concrete? On grass? Or on bare earth? Let’s break down the most effective methods used by gardeners who want results, not just pretty frames.
The Cardboard Method: Lasagna Gardening
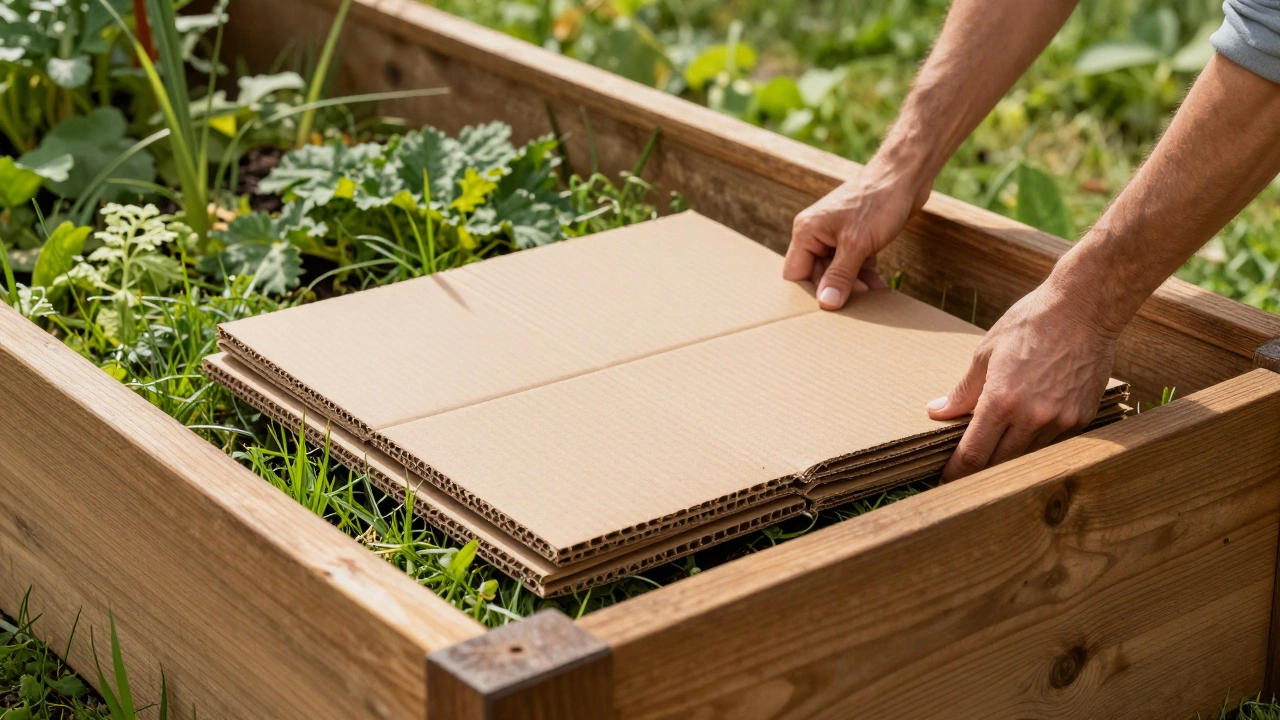
If your raised bed sits directly on top of grass or existing weeds, plain brown cardboard is arguably the best first line of defense. This technique, often called "lasagna gardening" or sheet mulching, kills the underlying vegetation without heavy labor. You don’t need to dig up the turf first. Just lay down overlapping sheets of corrugated cardboard, remove any tape or glossy stickers, and wet them thoroughly.
Cardboard acts as a biodegradable weed barrier. As it decomposes over six to twelve months, worms and microbes break it down, adding organic matter to your soil profile. This creates a seamless transition between the new soil above and the ground below. However, do not use cardboard if you are planting shallow-rooted crops immediately, as the decomposition process might temporarily tie up nitrogen. For heavy feeders like tomatoes or peppers, wait until the cardboard has started to break down before planting, or ensure your topsoil layer is at least eight inches deep.
Can I use newspaper instead of cardboard?
Yes, but with caution. Use only black-and-white newsprint. Avoid colored ink sections as they may contain heavy metals. Newspaper breaks down much faster than cardboard, often within weeks, so it offers shorter-term weed suppression. Layer several sheets thick to prevent light penetration.
When to Leave the Bottom Open (Direct Soil Contact)
Many experienced gardeners argue that you shouldn't put anything in the bottom at all. If your raised bed is placed on fertile, well-draining native soil, leaving the bottom open allows for natural drainage and root expansion. Plant roots can grow downward into the earth, accessing moisture and nutrients beyond the confines of the wood. This also encourages earthworms to move freely between the bed and the surrounding ground, aerating the soil naturally.
This method works best if the ground underneath is free of aggressive perennial weeds like bindweed or couch grass. If those pests are present, an open bottom invites them straight into your precious vegetable patch. In regions with heavy clay soil, direct contact can sometimes cause compaction issues if the bed is filled too high, restricting airflow to the lower roots. Assess your local soil type first. Sandy loam? Go open-bottom. Heavy clay or rocky terrain? Consider a barrier.
Weed Barrier Fabric vs. Landscape Cloth
If you live in an area plagued by persistent weeds, non-woven landscape fabric is a popular choice. Unlike plastic sheeting, which traps heat and prevents water movement, quality landscape fabric allows air and water to pass through while blocking sunlight. This stops seeds from germinating underneath the bed.
However, there is a catch. Over time, soil particles wash down and clog the pores of the fabric, eventually turning it into an impermeable layer that holds water against the bottom of your bed. This can lead to anaerobic conditions where roots suffocate. If you choose fabric, opt for a heavy-duty, breathable version and check it annually. Some gardeners prefer to skip fabric altogether in favor of multiple layers of cardboard, which degrades cleanly rather than becoming a long-term obstruction.
Improving Drainage: Gravel, Stones, and Myths
A common misconception in gardening circles is that you need a layer of gravel or stones at the bottom of a raised bed to improve drainage. Science tells us otherwise. Water moves slowly through small particles (like soil) and quickly through large particles (like rocks). When you place gravel under soil, you create a perched water table. The water will actually sit *above* the gravel layer because it resists moving from the fine soil into the coarse aggregate.
Instead of gravel, focus on soil structure. A mix rich in organic matter-compost, peat moss, or coconut coir-drains better than any rock layer ever could. If your site has severe drainage issues, consider elevating the entire bed on blocks or using a slatted bottom design rather than filling the void with stones. Save your money on gravel and invest in high-quality compost instead.
Building the Perfect Soil Mix
Whatever you put in the very bottom, the real action happens in the top eighteen inches. This is where the roots live. The ideal raised bed soil is a blend, not just garden dirt. Native soil alone is often too dense or nutrient-poor for container-style growing. Aim for a simple ratio: one-third topsoil, one-third compost, and one-third airy amendment like vermiculite, perlite, or coarse sand.
Vermiculite helps retain moisture and provides potassium, while perlite improves aeration and prevents compaction. Coconut coir is a sustainable alternative to peat moss, offering similar water retention without the environmental cost of harvesting bogs. By creating this loose, fluffy medium, you ensure that even if the bottom layer isn't perfect, the roots have enough oxygen and space to thrive. Remember, raised beds warm up faster in spring, allowing for earlier planting, but they also dry out quicker. Your soil mix must balance drainage with water retention.
| Material | Best For | Pros | Cons |
|---|---|---|---|
| Cardboard | Killing grass/weeds | Biodegradable, cheap, suppresses weeds effectively | Decomposes in 1-2 years, needs reapplication |
| Landscape Fabric | Long-term weed control | Durable, breathable, blocks light | Can clog over time, doesn't add nutrients |
| Open Bottom | Fertile native soil | Natural drainage, root expansion, worm access | Risk of invasive weeds entering from below |
| Gravel/Stones | Myth busting | None for drainage | Creates perched water table, wastes space |
Situational Strategies: Concrete, Slopes, and Pests
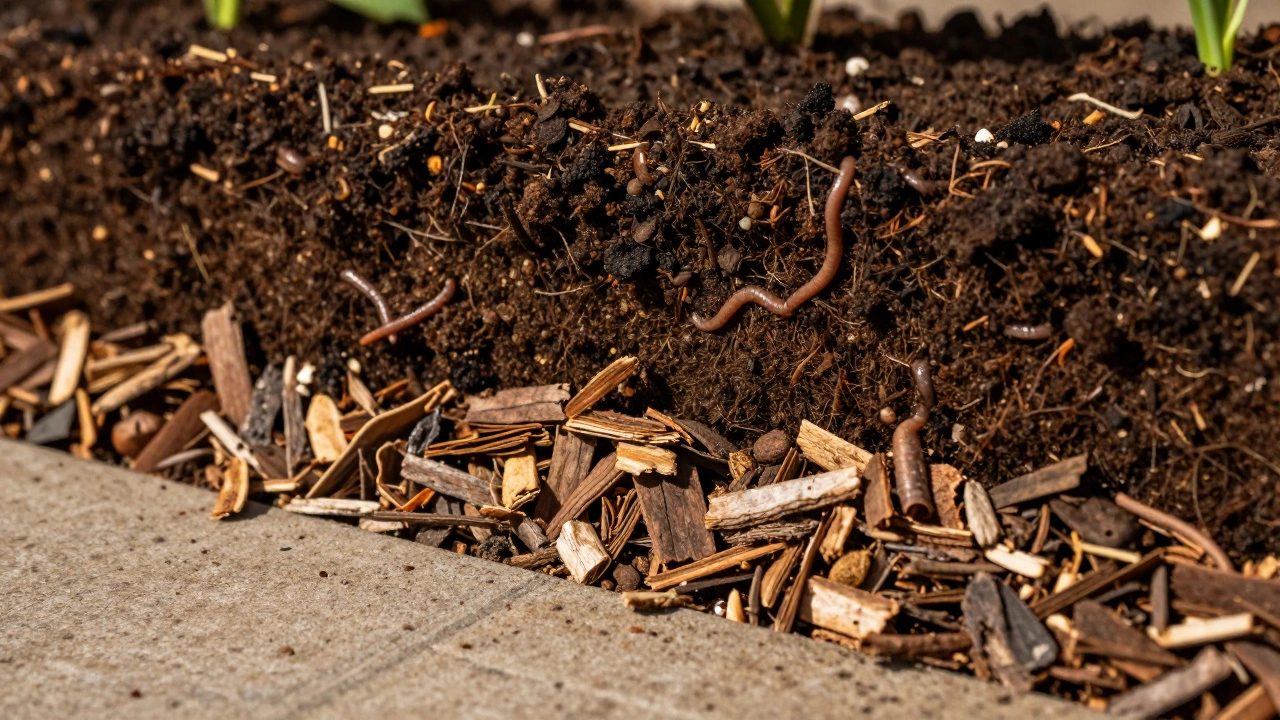
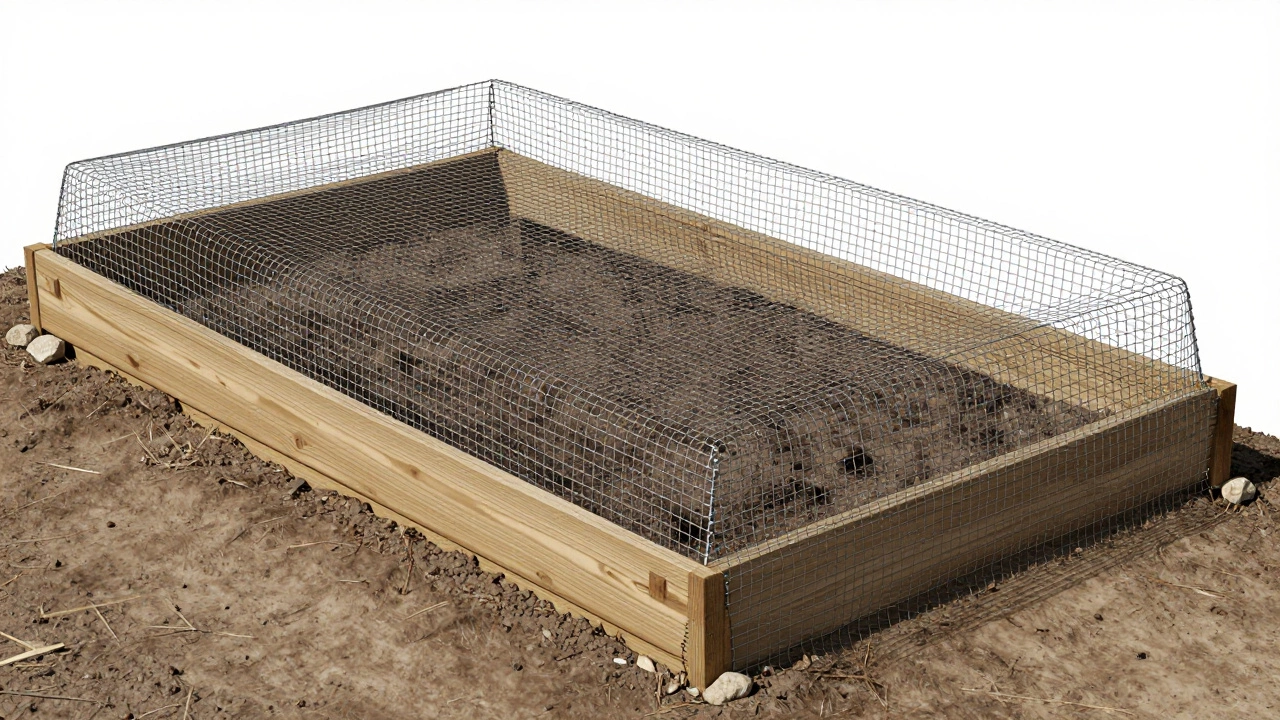
Your location dictates your strategy. If you are placing a raised bed on a concrete patio, you cannot rely on natural drainage. You must drill holes in the bottom of the wooden frame or use a slatted base. In this case, a layer of coarse bark chips or horticultural grit at the bottom can help facilitate water flow out of the drilled holes, preventing the bed from becoming a swamp. Always ensure the holes are covered with hardware cloth to keep rats and moles from nesting inside.
On sloped ground, stability becomes the priority. Use larger stones or bricks at the corners of the base to anchor the bed, then fill the interior with your chosen weed barrier. Gravity will pull soil downhill, so reinforcing the downhill side with extra weight or deeper posts is crucial. For pest-prone areas, especially where voles or gophers are active, line the bottom and sides with 1/4-inch hardware cloth before adding any soil or cardboard. This physical barrier is the only reliable way to protect root vegetables like carrots and beets from underground predators.
Maintenance and Long-Term Care
Putting things in the bottom is not a one-time task. Organic materials like cardboard and straw will settle and decompose. Every two to three years, you should top up your raised bed with fresh compost. As the bottom layers break down, the soil level drops. Adding new material maintains the volume needed for robust root systems. Monitor drainage during heavy rains. If water pools on the surface for more than an hour, your soil mix may be too compacted, or your bottom layer may have become clogged. Aerate the soil gently with a broadfork to restore airflow.
Ultimately, the goal is to create a living ecosystem. Whether you choose cardboard, fabric, or nothing at all, the success of your raised bed hinges on the quality of the soil above it and the attention you pay to drainage. Start simple, observe how your plants react, and adjust accordingly. Happy gardening.
Should I put chicken wire at the bottom of my raised bed?
Only if you have a pest problem. Chicken wire (hardware cloth) is essential if voles, gophers, or raccoons dig under your bed. It does not help with drainage or weeds. If pests aren't an issue, skip it to allow natural soil interaction.
How deep should the soil be in a raised bed?
Aim for at least 8-12 inches of soil for leafy greens and herbs. For deeper-rooted crops like tomatoes, peppers, and carrots, 18-24 inches is ideal. If using cardboard on grass, ensure the total depth including the decomposing layer allows for adequate root space.
Can I put old leaves in the bottom of a raised bed?
Yes, shredded leaves make excellent bulk filler. They decompose slowly and add carbon to the soil. Just ensure they are shredded finely to prevent matting. Avoid leaves from diseased plants or those treated with pesticides.
Is plastic sheeting good for the bottom of a raised bed?
No. Plastic sheeting prevents water and air exchange, leading to root rot and poor soil health. It also heats up significantly in summer, cooking your roots. Use breathable fabrics or biodegradable materials instead.
Do I need to fertilize the bottom layer?
Not necessarily. Focus fertilizer on the top 12 inches where roots are most active. However, mixing compost into the lower layers helps build long-term soil structure. Avoid synthetic fertilizers at the very bottom as they can leach away before reaching plant roots.