Raised Bed Cardboard Quality Checker
Before you lay down your recycling bin finds, check if they are ready for the soil food web. This tool analyzes common cardboard characteristics against best practices for no-dig gardening.
Run the check to see recommendations.
Detailed Analysis
You’ve bought your timber frame, filled it with expensive topsoil, and planted your seedlings. Then you see it: weeds punching through from below, or worse, the soil drying out faster than you can water it. There’s a cheap, free solution sitting in your recycling bin that professional gardeners swear by: cardboard. But why put cardboard in the bottom of a raised bed? It’s not just about saving money on landscape fabric; it’s about creating a living soil ecosystem right where your roots need it most.
The Core Function: Blocking Weeds Without Plastic
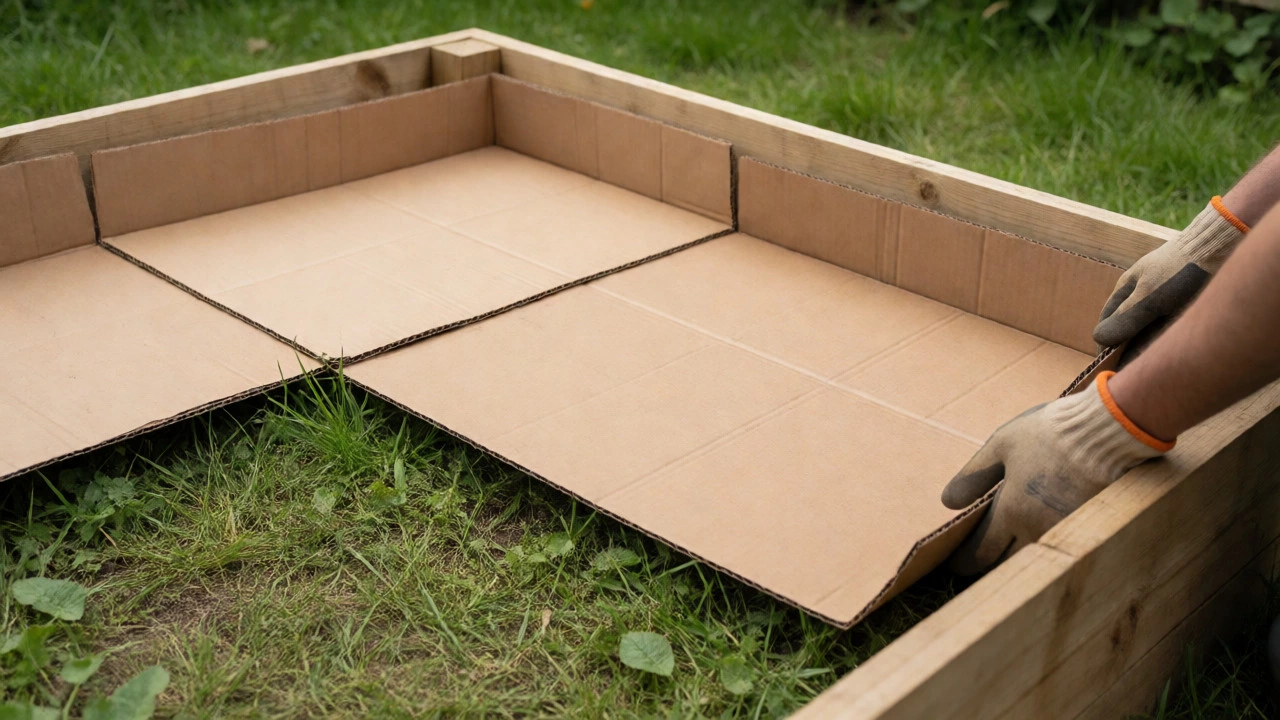
Most people think of cardboard as trash. In gardening, it’s a temporary shield. When you lay cardboard at the base of a raised bed, you are essentially performing sheet mulching, also known as lasagna gardening. This technique smothers existing grass and weeds without digging them up. By blocking sunlight, the cardboard stops photosynthesis. The plants underneath starve, die, and eventually decompose into organic matter.
This method is superior to plastic sheeting for one critical reason: permeability. Plastic blocks water and air, often turning the root zone into a stagnant puddle or a baked desert depending on the weather. Cardboard, however, is porous. Once wet, it allows rain and irrigation to pass through while still suppressing growth. It bridges the gap between a hard barrier and open soil, giving you the best of both worlds during the crucial first year of planting.
Nutrient Cycling: Feeding the Soil Food Web
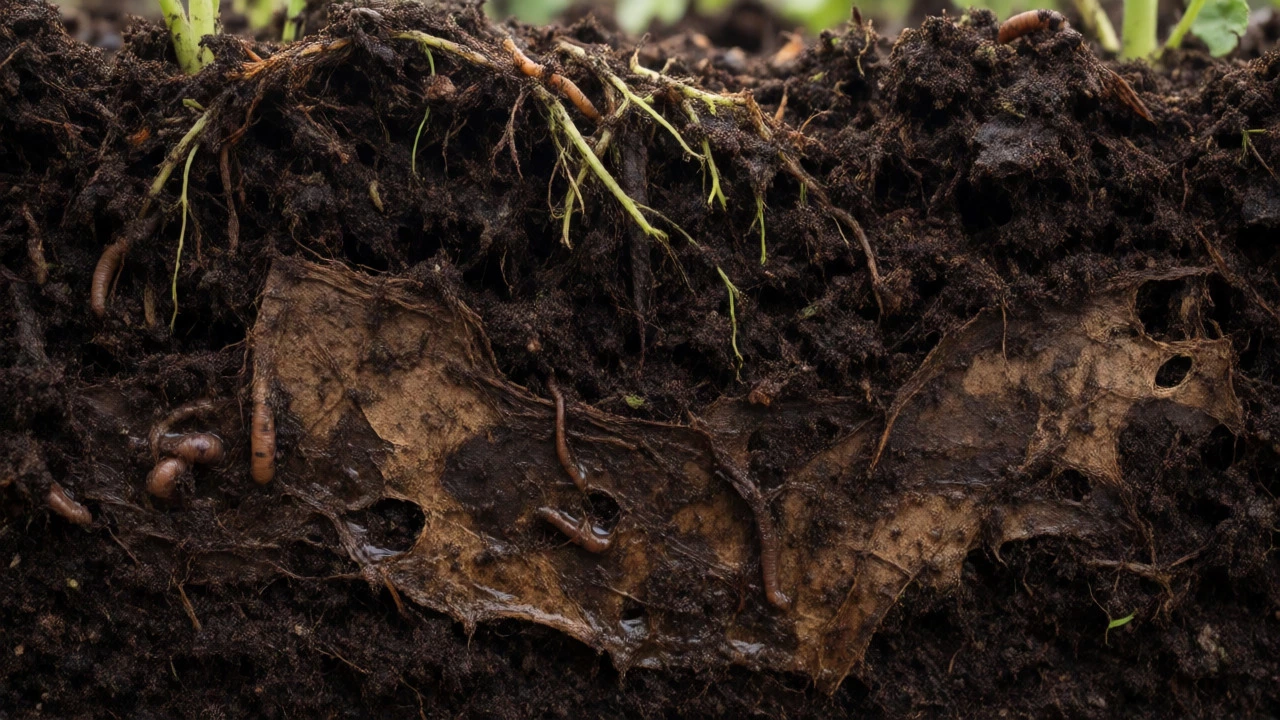
Here is the part many beginners miss: cardboard isn’t inert. It is carbon-rich material. When placed in a raised bed, it becomes food for fungi and bacteria. As the cardboard breaks down, it integrates with the nitrogen-rich compost and manure you add on top. This process creates humus, the dark, stable organic matter that holds nutrients and moisture.
Think of it like building a sandwich. The bottom layer (grass/weeds) provides bulk. The middle layer (cardboard) acts as the separator and slow-release fuel source. The top layers (compost/soil) provide immediate nutrition. Over time, earthworms migrate up from the subsoil, attracted by the decaying cardboard. These worms create channels for water drainage and root penetration, effectively aerating the deep zones of your bed without you ever lifting a fork.
Moisture Retention and Drainage Balance
If you live in a dry climate or have sandy soil, water retention is your biggest enemy. Cardboard helps here too. A single layer of wet cardboard holds significantly more water than bare soil. When you water your raised bed, the moisture sits on the cardboard surface before slowly seeping down. This prevents rapid evaporation from the base, keeping the lower root zones hydrated longer.
Conversely, if you have heavy clay soil, you might worry about drainage. Will the cardboard act like a bathtub plug? Not really. Wet cardboard disintegrates within weeks. Unlike thick geotextiles that can clog over years, cardboard loses its structural integrity quickly. Within a growing season, it has largely turned into pulp, allowing excess water to drain freely into the native soil below. You get initial protection against waterlogging, followed by long-term permeability.
Choosing the Right Type of Cardboard
Not all boxes are created equal. Using the wrong type can introduce chemicals or pests into your vegetable patch. Here is what you need to look for when scavenging for materials:
- Plain Brown Corrugated: The gold standard. It is untreated, biodegradable, and sturdy enough to hold up under soil weight initially.
- Single-Ply Paper: Too thin. It will dissolve before the weeds give up. Avoid this unless you use multiple layers.
- Glossy or Colored Printing: Generally safe in small amounts, but avoid heavily inked areas if you are strictly organic. Modern soy-based inks are usually fine, but plain is safer.
- Tape and Staples: Remove these. While tape won’t kill your plants, it doesn’t break down and looks messy later. Pull off packing tape and remove staples with pliers if possible.
- Waxed Cardboard: Often used for produce boxes. This repels water and takes much longer to decompose. Avoid using waxed liners directly against plant roots.
Step-by-Step Installation Guide
Doing this correctly ensures the cardboard works rather than becoming a nuisance. Follow this sequence for a robust setup:
- Clean the Area: Mow any existing grass or weeds as short as possible. You don’t need to dig them up, but shorter vegetation decomposes faster.
- Lay the Cardboard: Place sheets flat on the ground. Overlap edges by at least 6 inches (15 cm). Gaps are where weeds sneak through. Do not fold corners tightly; let them lie naturally.
- Wet It Down: Soak the cardboard thoroughly with a hose. Dry cardboard wicks moisture away from the soil above it. Wet cardboard stays put and starts breaking down immediately.
- Add Organic Matter: Cover the wet cardboard with a layer of compost, aged manure, or leaf mold. Aim for at least 4-6 inches of this material.
- Fill with Topsoil: Add your remaining high-quality topsoil mix on top. If you are planting immediately, ensure there is enough depth (at least 8-10 inches of total soil/compost mix) for root growth.
Common Mistakes to Avoid
Even simple techniques have pitfalls. Here are the errors I see most often in community gardens across Brighton and beyond:
| Mistake | Consequence | Solution |
|---|---|---|
| Using dry cardboard | Wicks moisture from soil; floats when flooded | Always soak cardboard before adding soil |
| Leaving large gaps | Weeds penetrate through seams | Overlap edges by 6+ inches; weigh down with stones if windy |
| Planting directly into cardboard | Roots struggle to penetrate thick corrugation | Add sufficient compost layer (4+ inches) on top of cardboard |
| Ignoring pest attraction | Slugs may hide under damp cardboard | Monitor slug activity; use copper tape around bed rim if needed |
How Long Does It Last?
A common question is whether the cardboard disappears forever. Yes, it does. In a typical UK climate with regular rainfall, single-layer corrugated cardboard begins to soften within two weeks. Significant decomposition occurs within three months. By the end of the first growing season, it is mostly gone, integrated into the soil structure.
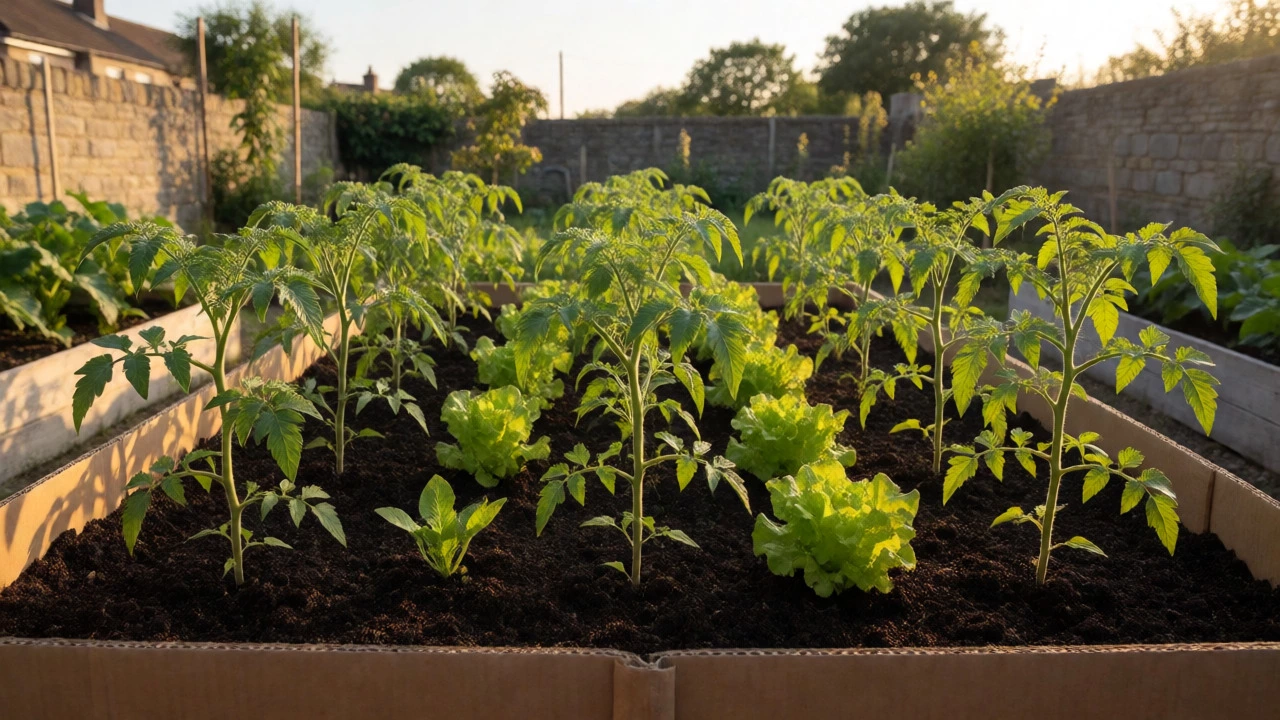
This timeline is perfect. It suppresses weeds during the vulnerable establishment phase of your plants. By year two, the barrier is gone, and the root systems have fully penetrated the subsoil. You don’t need to replace it annually unless you are re-laying fresh beds every year. For permanent raised beds, it’s a one-time investment that pays dividends in soil health.
Can I use cardboard with printed logos?
Yes, generally speaking. Most modern printing uses soy-based or vegetable-based inks which are non-toxic and biodegradable. However, if you are extremely strict about organic certification or concerned about potential heavy metals in older industrial inks, stick to plain brown cardboard. For home vegetable gardens, standard shipping boxes with minor branding are perfectly safe.
Will cardboard attract rats or mice?
It can, but rarely causes major issues if managed properly. Rodents prefer cardboard for nesting material rather than food. To minimize risk, ensure the bed is well-mulched on top so the cardboard isn't exposed. If you have a severe rodent problem, consider laying wire mesh at the very bottom before adding the cardboard, though this is usually unnecessary for typical suburban gardens.
Do I need to remove the tape and staples?
Ideally, yes. Packing tape is plastic and will not decompose. It remains in the soil indefinitely, which isn't harmful per se, but it's unsightly and counter to the goal of pure organic matter. Staples are metal and will rust away over several years. Removing them takes seconds with pliers and makes future soil testing cleaner.
Is cardboard better than landscaping fabric?
For vegetable raised beds, yes. Landscaping fabric is durable but non-biodegradable. It can become clogged with soil particles over time, reducing drainage. It also prevents earthworms from moving between the native soil and your raised bed soil. Cardboard improves soil structure and biodiversity, whereas fabric merely acts as a physical barrier that eventually degrades into microplastics.
What if my ground is already paved or concrete?
If you are placing a raised bed on concrete, cardboard is less effective for weed suppression because there are no weeds to suppress. However, it can still help retain moisture at the base and prevent the soil from washing out through drainage holes. In this case, focus more on ensuring adequate drainage holes in the bed itself, as water cannot escape downward.