Onion Top-Cutting Readiness Checker
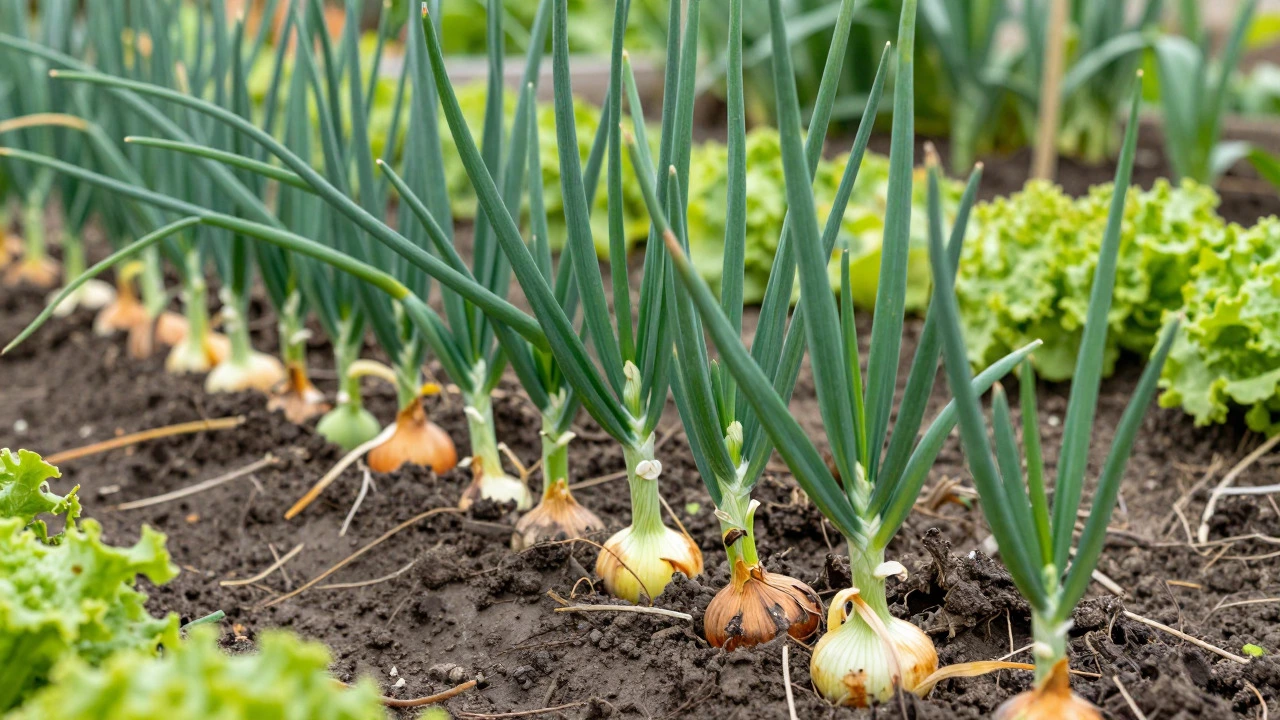
You've probably stood in your allotment or kitchen garden, staring at those tall, green onion stalks reaching toward the sky. They look impressive, but they also take up space and might be getting in the way of your carrots or lettuce. So, the question on every gardener's mind is: can I just snip them off to tidy things up?
The short answer is yes, but with a major caveat. If you cut the tops off while the bulbs are still small and active, you risk stunting their growth. However, if you wait until the right moment, trimming the tops isn't just safe-it's actually part of the standard harvesting process for many varieties. Getting this timing wrong is one of the most common mistakes new growers make, leading to smaller bulbs or onions that don't store well.
Why Onions Grow Tall Green Tops
To understand when you can cut them, you first need to know why they're there. The green shoots of an Allium cepa (common onion) serve two main purposes. First, they photosynthesize, converting sunlight into energy that fuels the expansion of the bulb underground. Second, they act as a natural indicator of the plant's health and maturity. When the leaves start to yellow and fall over, it signals that the plant has finished sending energy to the bulb and is entering dormancy.
In the UK climate, where summer days are long but often cloudy, these greens work hard from June through August. If you remove them too early, you essentially cut off the power source. The bulb stops expanding because there's no more leaf area to produce sugars. This is different from herbs like chives, which you can harvest repeatedly without killing the plant. Onions are annuals; they have one job-make a big bulb-and then they die back.
The Danger of Cutting Too Early
Imagine you're growing 'Sturon' or 'Shakespeare' onions. These are popular in British gardens because they keep well into winter. If you trim the tops in July while the bulbs are only the size of a golf ball, you'll likely end up with medium-sized onions instead of large ones. The plant will stop pushing growth downward once the leaves are gone. Worse, if you cut them while the soil is still warm and moist, you create a wound. This open stem can let in rot-causing fungi, especially during the wet spells typical of a UK autumn.
There is a specific exception, though. If you are growing spring onions (also known as scallions or baby onions), you *can* and should harvest the whole plant, including the greens, whenever they reach pencil thickness. But for bulb onions, the rule is strict: leave the tops alone until the plant tells you it's done.
When Is It Safe to Trim the Tops?
The golden rule for bulb onions is to wait until the tops flop naturally. In the UK, this usually happens between late August and October, depending on your variety and how sunny the summer was. Here is what to look for:
- Natural Flopping: About 50-75% of the plants in your patch should have their green tops bent over and touching the ground. The remaining upright ones will follow shortly after.
- Drying Out: The stems should turn brown and papery, not green and juicy. If they snap cleanly and dry out quickly, the bulb is mature.
- Bulb Size Stability: If you gently dig around one plant (carefully!) and the bulb hasn't grown in the last week, it's ready.
Once the majority of the tops have fallen over, you can either leave them to dry naturally in the field (which helps cure the bulbs) or trim them off. Trimming at this stage doesn't hurt the bulb because the plant is already dormant. In fact, cutting the tops about 1-2 inches above the neck of the bulb makes handling easier and prevents the heavy, dead foliage from dragging the bulbs into the damp soil, which invites rot.
Step-by-Step: How to Harvest and Trim Correctly
If you've waited for the natural flopping, here is how to proceed without damaging your crop.
- Check the Weather: Pick a dry, sunny day. Curing requires low humidity and good airflow. Rain during this phase is the enemy.
- Lift the Onions: Use a fork to loosen the soil around the base. Lift them gently by the roots, not by pulling the tops, to avoid tearing the neck.
- Initial Drying: Lay them out in a single layer in a dry, airy spot. A greenhouse bench, a covered patio, or even the floor of a shed works well. Avoid direct intense sun if it's very hot, as this can cause sunscald.
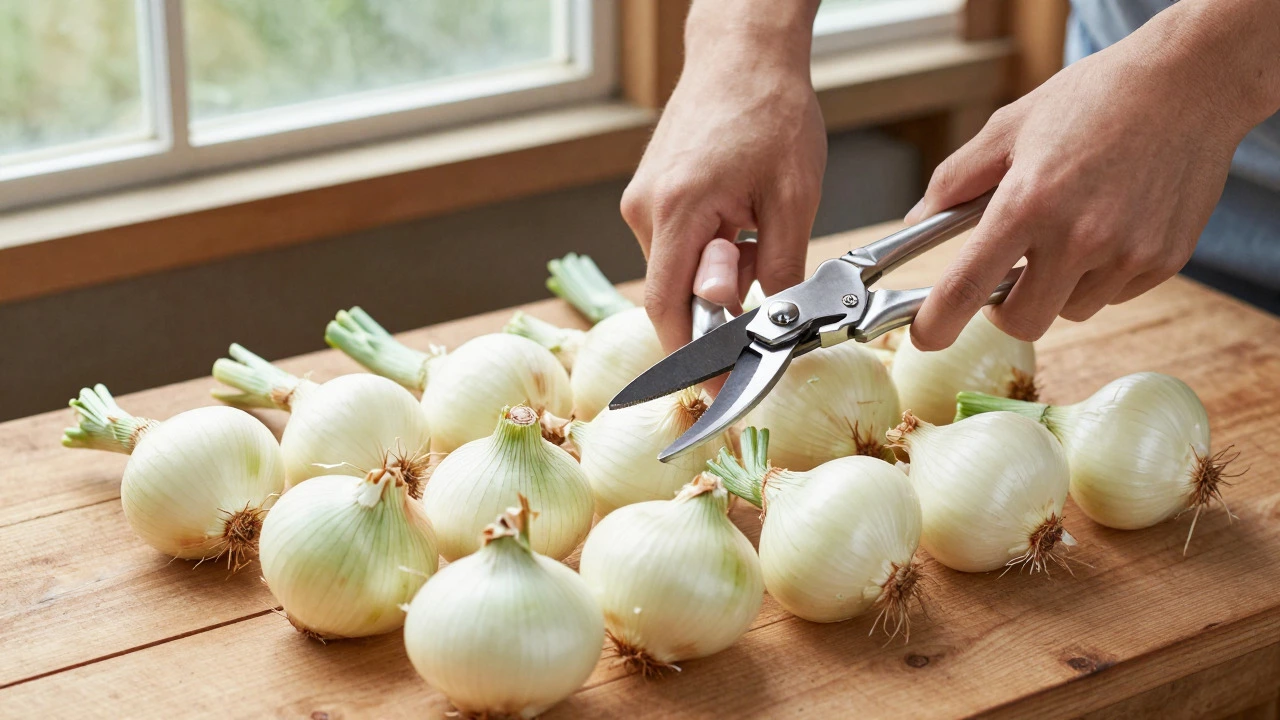
- Trimming the Tops: After 3-7 days, when the outer skin is papery and the neck feels firm, use clean secateurs to cut the tops. Leave about 1-2 inches of stem attached to the bulb. Do not pull them off by hand, as this can damage the neck seal.
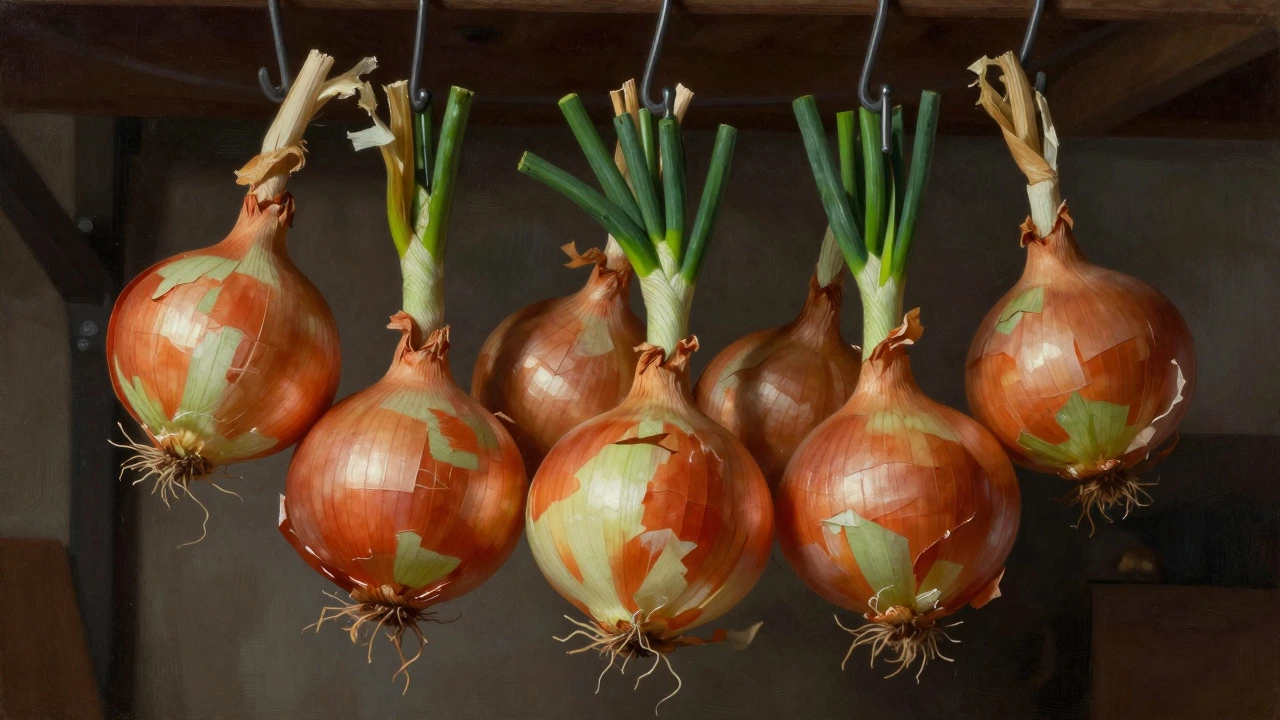
- Final Curing: Hang the trimmed onions in bundles or place them on racks for another 2-4 weeks. The goal is to dry the neck completely so it seals shut, preventing moisture loss and rot during storage.
Pro tip: If you live in a particularly humid part of the UK, like the South West, consider using a fan to circulate air during the curing phase. Stagnant air leads to mould.
What About Red Onions vs. White Onions?
Do red onions behave differently? Not really in terms of top-cutting rules. Both red and white/yellow varieties follow the same biological cycle. However, red onions often have slightly thinner skins, making them more susceptible to bruising and rot if handled roughly. So, when trimming their tops, be extra gentle. Yellow onions, like 'Ailsa Craig', tend to have thicker, tougher skins and store better, giving you a little more leeway in handling, but the timing rule remains the same: wait for the flop.
| Variety Type | Typical Maturity (UK) | Cutting Rule | Storage Potential |
|---|---|---|---|
| Yellow Bulb (e.g., Ailsa Craig) | Aug - Oct | Wait for natural flop | Excellent (6-9 months) |
| Red Bulb (e.g., Sturon) | Sep - Oct | Wait for natural flop | Good (4-6 months) |
| Spring Onions (Scallions) | Year-round | Harvest whole plant anytime | Poor (use fresh) |
| Shallots | Aug - Sep | Wait for natural flop | Very Good (8-12 months) |
Common Mistakes to Avoid
Gardeners often make three errors when dealing with onion tops. First, they cut them in the heat of the afternoon, which stresses the plant. Morning is best. Second, they use dirty tools. Bacteria from previous cuts can infect the onion neck. Always sterilize your secateurs with rubbing alcohol or a bleach solution between batches. Third, they rush the curing process. Just because the tops are cut doesn't mean the bulb is ready for the cellar. If the neck is still soft or spongy, keep curing. A properly cured onion neck should feel like paper and crackle when you try to bend it.
Another subtle mistake is leaving the roots on. While you don't necessarily have to trim the roots, brushing off the soil and letting the root plate dry out helps prevent fungal issues. Some gardeners trim the roots flush with the bulb, but this is optional. What matters is that the neck stays intact.
How to Store Your Trimmed Onions
Once cured, your trimmed onions are ready for storage. In the UK, we don't always have basements, so creativity is key. Mesh bags hung in a cool, dark, and dry garage or shed work well. Avoid plastic bags, which trap moisture. Ideal storage temperature is between 32°F and 50°F (0°C to 10°C). If it gets warmer than that, the onions may sprout or soften. Check them monthly. Remove any that show signs of shriveling or rot immediately to save the rest.
If you grew a lot, consider braiding them. Even though you've trimmed the tops, you can weave the remaining 1-2 inch stubs together to form a braid. This saves space and looks great in a kitchen. Just make sure the braids aren't too tight, allowing air to circulate around each bulb.
Frequently Asked Questions
Can I cut onion tops to make them grow bigger?
No. Cutting the tops removes the leaves that produce energy for the bulb. To get bigger bulbs, ensure they have enough spacing (at least 4-6 inches apart), consistent watering during bulbing, and rich soil. Let the tops do their job until they flop naturally.
What if my onions haven't flopped by November?
If it's late autumn and the tops are still green, the weather may have been too mild or wet. You can force the issue by stopping watering and waiting for a dry spell. If frost is imminent, harvest them anyway, trim the tops, and cure them indoors. They may not store as long, but they will still be edible.
Should I trim the tops before or after digging?
It is generally safer to dig first, lay them out to dry for a few days, and then trim. This allows you to inspect the bulbs for damage. If you trim before digging, the weight of the wet soil and the bulk of the leaves can make lifting difficult and increase the risk of snapping the neck.
Do I need to cut the tops off shallots too?
Yes, the same rules apply to shallots. Wait for the tops to flop and brown. Then trim them about 1-2 inches above the bulb. Shallots often have multiple cloves per head, so handle them gently to keep the cluster intact during curing.
Can I eat the green onion tops?
Yes! Once you trim the tops, don't throw them away. They taste similar to chives or young leeks. Chop them finely and add them to salads, soups, or stir-fries. They are nutritious and delicious, providing a nice use for what would otherwise be waste.