Garden Layout Planner
Assess your space and get a personalized layout strategy.
Fill in the details on the left and click "Generate Layout Plan" to see your customized garden advice.
You’ve got the soil, maybe some seeds, and a vision in your head. But when you step outside with a spade, that vision often dissolves into confusion. Why? Because garden layout isn’t just about picking pretty flowers; it’s about solving spatial puzzles. If you plant without a plan, you’ll end up with shade where you wanted sun, or paths that lead nowhere. Here is how to turn chaos into a coherent outdoor space.
Start With Reality, Not Dreams
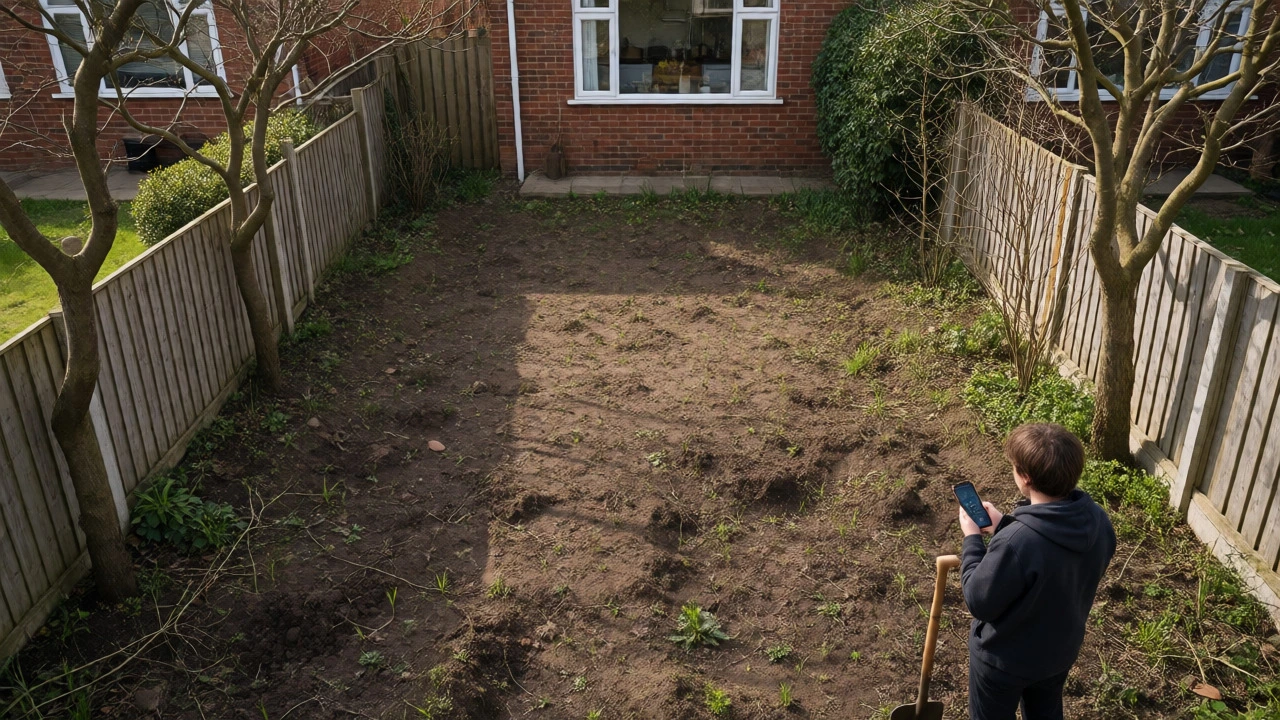
Before you buy a single plant, you need to know what you’re working with. Most beginners skip this and regret it later. You need to assess your site’s microclimate. Stand in different spots at different times of the day. Where does the shadow fall at 3 PM in November versus June? In Brighton, we deal with coastal winds and specific light angles, but the principle holds anywhere.
- Sunlight Exposure: Map out full sun (6+ hours), partial shade, and deep shade zones. Use a compass app to note directions.
- Soil Type: Is it clay, sandy, or loam? This dictates drainage and which plants will thrive without constant amendment.
- Existing Features: Note trees, fences, drains, and power lines. These are non-negotiable constraints.
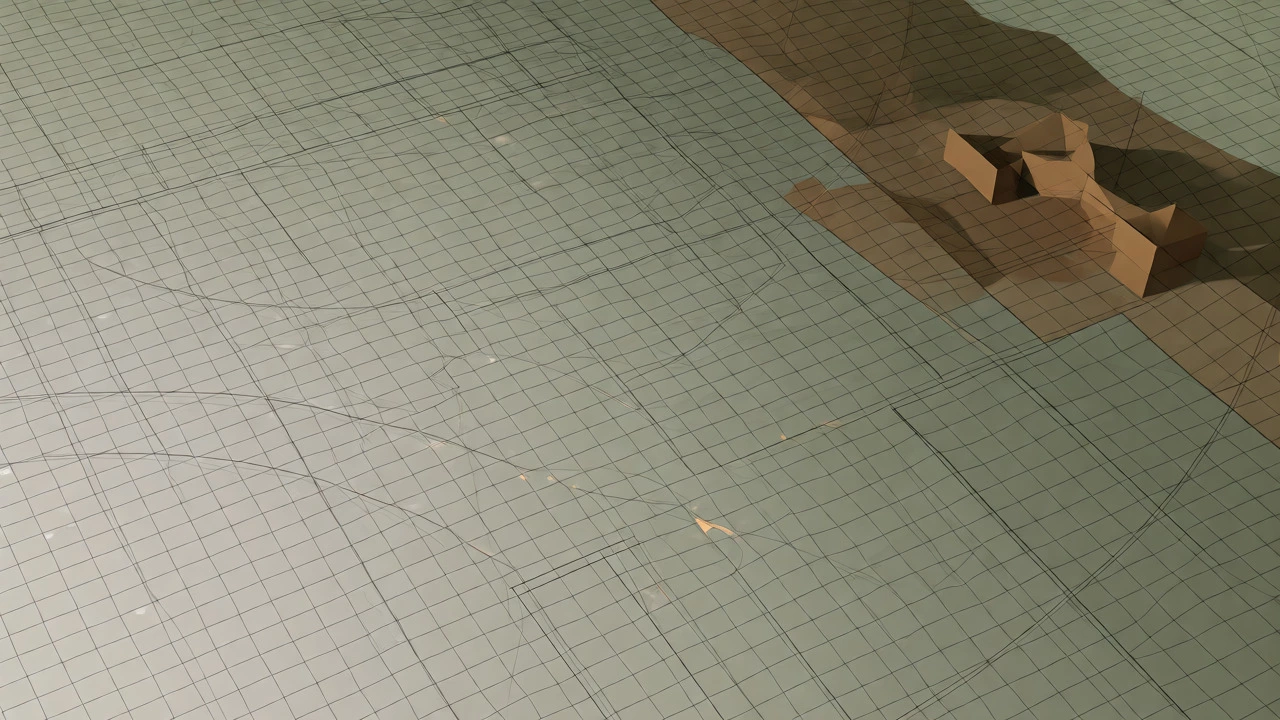
Don’t guess. Spend two weekends observing. Sketch a rough map on graph paper. Mark north. This baseline prevents costly mistakes later.
Zoning Your Space for Function
A garden is an extension of your home. It needs distinct areas for different activities. Think of it like arranging furniture in a room, but outdoors. What do you actually want to do there? Eat? Grow food? Let kids play? Read?
Identify your primary zones. A common mistake is trying to fit everything everywhere. Instead, group similar functions. Place your vegetable patch near the kitchen door for easy access. Keep the lawn area open for movement. Create a quiet corner with seating away from high-traffic paths.
Consider sightlines. When you look out your kitchen window, what do you see? That view matters most. Frame it with intentional planting. Hide unsightly bins or sheds behind screens or hedges. Zoning creates order and makes the space feel larger than it is.
Drafting the Hard Landscaping Skeleton
Plants are soft landscaping. Paths, patios, walls, and fences are hard landscaping. Get these right first because moving a patio is hard; moving a rose bush is easy.
Sketch your circulation routes. How do people move through the space? Avoid dead ends unless they lead to a destination. Curved paths encourage exploration and make small gardens feel bigger by hiding the boundaries. Straight paths create formality and directness.
| Material | Best For | Maintenance Level | Cost Estimate (UK) |
|---|---|---|---|
| Paving Slabs | Patios and wide paths | Low | £15-£40 per m² |
| Gravel | Informal paths and parking | Medium (weeding) | £5-£15 per m² |
| Timber Decking | Raised levels and modern looks | High (oiling/cleaning) | £80-£150 per m² |
| Cobblestones | Edging and traditional styles | Low | £20-£50 per m² |
Decide on materials based on budget and maintenance appetite. Gravel is cheap but weeds appear. Paving is solid but can be slippery if moss grows. Choose wisely.
Designing Planting Beds and Borders
Now comes the fun part: choosing where plants go. Don’t scatter them randomly. Use the "thriller, filler, spiller" concept for containers, but for borders, think in layers.
Layering mimics nature. Tall plants go at the back or center of islands. Medium shrubs sit in front. Ground covers spill over edges. This ensures every plant gets seen. If you put a dwarf lavender behind a tall hydrangea, you’ll never see the lavender.
Group plants in drifts rather than single specimens. Five of the same perennial look more impactful than one of five different types. This also simplifies care-you can tailor soil conditions to specific groups.
Consider seasonal interest. A garden shouldn’t die in winter. Include evergreens for structure. Pick plants with staggered bloom times so something is always flowering. For example, snowdrops in January, crocuses in March, roses in June, asters in September.

Refining the Layout with Scale Models
Drawings lie. They don’t show volume or texture. Before digging, build a mock-up. Use string, spray paint, or even cardboard boxes to mark out beds and paths on the ground.
Walk the space. Does the path feel too narrow? Can you carry a wheelbarrow down it? Is the patio big enough for your dining table plus chairs? Adjust now. It costs nothing to move a piece of string. It costs hundreds to re-lay paving.
This step reveals hidden problems. Maybe that 'nice' spot for a tree blocks the view from the living room. Or maybe the wind hits the proposed seating area directly. Test it physically.
Common Pitfalls to Avoid
Even experienced gardeners make mistakes. The biggest one is underestimating mature plant size. That sapling you bought today will be 20 feet tall in ten years. Check the label for ultimate height and spread. Give them room.
Another trap is ignoring water access. Running hoses across the lawn to water distant beds is tedious. Install taps strategically. Consider drip irrigation for vegetable patches to save time and water.
Finally, don’t forget maintenance. A complex layout with many curved edges requires more edging work. A simple rectangle is easier to mow around. Match the complexity to your available time.
What is the first step in planning a garden layout?
The first step is assessing your existing conditions. Measure your space, map sunlight patterns throughout the day, identify soil type, and note permanent features like trees or buildings. This data forms the foundation for all subsequent design decisions.
How much space should I leave between plants?
Always plan for the plant's mature size, not its current size. Check the nursery tag or online description for 'ultimate height' and 'spread'. Overcrowding leads to disease due to poor air circulation and competition for nutrients. It is better to have fewer plants spaced correctly than many cramped ones.
Should I hire a professional landscaper or DIY my garden layout?
You can DIY if you have time, basic drawing skills, and a clear idea of your needs. Hire a professional if the project involves significant earthmoving, complex drainage issues, expensive hard landscaping, or if you lack confidence in design principles. A pro can prevent costly errors in structural elements.
What tools do I need to draw a garden plan?
For beginners, graph paper, a pencil, ruler, and measuring tape are sufficient. For digital options, free apps like SketchUp Free or specialized garden planners like SmartDraw or iScape offer 3D visualization. Start simple; you can upgrade as your design evolves.
How do I ensure my garden has year-round interest?
Include a mix of evergreen shrubs for winter structure, spring bulbs for early color, summer perennials for peak bloom, and autumn foliage or berries for late-season appeal. Also consider bark texture on trees and winter stems for visual interest when leaves are gone.