Landscape Design Project Tracker
Track your progress through the 7 essential steps of landscape design. Check off tasks as you complete them to visualize your journey from a blank canvas to a functional outdoor space.
💡 Pro Tip
Start with Step 1
Before drawing anything, spend a weekend observing your yard. Note sun patterns, drainage issues, and wind tunnels.
You stare out at your backyard. It’s a blank canvas of dirt, maybe some tired grass, and that one tree you inherited with the house. You want it to look like those photos on Pinterest-cozy, functional, beautiful. But where do you actually start? Do you buy plants first? Hire a contractor? Draw lines in the mud?
Most people get this wrong. They rush into buying hydrangeas or laying pavers without a plan, then wonder why their yard feels disjointed or costs double the budget. The secret isn’t just having good taste; it’s following a structured process. Whether you’re a DIY enthusiast or hiring a pro, understanding these seven steps prevents expensive mistakes and ensures your landscape design works for how you actually live.
Key Takeaways
- Analyze before you act: Spend time observing sun patterns, drainage issues, and existing structures before drawing anything.
- Zoning is critical: Divide your space into functional areas (dining, play, privacy) based on traffic flow, not just aesthetics.
- Hardscape sets the stage: Build permanent structures like patios and walls before planting anything.
- Plant selection follows structure: Choose plants based on the microclimates created by your hardscape and site analysis.
- Maintenance is part of design: If you won’t prune it weekly, don’t plant it. Match the upkeep level to your lifestyle.
Step 1: Analyze Your Site Conditions
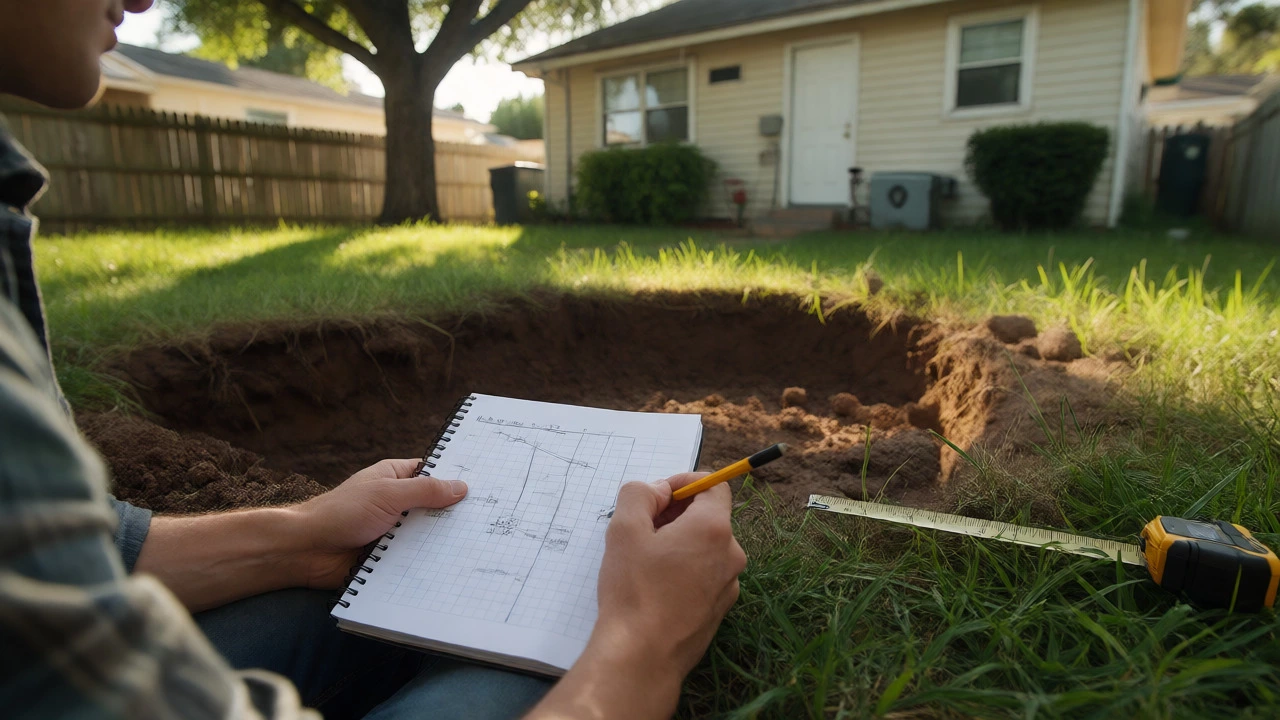
Before you sketch a single line, you need to know what you’re working with. This isn’t about measuring square footage; it’s about understanding the behavior of your land. Grab a notebook and spend a weekend observing. When does the sun hit your patio? Does water pool in the corner after rain? Where are the wind tunnels?
Start with a base map. Measure your property boundaries, the location of your house, fences, trees, and utility boxes. Don’t guess-use a tape measure. Mark north on your map so you can track sun exposure accurately. In the Northern Hemisphere, south-facing areas get full sun, while north-facing spots stay shady. This dictates everything from plant choice to seating orientation.
Next, check your soil. Dig a few holes in different parts of the yard. Is it clay-heavy and sticky? Sandy and fast-draining? Clay holds water but suffocates roots; sand drains too quickly for many plants. Knowing your soil type saves you from planting azaleas in alkaline clay or succulents in boggy ground. Also, note any easements or utility lines. You don’t want to dig up a gas line because you didn’t call 811 before planning a new flower bed.
Step 2: Define Your Functional Needs
A pretty yard that doesn’t work is just an expensive lawn. Ask yourself hard questions: How will you use this space? Will you host large dinners? Do you have kids who need a safe play area? Do you want a quiet spot for morning coffee?
Create a list of "must-haves" versus "nice-to-haves." For example, if you love grilling, a dedicated cooking zone near the kitchen door is a must-have. If you hate mowing, reducing lawn size is a priority. Think about traffic flow. People naturally walk certain paths across a yard. Don’t fight these desire lines; pave them or plant along them. If you force guests to walk around a rose bush to get to the gate, they’ll trample the roses within a month.
Consider privacy needs too. If your neighbor’s bedroom window looks directly at your future hot tub, you need screening early in the design phase. This might mean a fence, a row of evergreens, or a pergola with climbing vines. Addressing this now prevents awkward social situations later.
Step 3: Create a Bubble Diagram
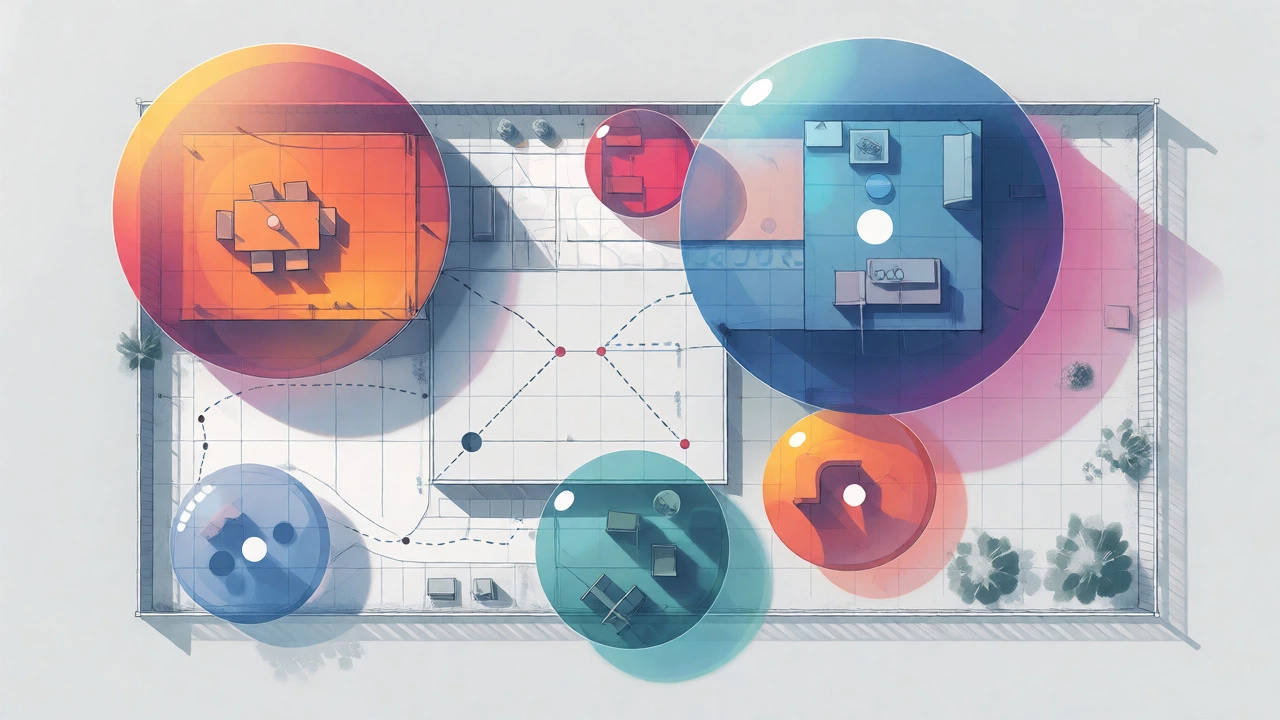
Now you’re ready to draw, but keep it abstract. Use circles or "bubbles" to represent different zones. One bubble for dining, one for lounging, one for vegetable gardening, one for storage. Don’t worry about shapes yet. Focus on relationships between spaces.
Place the bubbles relative to your house and each other. The dining bubble should be close to the kitchen exit. The play area might need to be visible from the living room windows so you can supervise kids. The compost bin shouldn’t be next to the lounge chair unless you enjoy the smell of decomposing lettuce while reading.
This step helps you test ideas cheaply. Erase and redraw until the flow makes sense. If two bubbles overlap awkwardly, adjust them. If a path connects the garage to the back door through the middle of your intended flower bed, move the bed. This rough draft is your blueprint for the detailed plan.
Step 4: Develop the Master Plan
With your bubbles approved, refine them into specific shapes and sizes. This is where scale matters. Use graph paper or a digital tool like SketchUp or even free apps like iScape. Draw your house, driveway, and fences to scale. Then, translate your bubbles into concrete elements.
The dining bubble becomes a 10x12 foot patio. The lounge bubble becomes a curved gravel path leading to a bench. The veggie bubble becomes four raised beds. Be realistic about dimensions. A standard dining table for six needs at least 10 feet of clearance to pull chairs out comfortably. If your "patio" is only 8x8 feet, you’ll feel cramped.
Add circulation paths. Main walkways should be wide enough for two people to walk side-by-side (about 4-5 feet). Secondary paths can be narrower (2-3 feet). Ensure paths connect logically. Avoid dead ends unless intentional. This master plan is your contract with reality-it tells you exactly how much material you need and where things go.
Step 5: Design Hardscape Elements First
Here’s a golden rule: build the bones before adding the flesh. Hardscape refers to non-living elements like patios, walkways, retaining walls, decks, and fences. These are permanent and expensive to change. Plants are easy to swap; concrete is not.
Start with grading. Ensure water flows away from your house foundation. Install drainage systems if needed. Then lay out the foundations for patios and paths. Use string lines and stakes to mark edges. Check levels frequently. A patio that slopes toward the house will flood your basement during heavy rain.
Choose materials wisely. Concrete is durable and affordable but can crack. Pavers offer flexibility and better drainage but cost more upfront. Natural stone adds character but requires skilled installation. Consider maintenance. Wood decks need sealing every few years; composite decking lasts longer but gets hot in direct sun. Match the style to your home architecture. A modern minimalist house looks odd with rustic flagstone unless done intentionally.
Step 6: Select Softscape and Plantings
Only now do you pick plants. Why? Because your hardscape creates microclimates. The wall behind your patio reflects heat, creating a hot, dry zone perfect for Mediterranean herbs. The corner blocked by the house stays cool and damp, ideal for ferns and hostas.
Think in layers. Start with canopy trees for shade and structure. Then add understory trees or large shrubs for height variation. Follow with perennials and ornamental grasses for texture and color. Finally, add groundcovers to suppress weeds and fill gaps. This layering mimics natural ecosystems and provides year-round interest.
Match plants to your site analysis. If Step 1 revealed shady corners, don’t buy sun-loving roses there. Look for native plants adapted to your region. They require less water, fertilizer, and pest control. For example, in the Pacific Northwest, sword ferns thrive in shade with minimal care. In Texas, Lantana handles heat and drought effortlessly.
| Plant Type | Best Use Case | Maintenance Level | Lifespan |
|---|---|---|---|
| Trees | Shade, privacy, structure | Low (once established) | Decades |
| Shrubs | Borders, foundation planting | Medium (pruning) | Years |
| Perennials | Color, seasonal interest | High (dividing, deadheading) | Seasonal/Recurring |
| Annuals | Instant color, containers | Very High (replanting) | One Season |
Step 7: Implement Lighting and Final Touches
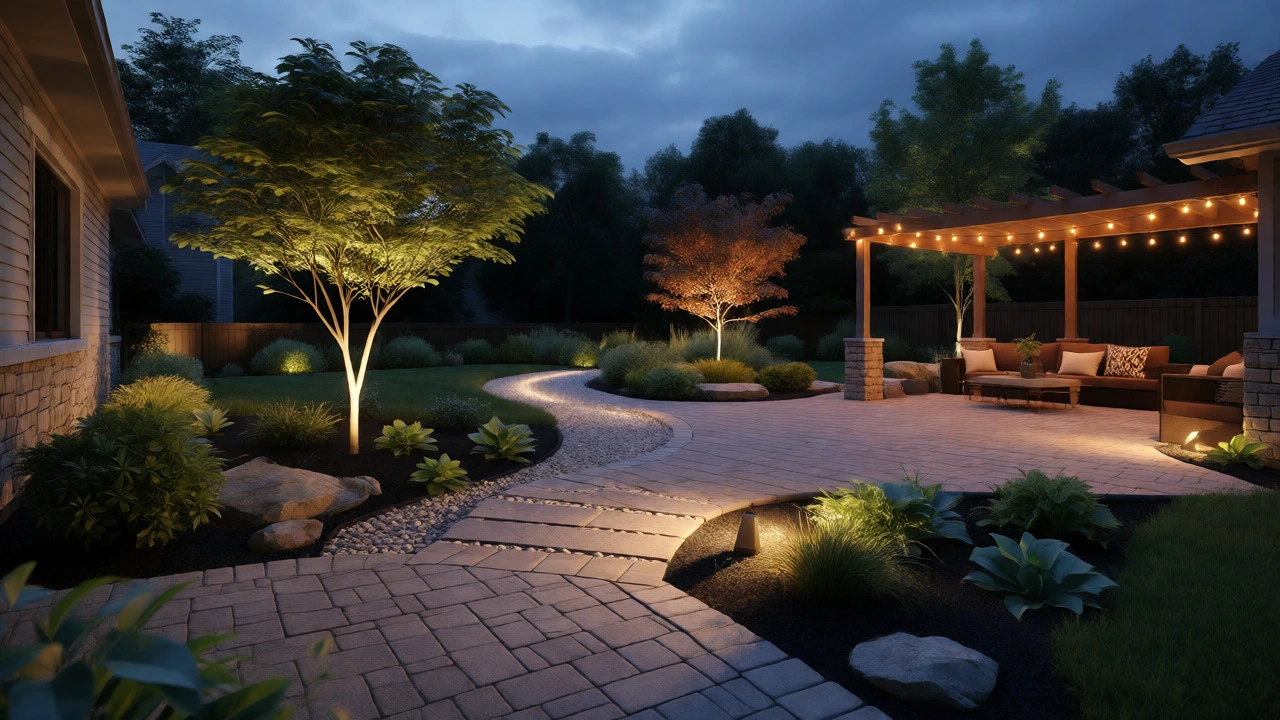
Your landscape doesn’t stop at sunset. Lighting extends usability and enhances safety. Low-voltage LED lights are energy-efficient and easy to install. Place path lights along walkways to prevent tripping. Use uplights on trees to create drama. Add string lights over dining areas for ambiance.
Don’t forget accessories. Furniture defines zones. A rug outdoors anchors a seating area. Planters add mobility-you can move them as seasons change or if you decide you hate that one spot. Water features, like a small fountain, mask street noise and attract birds.
Finally, review the whole picture. Walk the paths. Sit in the proposed spots. Does the lighting glare in your eyes? Is the bench too close to the ant trail? Adjust as needed. Implementation is iterative. You might find a plant dies despite your best efforts-replace it. You might realize the patio is too big for your family-add more furniture or planters to break up the space.
Common Pitfalls to Avoid
Even with a plan, mistakes happen. The biggest one is underestimating growth. That small maple sapling will become a 40-foot giant in ten years. Plant it too close to the house, and its roots will lift your foundation. Always check the mature size of plants before buying.
Another trap is ignoring maintenance. If you travel three weeks a year, don’t design a high-maintenance English garden requiring daily watering and weeding. Opt for drought-tolerant xeriscaping or automated irrigation systems. Beauty should enhance your life, not burden it.
Lastly, don’t skip the permit check. Many municipalities require permits for retaining walls over 4 feet, electrical work for lighting, or major grading. Failing to get these can result in fines or forced removal of structures.
How long does the landscape design process take?
For a typical residential yard, the planning phase (Steps 1-4) takes 2-4 weeks. This includes site analysis, zoning, and drafting. Implementation (Steps 5-7) depends on complexity. A simple patio and planting project might take 2-3 weekends. Major construction with walls and extensive plumbing/electrical can take 2-3 months. Rushing the planning leads to costly changes during construction.
Do I need a professional landscape designer?
Not always. For simple projects like replacing lawn with mulch and low-maintenance shrubs, DIY is fine. However, if you’re building hardscape, changing drainage, or dealing with sloped terrain, a professional helps avoid structural errors. They also have access to trade pricing on materials and plants. Weigh the cost of their fee against potential rework expenses.
What is the difference between hardscape and softscape?
Hardscape refers to the non-living, hard elements of a landscape, such as patios, walkways, walls, decks, and fences. Softscape consists of the living components, including flowers, shrubs, trees, and lawns. Hardscape provides structure and function, while softscape adds color, texture, and environmental benefits. Both are essential for a balanced design.
When is the best time to start landscape design?
Ideally, start planning in winter or early spring. This gives you time to analyze the site when deciduous trees are bare, making sunlight and branch structure visible. It also allows you to order materials and schedule contractors before the busy spring/summer season. Planting times vary by region, but fall is often excellent for establishing root systems before winter dormancy.
How much should I budget for landscape design?
A general rule of thumb is to allocate 10-15% of your home’s value for landscaping, though this varies widely. Professional design fees range from $50-$150 per hour or $1,000-$5,000 for a flat-fee plan depending on complexity. Construction costs depend on materials. Labor typically accounts for 50-60% of the total project cost. Always add a 10-20% contingency fund for unexpected issues.