If you’re toying with the idea of redesigning your garden and wondering if Canva can help—without reaching for your wallet—the answer is: yes, absolutely! Canva packs a ton of free features that’ll get you started on planning everything from veggie beds to patio layouts. You don’t need a paid subscription to get your hands dirty with most of the basics. You can make mood boards, upload your favorite plant photos, sketch layouts, and play with colors, all without spending a dime.
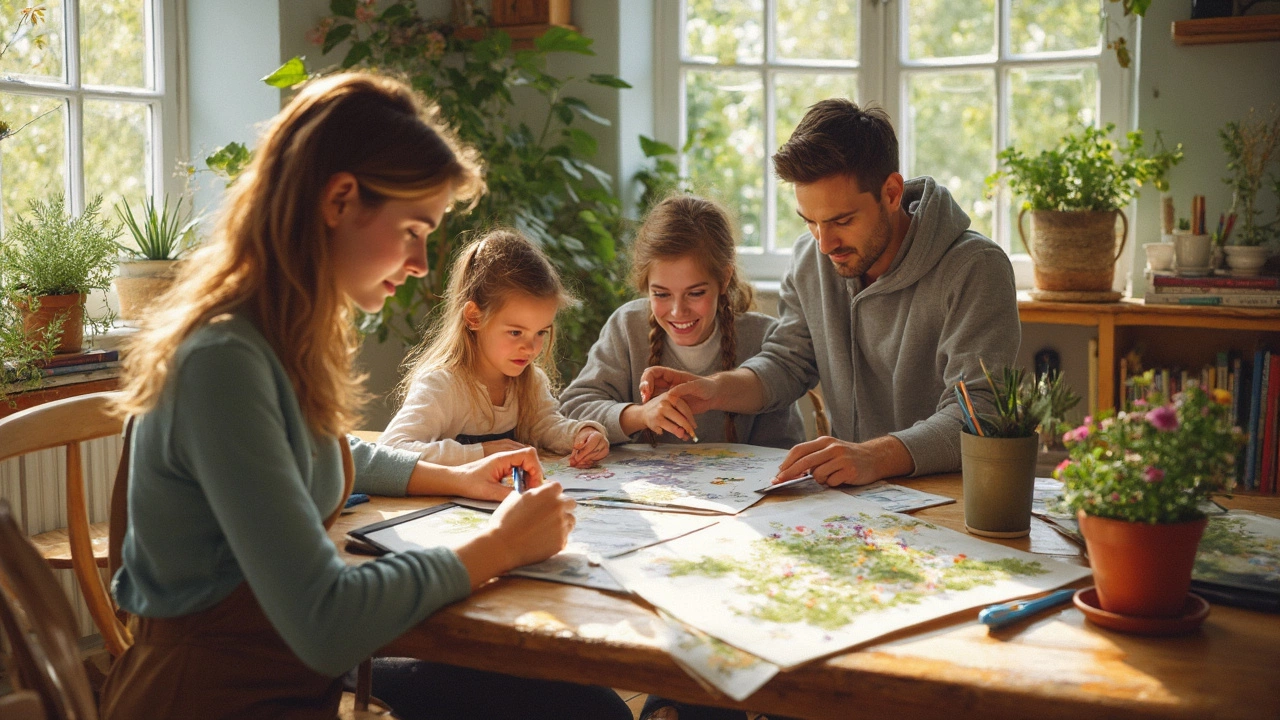
Of course, Canva flashes a few paid elements here and there, but I’ve found that with a bit of effort, you can dodge those and still make some pretty slick plans. My son Marlon and I once mapped out a wild strawberry patch using Canva’s free shapes and lines—you should’ve seen how proud he looked making those silly wavy borders. The trick? Learn what falls under the free goodies, and you’ll avoid any wasted time. Ready to find out how to make the most out of Canva’s free side for your next garden project? Let’s dig in.
- What's Actually Free in Canva?
- Best Ways to Use Canva for Garden Design
- Crucial Tips for Garden Planning with Canva
- Keeping Your Projects Organized and Shareable
What's Actually Free in Canva?
When people ask, "Can I use Canva for free?" the honest answer is: you can do a lot without paying a cent. The whole point of Canva’s free plan is to give you solid tools to make cool designs — and that definitely includes putting together garden layouts and mood boards. You don’t need a card or any sneaky sign-up traps; just a basic account and you’re in.
Here’s what the free version actually gives you:
- Templates: You get access to more than 250,000 free templates, which means there are plenty you can tweak for garden stuff even if they aren’t garden-specific. Look for "Mood Board" or just "Landscape" and start moving things around.
- Photos and Elements: Canva lets you use over 1 million free photos, icons, and graphics. Not bad! Some icons or illustrations are marked as Pro, but you’ll spot a little crown on those (just ignore them if you’re keeping it free).
- Fonts and Colors: The free plan offers hundreds of fonts and a decent range of colors and backgrounds. If you want to keep things looking clean or match your favorite plant shades, this is more than enough.
- Upload Your Own Images: Take a photo of your backyard, that one weird plant Esme brought home, or a garden layout you sketched on paper — you can upload all that for free to use in any design.
- Basic Tools: You’ll have straightforward features for resizing, cropping, adding text, arranging layers, and more — all free. These let you move things around, label different garden zones, or get as detailed as you want.
If you want to see how the paid stuff stacks up to the free, here’s a quick chart:
| Feature | Free Plan | Pro Plan |
|---|---|---|
| Templates | 250,000+ | 610,000+ |
| Photos & Elements | 1 million+ | 100 million+ |
| Folders for Organization | 2 | Unlimited |
| Fonts | Hundreds | Thousands |
| Brand Kit | No | Yes |
| Download types (PNG, JPG, PDF) | Yes | Yes + More |
The biggest limitation? You might find a perfect plant illustration, but it’s marked with the Pro crown. That just means you need to swap in a free one or upload your own. For most home projects — especially simple garden design ideas — the free stuff gets the job done.
One quick tip: Canva often tries to nudge you into a trial for Pro by unlocking extra features. Skip it unless you really need something fancy, like background removal or more storage. You’ll barely miss those bells and whistles if you stick to the basics for your garden plans.
Best Ways to Use Canva for Garden Design
Alright, here’s where Canva truly shines for garden design. You can whip up simple layouts, detailed plant lists, or even visuals to get the whole family on board. The coolest thing? The Canva free plan gets you all the basic features you need for most garden projects. They let you create unlimited designs, access hundreds of free graphics and shapes, and even upload your own backyard photos for a personal touch.
If you’re into visual planning, start by searching "garden" or "landscape" in Canva’s template section. You’ll find free templates for mood boards and planning boards that can be tweaked for your space. These help you pull together ideas—like mixing purple lavender with sunny marigolds for impact. For layouts, grab grid shapes and drag them around to match your actual garden beds.
- Draw out your plot: Use the line and shape tools to sketch beds, borders, or even where you want a new shed or fire pit. Marlon once used circles for a pumpkin patch and rectangles for raised beds. Simple, but super effective for planning.
- Upload real photos: Snap a pic of your yard, upload it, and drop design elements over the top—think paths, plant pots, or a pergola. This helps visualize changes before sticking a shovel in the ground.
- Use text for notes: Label plant choices, jot down sunlight spots, or mention watering needs. Canva’s text options make it easy to keep details straight.
- Color matching: Play with the color picker to test plant combos or decide on paint shades for fences or sheds.
Ever want to keep track of what plants go where, or the timing for your veggies? Canva also lets you build easy planting calendars with free calendar templates. Here’s a quick look at how most Canva-free garden design features stack up against paid options:
| Feature | Free Plan | Paid Plan |
|---|---|---|
| Basic templates | Yes | Yes + more |
| Upload your own images | Yes | Yes |
| Custom fonts | No | Yes |
| Full element library | Limited | Full access |
| Collaboration tools | Yes | Yes |
Most folks never need the paid features for basic garden planning. Unless you’re trying to get your landscape design featured in a glossy magazine, you’re covered. Canva’s drag-and-drop design saves time and makes garden planning fun—even my daughter Esme gets into picking flower colors now. If you get stuck or need new ideas, the free template library grows each month, so just try a fresh search and see what pops up.

Crucial Tips for Garden Planning with Canva
Getting the most out of Canva for garden planning really just means knowing a few practical tricks. First off, always start with a custom size for your design. Measure your garden with a tape measure and use those numbers to set up your canvas. That way, one square on your design can actually equal a real foot or meter in the garden. Canva lets you pick your exact canvas size before you start—just click “custom size,” and enter your numbers. It’s honestly a game changer for mapping layouts that actually fit your space.
Instead of hunting for fancy icons or pro features, use Canva’s free shapes. Rectangles for raised beds, circles for shrubs, triangles for trellises—get creative and label everything. Try layering shapes and color coding: green for grassy spots, brown for veggie beds, blue for water features. Makes the plan easy to read, especially when sharing it with your family or, in my house, with Marlon and Esme who love playing “guess that plant.”
- Use the “Uploads” button to drag and drop photos of your own yard, favorite planters, or even pictures you snapped at the garden center. Position them right onto your layout.
- Take advantage of Canva’s “Elements” search. Type in words like “tree,” “flower,” or “bench”—stick to the ones with the little “free” tag, so you won’t hit a paywall when you download.
- Add text labels to everything. Trust me, after a week, you’ll forget what that oddly shaped blob is supposed to be without a name on it.
Here’s something smart I picked up from an editor at Garden Design Magazine:
"Simple layout planning tools, like Canva, make it easy for anyone to try multiple garden arrangements before digging a single hole."
Finally, save often and use Canva’s “Duplicate Page” feature. This is perfect for testing out more than one idea: copy your main garden plan, then tweak the duplicate without losing your original design. You’ll end up with a handful of clear options to choose from, or to show your partner (and in my case, get — let’s just say, very honest — feedback from the kids).
With a little effort and some elbow grease, you can handle almost every step of designing your outdoor space with the Canva free version. No need to be a tech wiz or hand over your credit card just to plan out your dream patch.
Keeping Your Projects Organized and Shareable
When you’re juggling ideas for your garden—raised beds, seating, a wildflower patch—it can get messy fast. Canva’s folders and cloud storage keep everything easy to find. Free users get up to 5GB of storage, which, unless you’re hoarding thousands of mood boards, is usually plenty for garden plans. Just toss your different projects into folders: veggies in one, flower layouts in another. It’s super easy to rename, move, or delete files, too—no more scrolling through a mile of random drawings looking for that one plan you made last spring.
Now, here’s the magic part—Canva makes it downright simple to share your projects. Want your partner to weigh in on patio chairs? Or need a plant expert friend to double-check your plant placement? Just hit ‘Share.’ You can copy a link that opens straight to your design, or invite someone by email. You decide if they can just view, or if you want them to go wild editing and adding ideas. Honestly, that’s a lifesaver if you sometimes do garden planning late at night and want to send Marlon or Esme’s thoughts before buying new plants.
- To create a folder: On Canva’s home page, hit ‘Folders’ in the sidebar, then click ‘Create new folder.’ Give it a clear name like “Garden Plans 2025.”
- To share: Open your finished design, hit ‘Share’ in the top right corner, and send the link or email invite. Choose edit or view access.
- Add notes by using Canva’s “Comments” feature. It’s perfect for jotting down a reminder (“Check for shade!”) or getting questions answered.
Here’s a quick comparison of what you get with Canva’s free version versus paid, so you know what to expect:
| Feature | Canva Free | Canva Pro |
|---|---|---|
| Storage | 5GB | 1TB |
| Folders | 2 | Unlimited |
| Sharing | Yes | Yes |
| Templates | Thousands | All templates |
It’s wild what you can do with even the free plan, especially for Canva free garden layouts. So, next time you’re deep in garden planning, take those extra seconds and organize your ideas—you’ll thank yourself when spring rolls around and you can hit the ground running.