Garden Zone & Plant Matchmaker
Use this tool to analyze a specific spot in your yard. Select the environmental conditions below to receive tailored recommendations for garden zones and suitable plants.
Step 1: Analyze Your Site
Select your site conditions on the left and click "Find Best Zones & Plants" to see personalized recommendations.
You’ve got the dream. Maybe it’s a lush vegetable patch that feeds your family all summer, or perhaps it’s a serene corner with hydrangeas and a bench where you can drink coffee without being blasted by the afternoon sun. But here’s the hard truth: most gardens fail not because of bad plants, but because of bad maps. You buy a tomato plant that loves full sun, stick it in a shady north-facing wall, and wonder why it never fruits. You plan a patio, forget about the underground utility lines, and end up with a cracked slab two years later.
Mapping out your Garden Layout is the single most important step before you dig a single hole. It turns guesswork into strategy. Think of it as creating a blueprint for your outdoor living space. Without it, you’re just decorating chaos. With it, you have a roadmap that saves money, reduces frustration, and ensures every plant has a fighting chance at survival.
Start with a Site Analysis: Know What You’re Working With
Before you draw a single line, you need to understand the canvas. A Site Analysis is an audit of your property’s physical conditions. It sounds technical, but it’s really just observation over time. You need to know three things: sunlight, soil, and water flow.
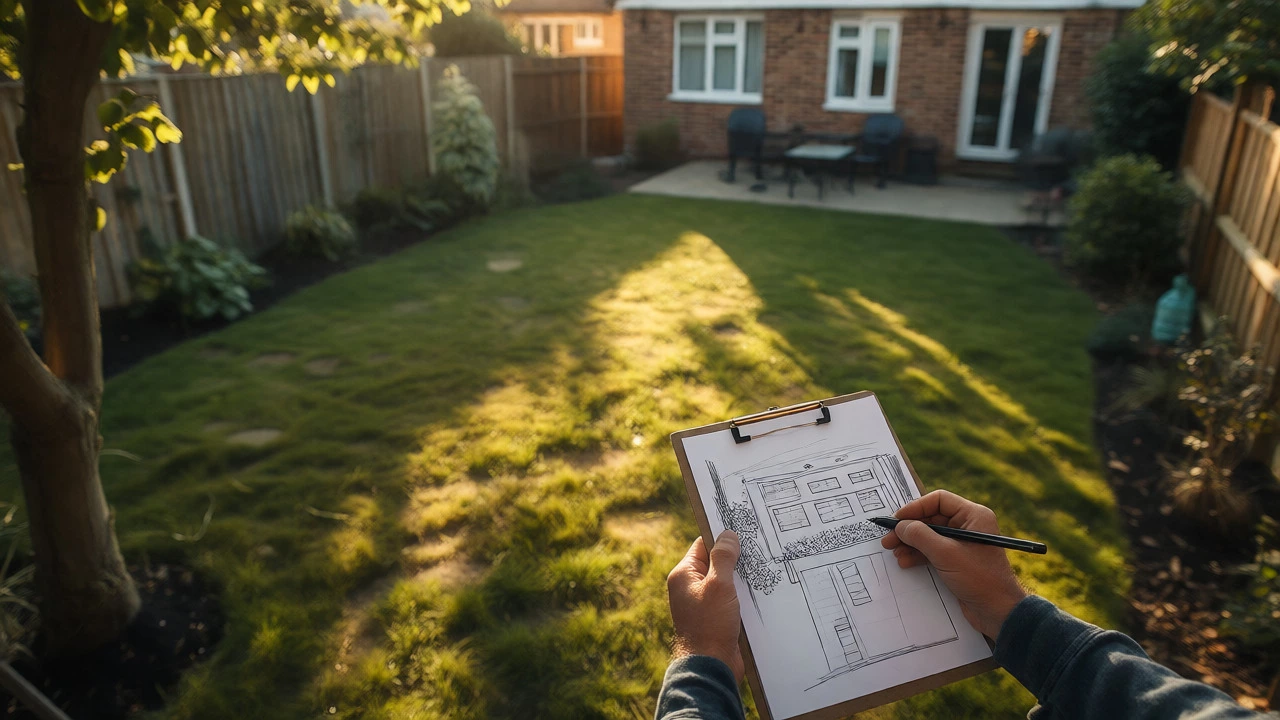
Sunlight is non-negotiable. Most vegetables and flowering perennials need six to eight hours of direct light. Grab a notebook and sketch your yard’s outline roughly. At 9 AM, noon, and 3 PM, walk around and note which areas are in shadow and which are baking in the sun. Mark trees that cast long shadows in winter versus summer-deciduous trees lose leaves, changing your light map entirely between seasons.
Next, look at water. Where does rain pool after a storm? If there’s a soggy spot near the fence, don’t put lavender there; lavender hates wet feet. Conversely, if one corner stays bone-dry, don’t expect hostas to thrive. Check for drainage issues early. Also, locate any existing utilities. In many regions, calling 811 (or your local equivalent) before digging is mandatory and free. They’ll mark gas, electric, and water lines. Ignoring this leads to expensive repairs and broken shovels.
Finally, assess your Soil Type. Is it clay-heavy? Sandy? Loamy? Do a simple jar test: mix soil with water in a clear jar, shake it, and let it settle. Layers will form-sand at the bottom, silt in the middle, clay on top. This tells you what amendments you might need later. Knowing your soil now prevents planting disasters later.
Choose Your Mapping Method: Paper vs. Digital
Once you’ve gathered your data, you need a way to record it. You don’t need expensive software unless you want to get fancy. For most home gardeners, a simple scale drawing works best. The goal is accuracy, not artistic perfection.
Start with a base map. Measure your property boundaries using a tape measure or a laser distance meter. Draw a rectangle representing your lot. Then, add fixed elements: the house footprint, garage, fences, driveways, and permanent structures like sheds or patios. Use graph paper if you’re doing this by hand-it makes scaling easier. A common scale is 1 inch equals 4 feet, but adjust based on your yard size.
| Method | Best For | Cost | Learning Curve |
|---|---|---|---|
| Graph Paper & Pencil | Small yards, beginners, quick sketches | Free/Low | Low |
| Grid Method | Accurate transfer of complex shapes | Free/Low | Medium |
| Digital Apps | Large properties, frequent changes, visualization | Free to $50/year | Medium-High |
| Professional CAD | Complex landscapes, contractors, precise hardscaping | $50-$200+ | High |
If your yard has weird angles or curves, use the grid method. Lay out string in a square grid across the area you want to map. Take photos from above (drone shots work great here) or simply sketch each square section onto corresponding squares on your graph paper. It’s tedious but incredibly accurate.
Digital tools like iScape, Garden Planner, or even simple tablet apps allow you to drag and drop plants. The advantage? You can undo mistakes instantly. If you decide to move the rose bed, you just drag it. No erasing smudges. However, don’t let tech paralysis stop you. A pencil sketch is perfectly valid if it helps you visualize spacing.
Define Zones Based on Lifestyle and Function
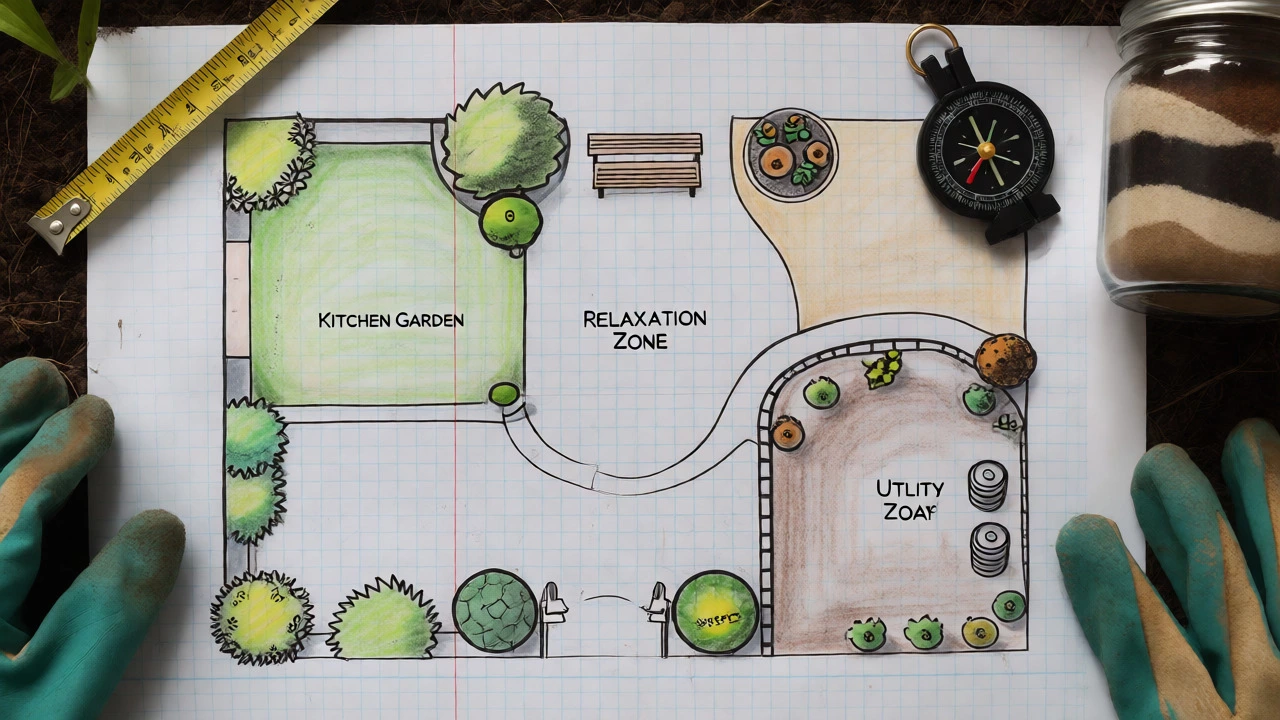
A pretty picture isn’t enough. Your garden needs to function for *you*. This is where zoning comes in. Divide your map into functional areas based on how you intend to use them. This approach, often called Zoning, ensures high-maintenance areas are close to the house and low-maintenance zones are further away.
Consider these common zones:
- The Kitchen Garden Zone: Place this within 20-30 steps of your back door. Herbs and salad greens should be easy to grab while cooking. If they’re far away, you won’t pick them.
- The Relaxation Zone: A patio, deck, or seating area. Position this based on sun preferences. Some people love morning sun; others prefer shade during hot afternoons. Look at your site analysis notes to find the sweet spot.
- The Utility Zone: Compost bins, tool storage, hose reels. Keep these accessible but screened from view. Don’t hide the compost bin behind a shed if it means dragging heavy buckets across the lawn.
- The Wildlife or Wild Zone: Often the perimeter or corners. Plant native species here to support pollinators. This area requires less weeding and watering once established.
Draw paths connecting these zones. Paths define circulation. Make sure main pathways are wide enough-at least 3 to 4 feet-so two people can pass comfortably. Narrow paths feel cramped and discourage use. Curved paths make small spaces feel larger by hiding what’s around the bend.
Plant Selection and Placement Strategy
Now you place the plants. This is where your site analysis pays off. Match the plant’s needs to the zone’s conditions. If you mapped a sunny south-facing strip, fill it with tomatoes, peppers, or roses. If you have a shady north side, think ferns, hostas, or impatiens.
Think vertically too. Vertical Gardening maximizes space. Trellises for climbing beans or clematis add height without eating up floor space. Sketch layers: ground cover, mid-height shrubs, and tall trees or structures. This creates depth and interest.
Be realistic about maintenance. If you hate pruning, don’t plant fast-growing shrubs that need shearing twice a year. If you travel often, avoid thirsty annuals in remote corners. Group plants with similar water and light needs together-a technique called hydrozoning. This simplifies irrigation. Instead of running different drip lines everywhere, you run one line through a group of drought-tolerant plants and another through a moisture-loving cluster.
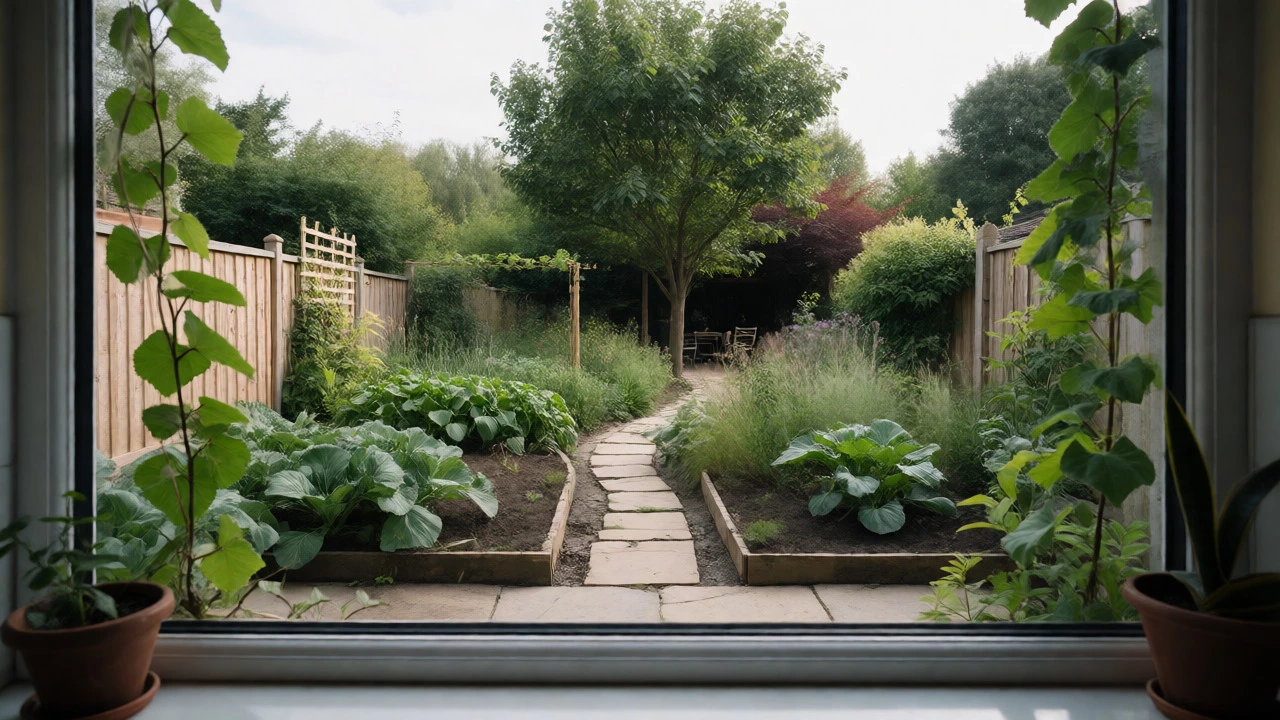
Also, consider sightlines. Stand at your front door or kitchen window. What do you see? Frame views with arches or trellises. Hide ugly elements like AC units or trash cans with strategic screening. Your map should account for what you see from inside the house, not just outside.
Common Pitfalls to Avoid When Mapping
Even careful planners make mistakes. Here are the big ones I see repeatedly.
First, ignoring mature size. That cute little sapling in the nursery pot looks fine next to the porch. In ten years, it might crush the roof or block all the windows. Always check the plant tag for its mature height and width. Give it room to grow. Crowded plants compete for resources and look messy.
Second, forgetting the future. Gardens change. Kids grow, pets age, hobbies shift. Leave some flexible space. Don’t pave over everything. Allow room for expansion or modification. A rigid map breaks when life happens.
Third, underestimating costs. Hardscaping (patios, walls, paths) is expensive. Plants seem cheap individually but add up quickly. Set a budget before you finalize the map. If your dream patio exceeds the budget, scale it down or phase it in. Build the foundation first, add plants later.
Fourth, poor drainage planning. As mentioned earlier, water management is critical. Ensure your map accounts for slope. Water should flow away from the house foundation. If your yard slopes toward the house, you might need French drains or swales indicated on the plan.
Putting It All Together: Your Action Plan
You’ve done the analysis, drawn the map, and chosen your zones. Now, execute. Start small. Pick one zone-maybe the herb garden or the patio-and build it out completely. This gives you a win and builds momentum. Don’t try to transform the entire backyard in one weekend.
Revisit your map regularly. After a season, evaluate what worked. Did the tomatoes shade out the lettuce? Did the path get muddy? Update your map with real-world data. Gardening is iterative. Your initial map is a hypothesis; the growing season is the experiment.
Keep your tools handy. A simple clipboard with your scaled drawing and a pencil is better than a complicated app you forget to open. Share your map with anyone helping you-spouses, kids, landscapers. Everyone needs to be on the same page to avoid accidental destruction of planned beds.
Do I need professional help to map my garden?
Not necessarily. For standard residential lots, DIY mapping is sufficient and cost-effective. Professional landscape architects are valuable for complex sites with significant grading issues, extensive hardscaping, or strict HOA regulations. If you’re unsure about structural integrity or drainage, consult a pro for the initial site assessment, then handle the planting map yourself.
What scale should I use for my garden map?
For small yards (under 1,000 sq ft), 1 inch = 4 feet is manageable. For larger properties, 1 inch = 10 feet keeps the drawing on one sheet. The key is consistency. Once you choose a scale, stick to it throughout the project so measurements remain comparable.
How detailed should my site analysis be?
Focus on the critical variables: sun exposure patterns across seasons, drainage points, wind direction, and existing utilities. You don’t need a soil lab report immediately, but a basic texture test is helpful. Note microclimates-areas protected by walls or exposed to wind-as these significantly affect plant success.
Can I use a satellite image instead of measuring?
Yes, tools like Google Earth provide a good starting point for boundary outlines. However, they lack detail regarding elevation, specific plant locations, and micro-shadows. Use satellite imagery for the base outline, but verify critical dimensions and features on-site with a tape measure for accuracy.
How do I account for seasonal changes in my map?
Create two versions of your sun/shade map: one for summer (high sun angle) and one for winter (low sun angle). Deciduous trees create shade in summer but allow light in winter. Evergreens provide constant shade. Mark these differences clearly to ensure plants get the light they need year-round.